Winterberry Soap Saver
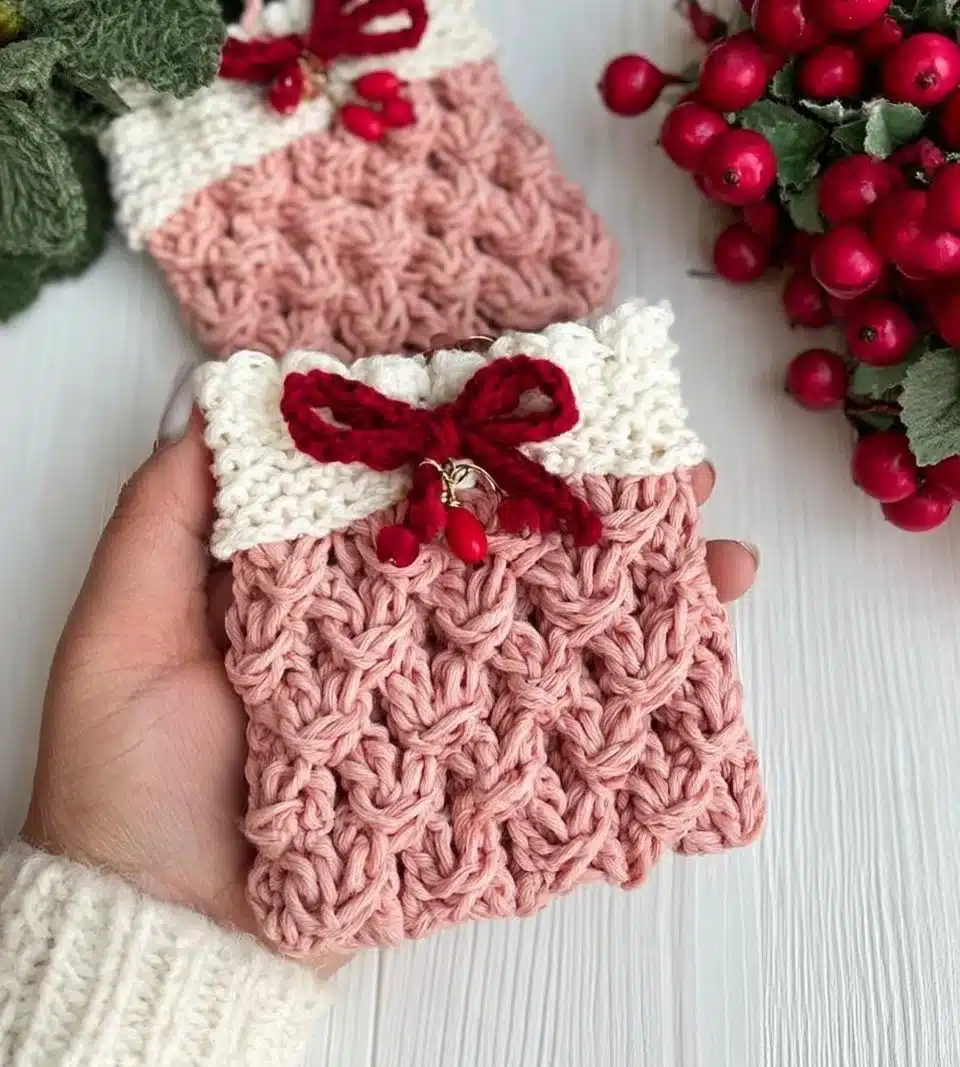
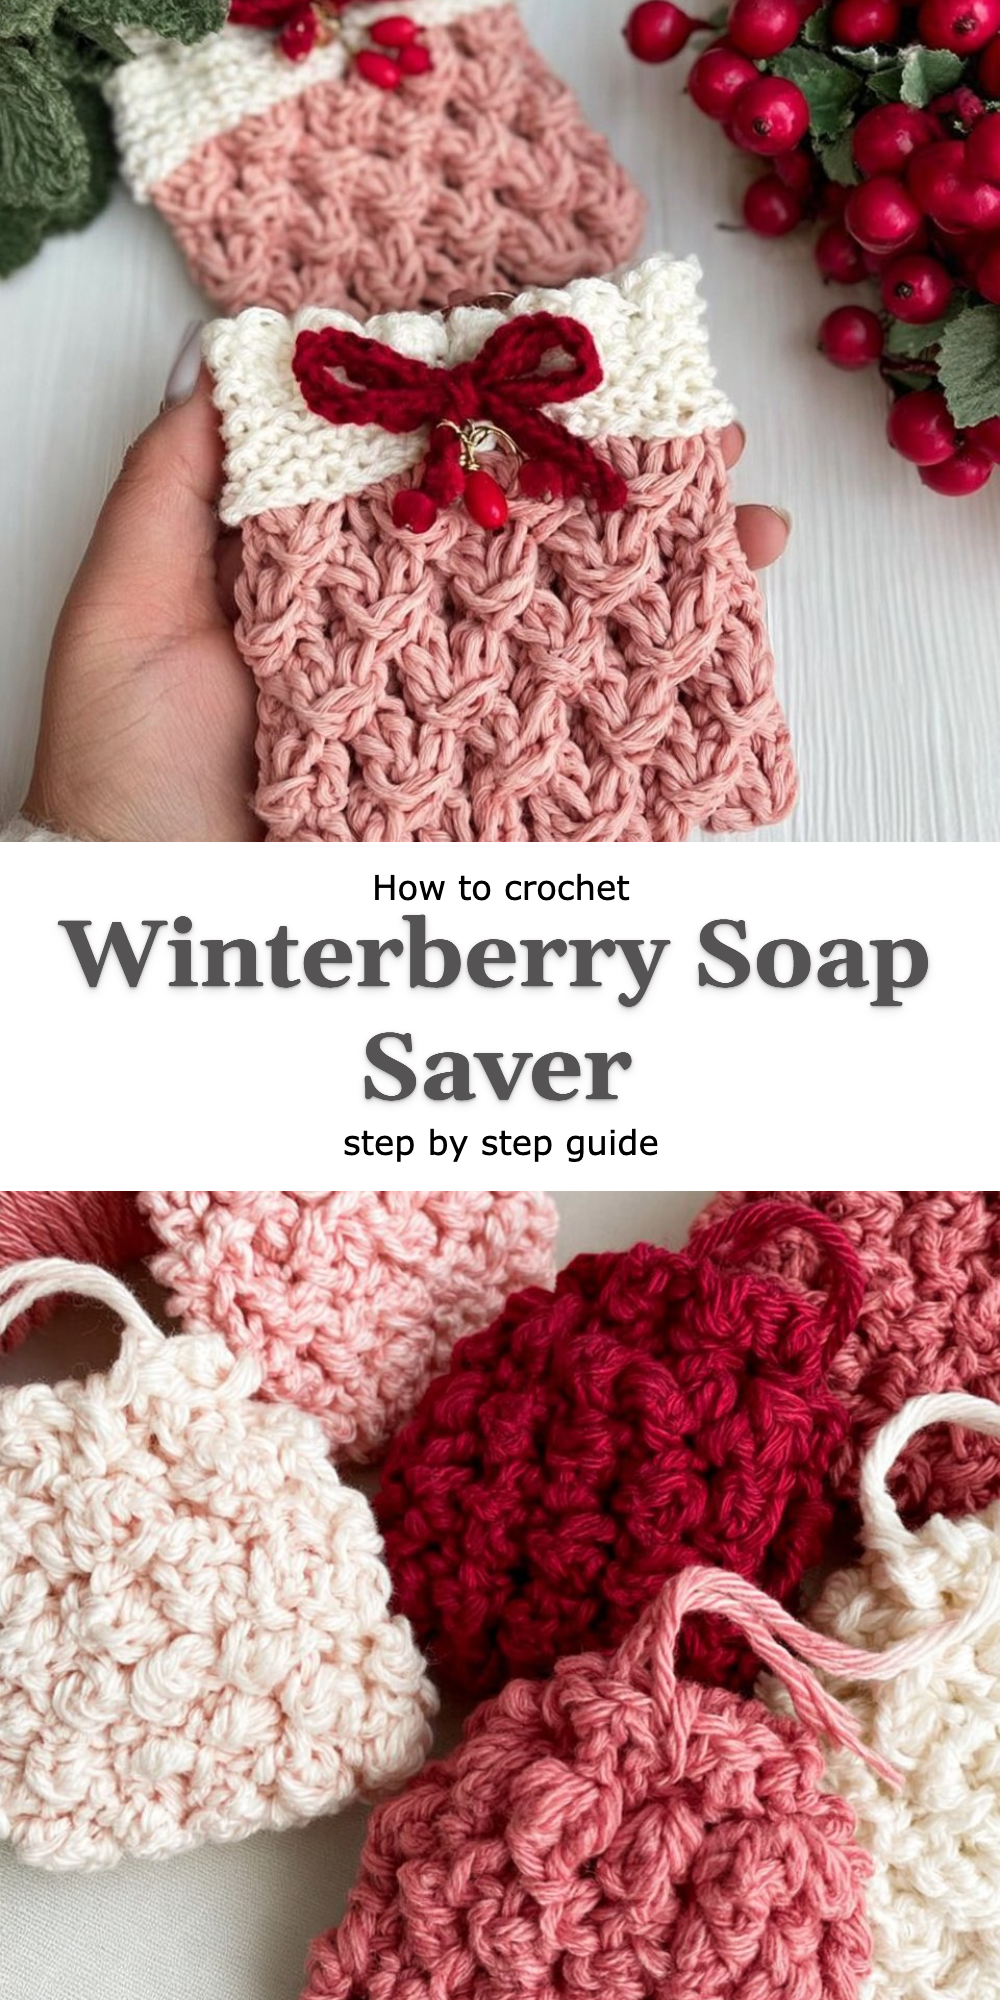
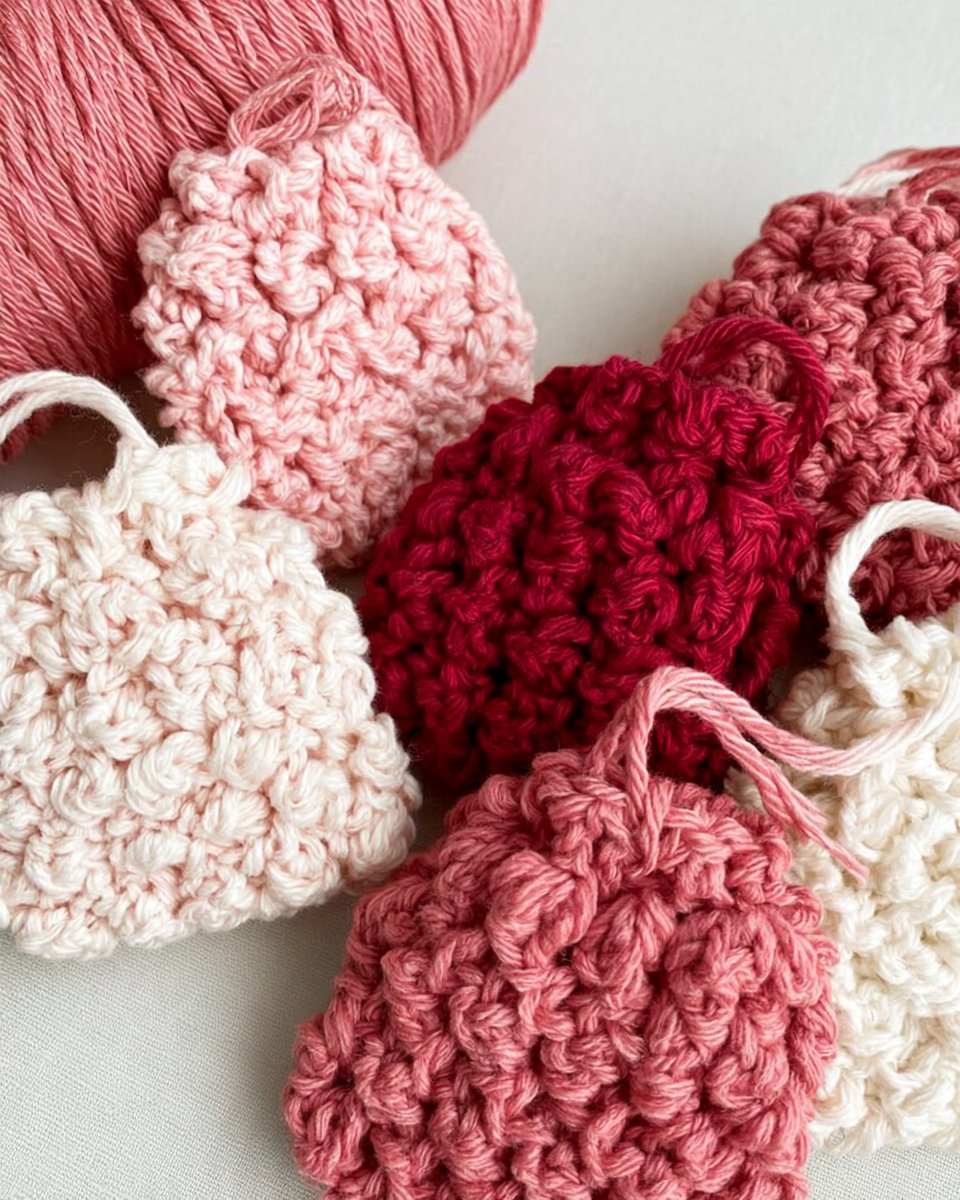
Winterberry Soap Saver Crochet Pattern is a delightful twist on the classic soap pouch, and it’s perfect for anyone who values sustainability and functionality in their handmade crafts. With its unique Winterberry stitch, this pattern adds a lovely texture and structure that transforms ordinary soap-saving designs into something special and vibrant.
In this free pattern, I’ll walk you through each step of the Winterberry Soap Saver Crochet Pattern, ensuring that even those who are new to crochet can confidently create their own. You’ll find that the charm of this design lies not only in its aesthetics, but also in its practicality—allowing you to indulge in a soothing bathing experience while keeping your soap contained and accessible.
Why the Winterberry Soap Saver Feels Different
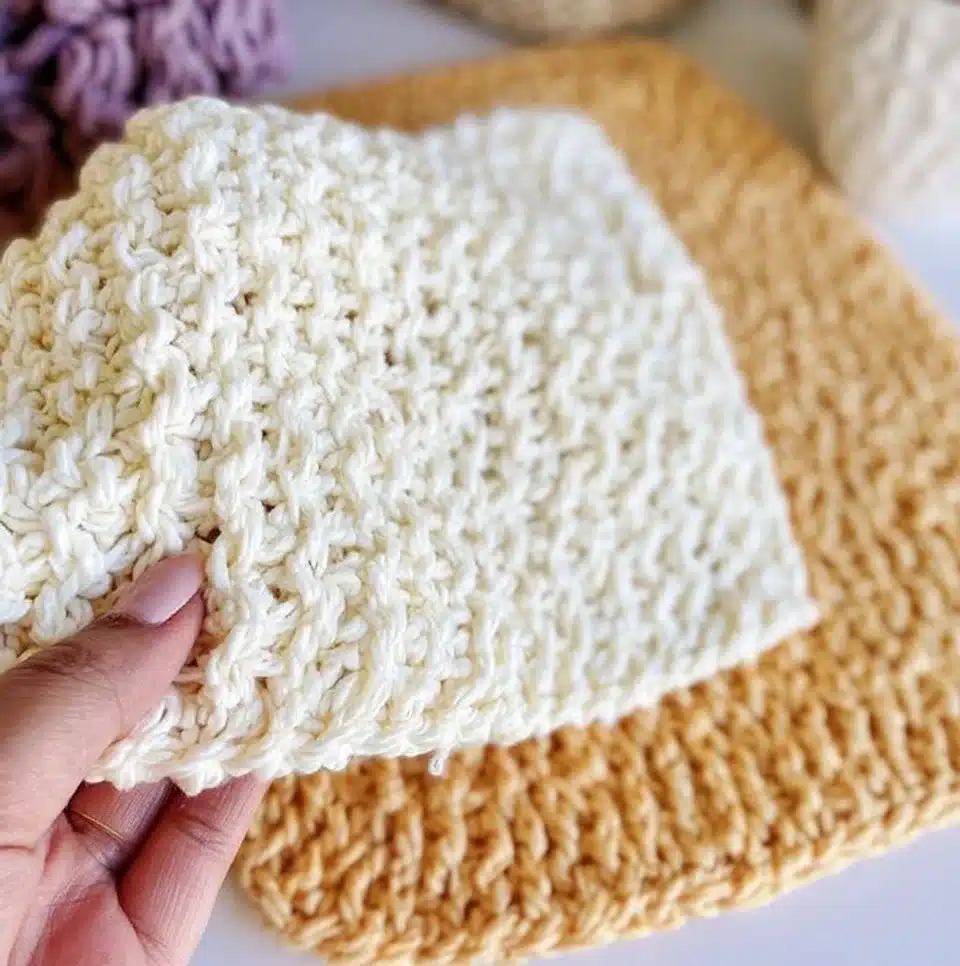
The Winterberry stitch distinguishes this soap saver from standard crochet pouches. This technique creates a beautifully textured fabric that feels soft yet durable, showcasing the elegance of the stitches while providing excellent support for your soap.
What makes this variation worth trying:
- Unique Texture: The Winterberry stitch creates a visual and tactile delight that’s both engaging and beautiful.
- Eco-Friendly: Use this pouch to extend the life of your soap, reducing waste.
- Versatility: Perfect for various soap sizes and shapes, making it adaptable to your needs.
- Personal Touch: The potential for embellishment offers a chance to add your personal style.
What You’ll Need: Materials Table
Before diving into the fun of crocheting, it’s essential to gather all your supplies. Here’s what you’ll need for the Winterberry Soap Saver Crochet Pattern:
| Item | Recommended Type | Approximate Amount |
|—————————–|—————————–|———————|
| Yarn | Cotton Blend | 1 skein |
| Crochet hook | Size H (5 mm) | 1 |
| Scissors | Standard | 1 |
| Tapestry needle | Standard | 1 |
| Optional: Drawstring material | Ribbon or cord | 1 piece |
Feel free to experiment with yarn types—an acrylic blend can afford a different feel, while cotton remains the most practical choice for durability and washability.
Sizing Guide
This crochet pattern is flexible and can be adjusted to accommodate various soap sizes. Below is a simple measurement chart to guide you.
| Size | Height |
|——–|———-|
| Small | 5 inches |
| Medium | 6 inches |
| Large | 7 inches |
Be sure to check gauge if you’re aiming for a specific size; adjusting your tension can make a significant difference in the final product!
Step-by-Step: How to Crochet the Winterberry Soap Saver Crochet Pattern
Step 1: Start the Foundation
- Chain 20 using the Winterberry stitch to set your foundation.
- Join the last chain to the first with a slip stitch to form a ring.
- Chain 2 to begin the first round.
Step 2: Crochet the Body of the Pouch
- Work 10 double crochets (dc) into the ring, distributing them evenly.
- Join with a slip stitch to the top of the chain two to close the round.
- Chain 2 for the next round.
Step 3: Shape the Pouch for the Soap
- Continue to crochet in rounds until you reach the desired pouch height (approximately 5”-7”).
- Check the size by placing your soap in the pouch to ensure a snug fit.
- Adjust height if needed.
Step 4: Add the Drawstring
- Chain 40 for the drawstring material, adjusting length based on preference.
- Thread the drawstring through the top of the pouch, creating a gentle cinch.
- Secure the ends of the drawstring and tuck them inside the pouch.
Step 5: Finish Off Your Work
- Fasten off your crochet and cut the yarn, leaving a few inches for weaving.
- Weave in any loose ends using a tapestry needle for a clean finish.
- Optional: Embellish your soap saver with beads or decorative stitches, if desired.
Tips for Clean, Even Crochet
- Maintain Consistent Tension: Keep your yarn tension even to make your stitches uniform.
- Track Your Stitches: Use stitch markers to track your rounds or sections, helping to prevent mistakes.
- Practice with a Swatch: If you’re unsure about tension, create a small swatch first for reference.
- Align Stitches: Pay attention to how you enter into each stitch for a clean finish.
- Check Your Work Regularly: Periodically stop to ensure that your project is developing as desired.
Common Mistakes to Avoid
- Over-tightening Stitches — can lead to an unyielding pouch that’s difficult to work with.
- Ignoring Gauge — may result in a pouch that’s too big or small for your soap.
- Skipping Slip Stitches — can lead to irregular seams and an unprofessional look.
- Not Checking Size During Creation — prevents a snug fit, leading to a pouch that doesn’t hold soap securely.
Frequently Asked Questions
What is the Winterberry stitch?
The Winterberry stitch is a specialized crochet technique that creates a unique texture and added durability to projects, like this soap saver.
What type of yarn should I use?
A cotton blend is recommended due to its absorbency and durability, but feel free to try acrylic or other blends for different textures.
Is this pattern more difficult than a standard soap pouch?
While the Winterberry Soap Saver has unique stitches, the step-by-step guidance makes it approachable even for beginners.
How much yarn is needed?
Typically, 1 skein of cotton blend yarn will suffice for this pattern; leftovers can be used for other small projects.
Can I use this technique for other patterns?
Absolutely! The Winterberry stitch can be adapted for different items like bags, pot holders, or washcloths, adding versatility to your crochet skills.
Conclusion
The Winterberry Soap Saver Crochet Pattern is a true gem in the crafting world. Not only does it offer a beautiful design, but it also serves a functional purpose, ensuring your soap is kept secure and lasts longer. I encourage you to grab your materials and dive into this satisfying project.
Happy crocheting! Once you’ve crafted your own Winterberry Soap Saver, I’d love for you to share your finished piece with the community. Your creativity and personal touch can inspire others to join in on this delightful craft. Let’s spread the joy of crochet together!