Easter Eggs
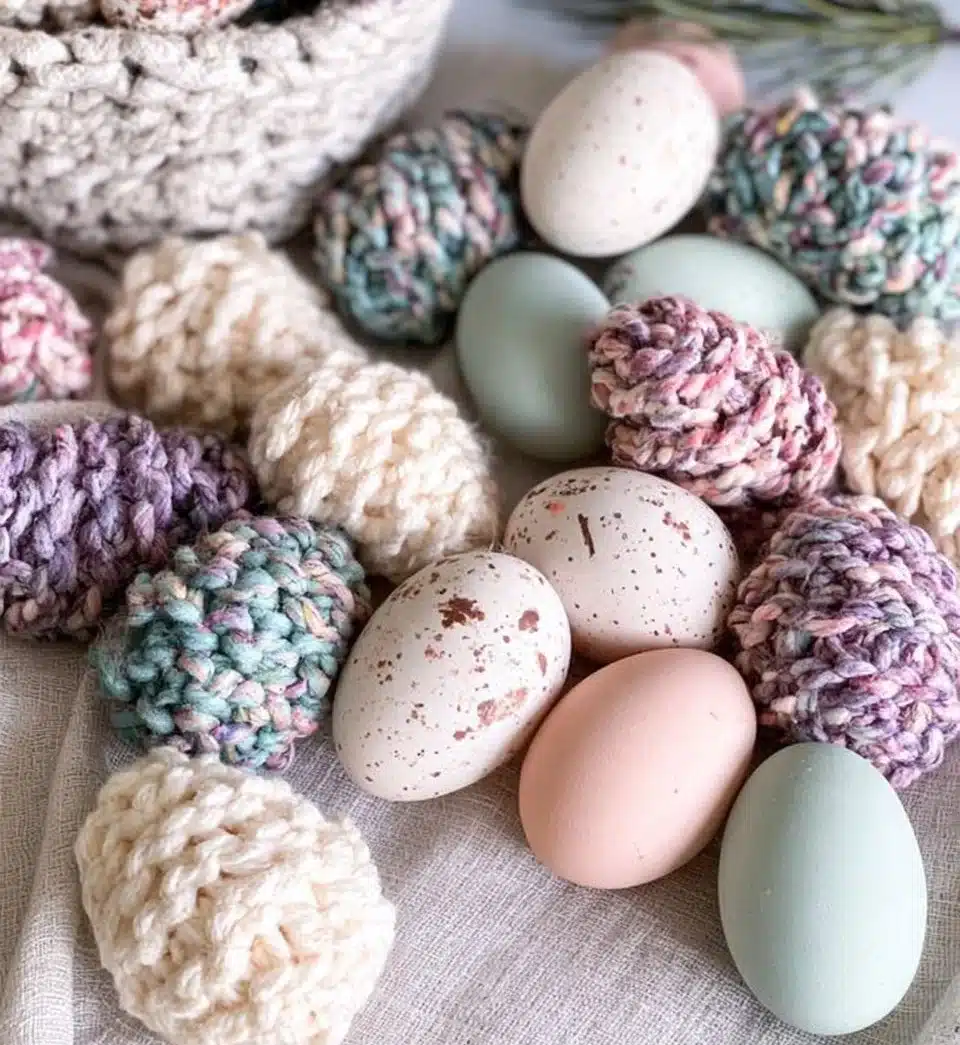
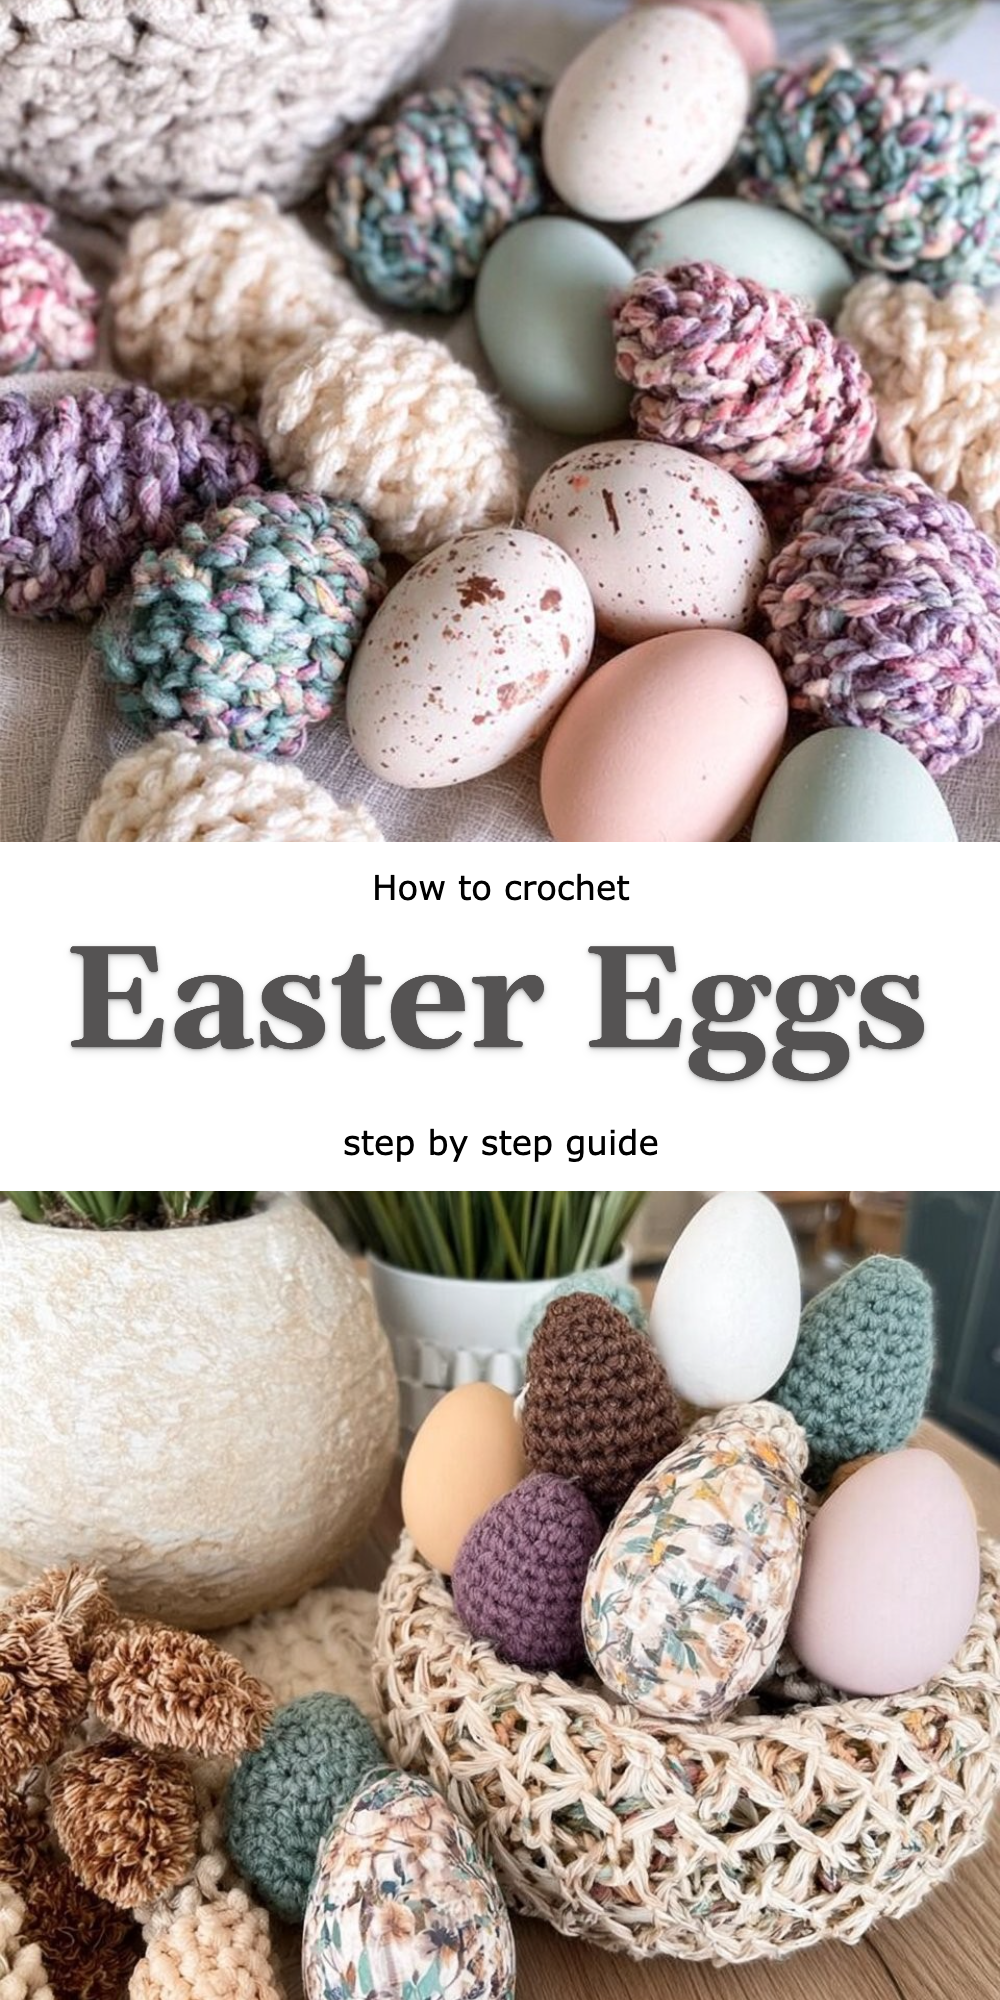
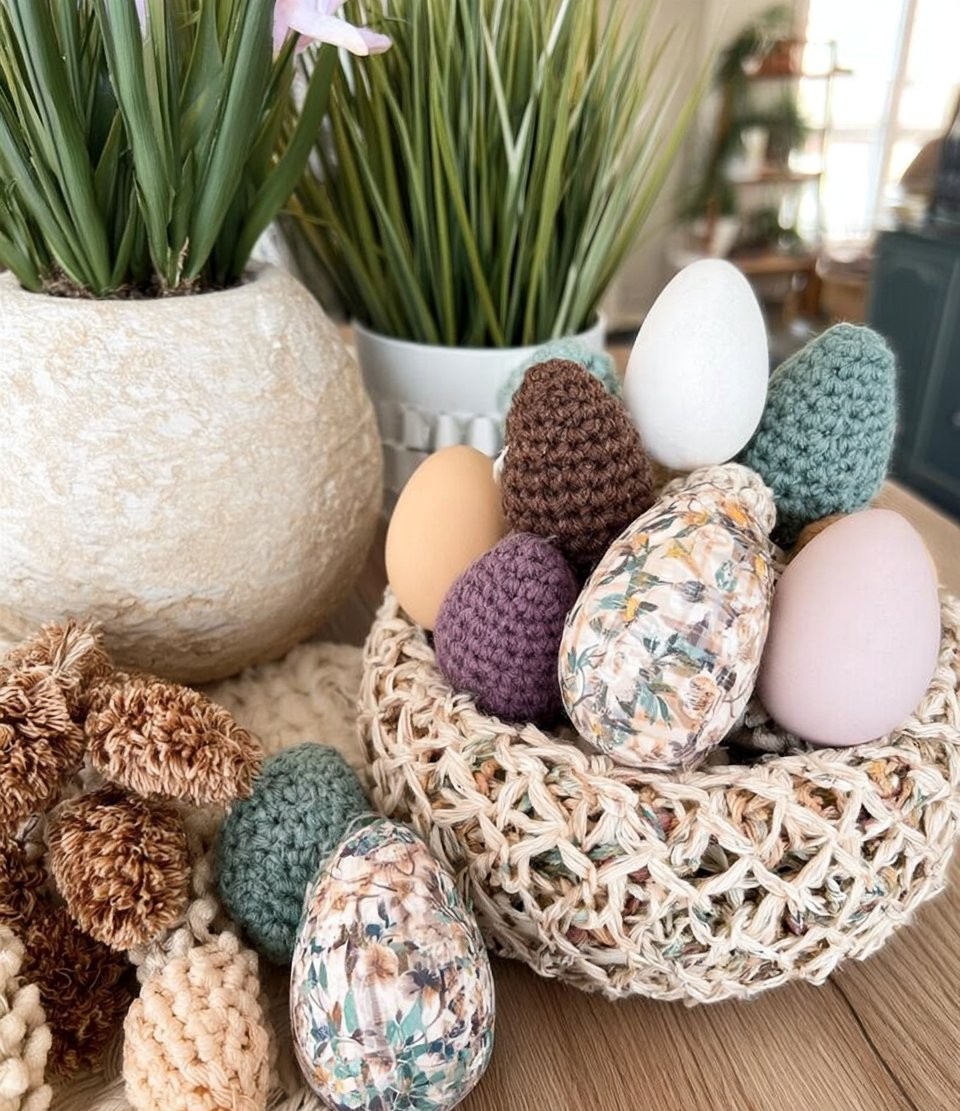
As the season of renewal unfurls, I find myself reaching for my crochet hooks, weaving warmth and color into Easter traditions. This year, I’m excited to share my creation: Rustic Farmhouse Easter Eggs—charming decorations that beautifully blend rustic aesthetics with the spirit of spring. Unlike basic plastic eggs, these handmade treasures invite a tactile experience, filling your home with soft textures and personalized touches.
This free pattern is designed to guide you, step-by-step, through every twist and turn of the process. Whether you are a seasoned crocheter or a first-timer eager to learn, you’ll find that the Rustic Farmhouse Easter Eggs are approachable and addictive, each stitch drawing you deeper into the rhythm of crafting.
Why Rustic Farmhouse Easter Eggs Feel Different
What makes these Easter eggs stand out? The technique I use changes not just the shape but the overall feel of each egg. The combination of dense stitches and fluffy yarn results in a delightful plushness that simply cannot be replicated with standard materials.
What makes this variation worth trying:
- Unique Texture: The plush feel of Wool Ease Thick & Quick creates an inviting touch.
- Quick to Create: With fewer rounds and a larger hook, you’ll have your eggs crafted in no time.
- Versatile Decor: Perfect for Easter or to add a cozy touch to your home year-round.
- Fillable Option: Transform them into delightful gifts or surprise treats simply by adding a button closure.
What You’ll Need: Materials Table
Gathering supplies is the first step to embarking on this joyful crafting journey. Here’s what you will need for your Rustic Farmhouse Easter Eggs:
| Item | Recommended Type | Approximate Amount |
|——————————-|———————————-|——————————-|
| Wool Ease Thick & Quick yarn | Soft Acrylic Blend | Approximately 1-2 skeins for a set of 3 sizes |
| Crochet hook | Size P – 11.5 mm | 1 |
| Stuffing for eggs | Polyester fiberfill | As needed |
Feel free to substitute the yarn if you prefer a different feel, just remember that the plushness is key to the rustic charm.
Sizing Guide
These Rustic Farmhouse Easter Eggs are delightful in a variety of sizes, allowing for an array of creative arrangements. Here’s a quick sizing guide to get you started:
| Size | Approximate Measurements |
|———–|————————–|
| Small | 4 inches in height |
| Medium | 6 inches in height |
| Large | 8 inches in height |
To ensure your eggs are the right size, consider making a quick gauge swatch before you dive in.
Step-by-Step: How to Crochet the Rustic Farmhouse Easter Eggs
Step 1: Start the Foundation
- Chain 2 to begin.
- Work 6 single crochet (sc) into the 2nd chain from the hook.
- Join the last sc to the first one with a slip stitch (sl st).
Step 2: Crochet the Shaping Rounds
- Round 1: Increase in each stitch (12 sc total).
- Round 2: 1 sc in the first stitch, 2 sc in the next – repeat around (18 sc total).
- Round 3: 2 sc in the first stitch, 1 sc in the next two stitches – repeat (24 sc total).
Step 3: Create the Body
- Rounds 4-7: Work 1 sc in each stitch (24 sc each round).
- Round 8: 1 sc in the first three stitches, 2 sc in the next – repeat (30 sc total).
Step 4: Begin Decreasing
- Round 9: 2 sc in the first stitch, 1 sc in the next four stitches – repeat (36 sc total).
- Rounds 10-12: Continue 1 sc in each stitch.
- Round 13: Reduce to 18 sc total for closure.
Step 5: Add Stuffing and Close
- Fasten off your work.
- Stuff the egg with polyester fiberfill until it’s full but still soft.
- Use a tapestry needle to carefully close the hole with a whip stitch.
Step 6: Create the Fillable Version
- Repeat steps 1-5, but before closing, leave a gap and attach a button or toggle closure.
Step 7: Add the Finishing Touches
- Embellish your eggs using embroidery or additional crochet techniques to bring out your personal style.
Tips for Clean, Even Crochet
- Mind Your Tension: Keep your stitches consistent for a polished look.
- Track Your Stitches: Use markers to help maintain your counts through the rounds.
- Practice a Swatch: It’s always better to practice on a spare piece before diving into your final project.
- Align Your Stitches: Maintain a uniform tension to keep your work aligned.
Common Mistakes to Avoid
- Skipping Rows — results in uneven shaping and odd transitions
- Overstuffing — leads to distended seams and uncomfortable texture
- Neglecting Gauge — produces sizes that are either too big or too small
- Ignoring Slip Stitches — can cause holes in your creation
Frequently Asked Questions
How are Rustic Farmhouse Easter Eggs different from standard eggs?
These eggs feature a cozy, plush texture from the thick yarn which sets them apart from the standard plastic versions.
What material should I choose for the yarn?
I recommend Wool Ease Thick & Quick for its softness and durability, making your eggs wonderfully tactile.
Is this pattern difficult compared to standard crochet patterns?
Not at all! This pattern is beginner-friendly, making it perfect for those new to crochet.
How much yarn will I need?
You’ll need approximately 1-2 skeins for a set of three different sizes.
Can I apply this technique to other crochet patterns?
Absolutely! The shaping and stuffing techniques can work beautifully with other crochet projects, creating unique and plush designs.
Conclusion
Creating your own Rustic Farmhouse Easter Eggs is not just an act of crafting; it’s an invitation to celebrate the beauty of the season with your very own hands. The texture, the love, and the care that goes into each stitch make these treasures deserving of their place in your home. As you embark on this tactile journey, I encourage you to share your finished creations with the community. Let’s embrace the joy of making together! Happy crocheting!