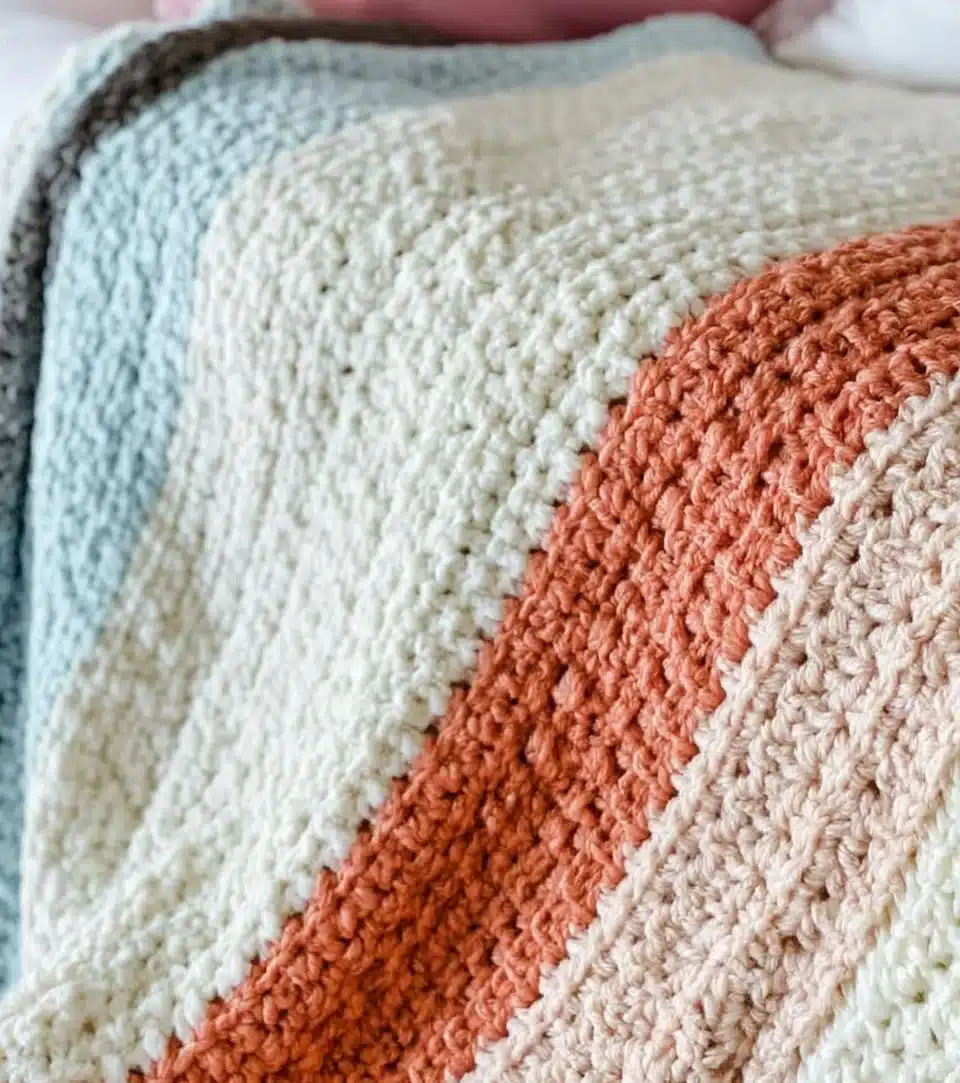
Weave Placemat
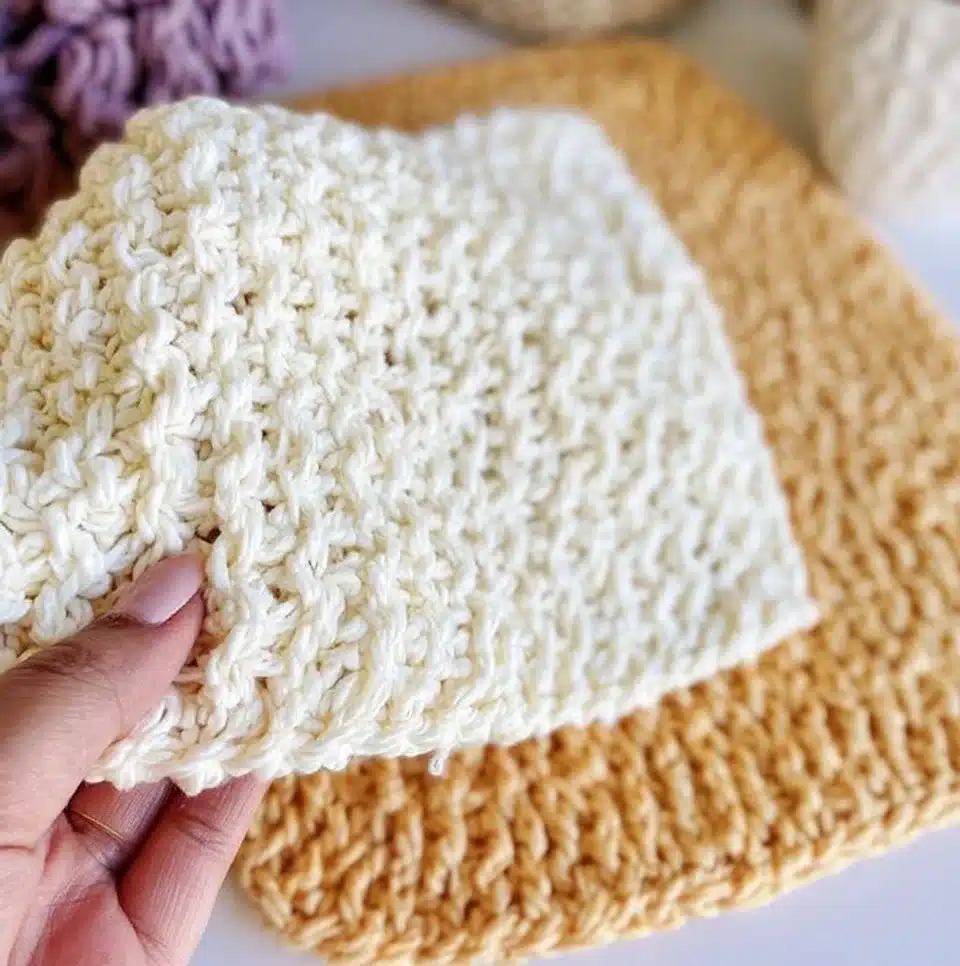
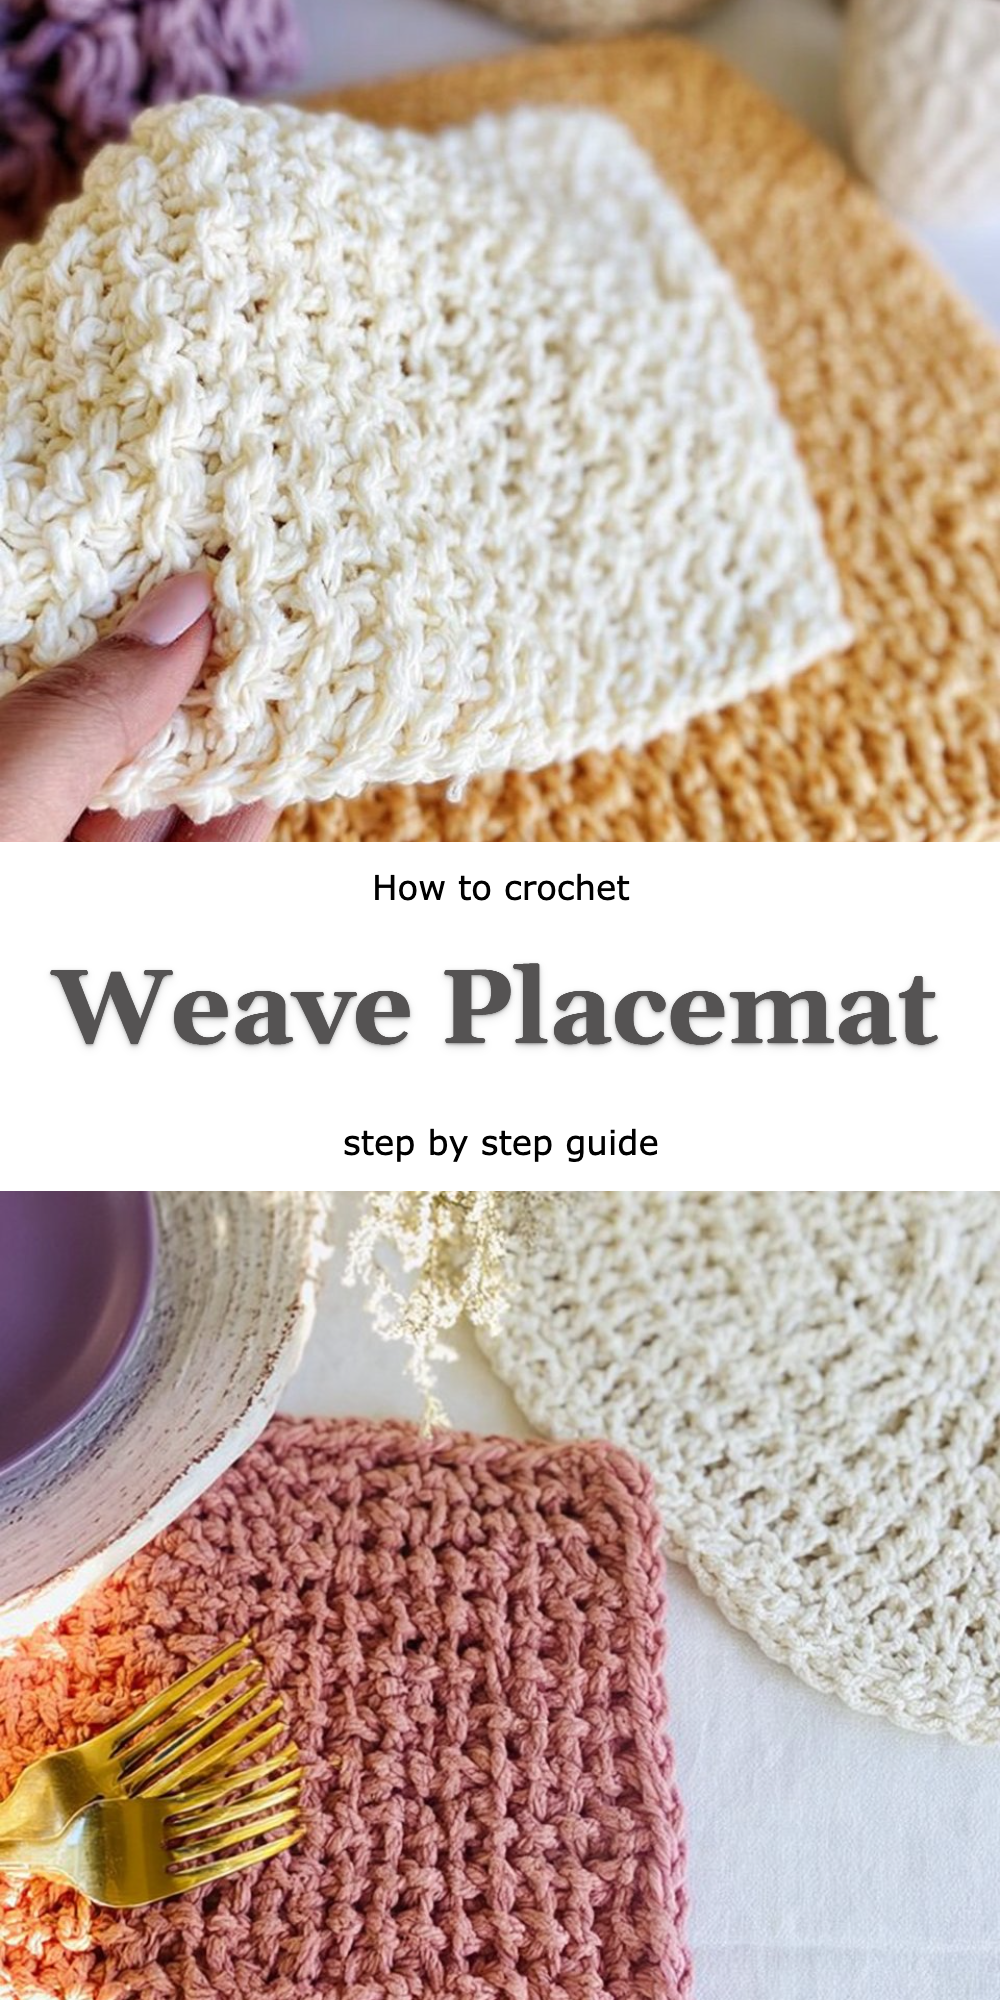
Creating a beautiful crocheted Honey Weave Placemat can transform your dining experience, enveloping your meal with warmth and charm. Unlike standard versions, this placemat features a unique texture and intricate pattern that enhances not only the aesthetic of your table but also the tactile experience of your dining moments. This free pattern guides you through each step, ensuring it’s approachable even for those new to crochet.
When I first began crocheting, I often stuck to basic patterns, but my heart yearned for something more expressive. The Honey Weave Placemat became my first adventurous project, combining creativity with functionality. In this article, I’ll share the techniques I’ve learned to add personality to your crochet work with this delightful project.
Why Honey Weave Feels Different
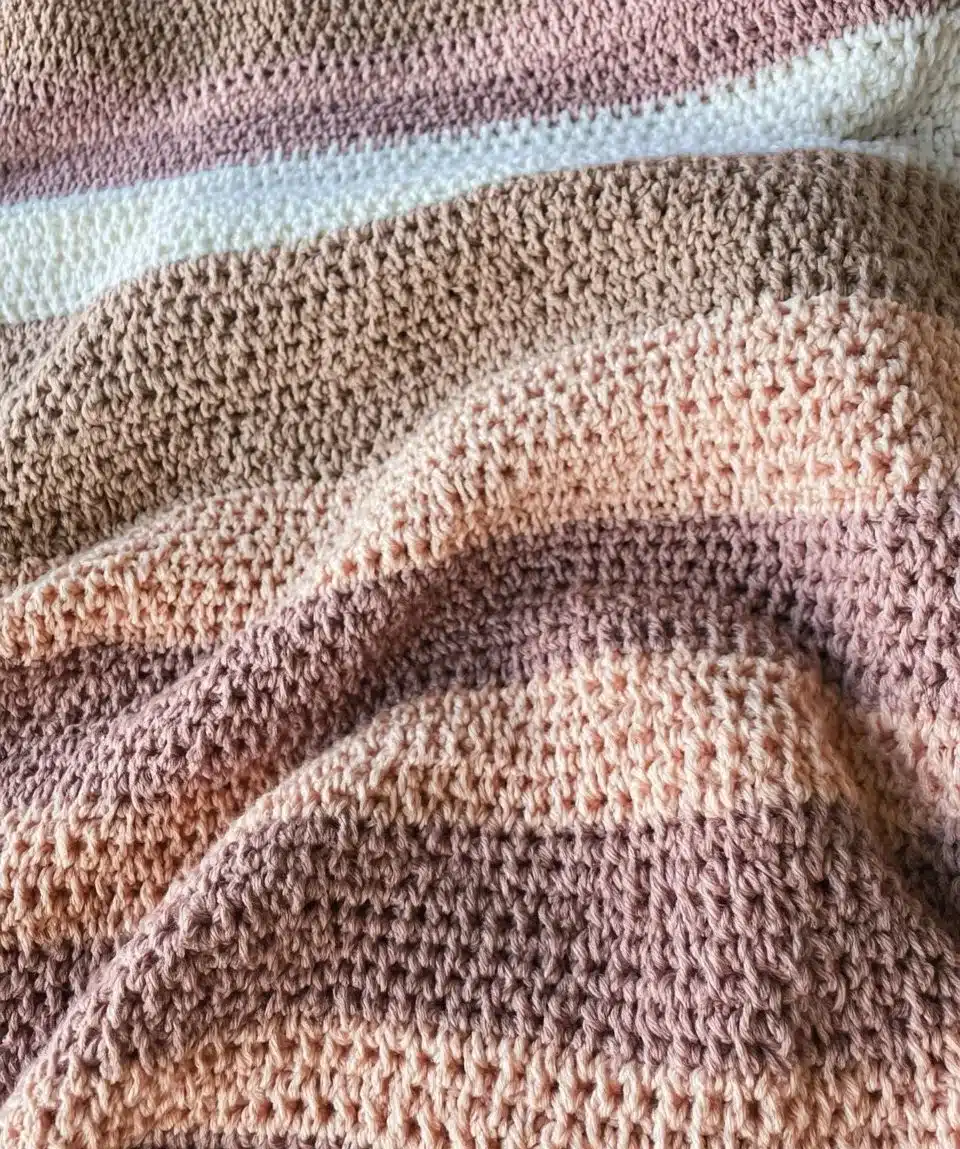
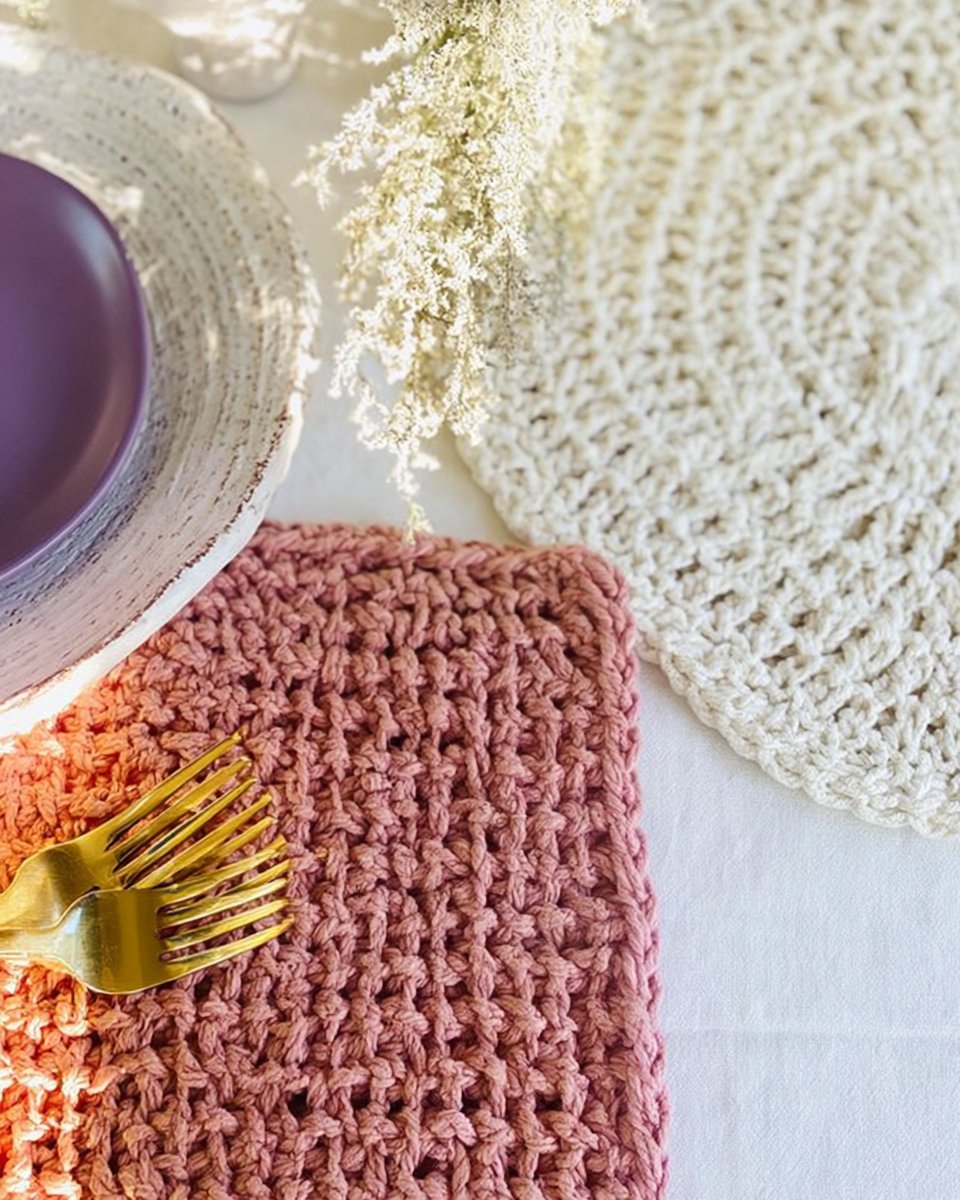
The Honey Weave technique presents a rich depth that contrasts sharply with the smooth texture of standard placemats. This added texture, inspired by natural motifs, allows hands to appreciate the crochet at a whole new level.
What makes this variation worth trying:
- Textural Delight: The intricate weave enhances tactile interaction.
- Visual Appeal: Unique patterns can catch light beautifully, adding charm.
- Customizable: Easily adjust colors or yarn types for personalized decor.
- Practical Function: Perfect for protecting surfaces while elevating your home aesthetic.
What You’ll Need: Materials Table
Before you dive into this project, gather your supplies to ensure a seamless crafting experience. Here’s the list of materials you’ll need:
| Item | Recommended Type | Approximate Amount | |——————————|————————-|——————–| | Soft Cotton Blend Yarn | Any soft cotton blend | 2 skeins | | Crochet Hook Size H (5.0 mm) | Standard size H hook | 1 | | Sharp Fabric Scissors | Any good quality scissors| 1 | | Large-eye Tapestry Needle | Standard tapestry needle | 1 |
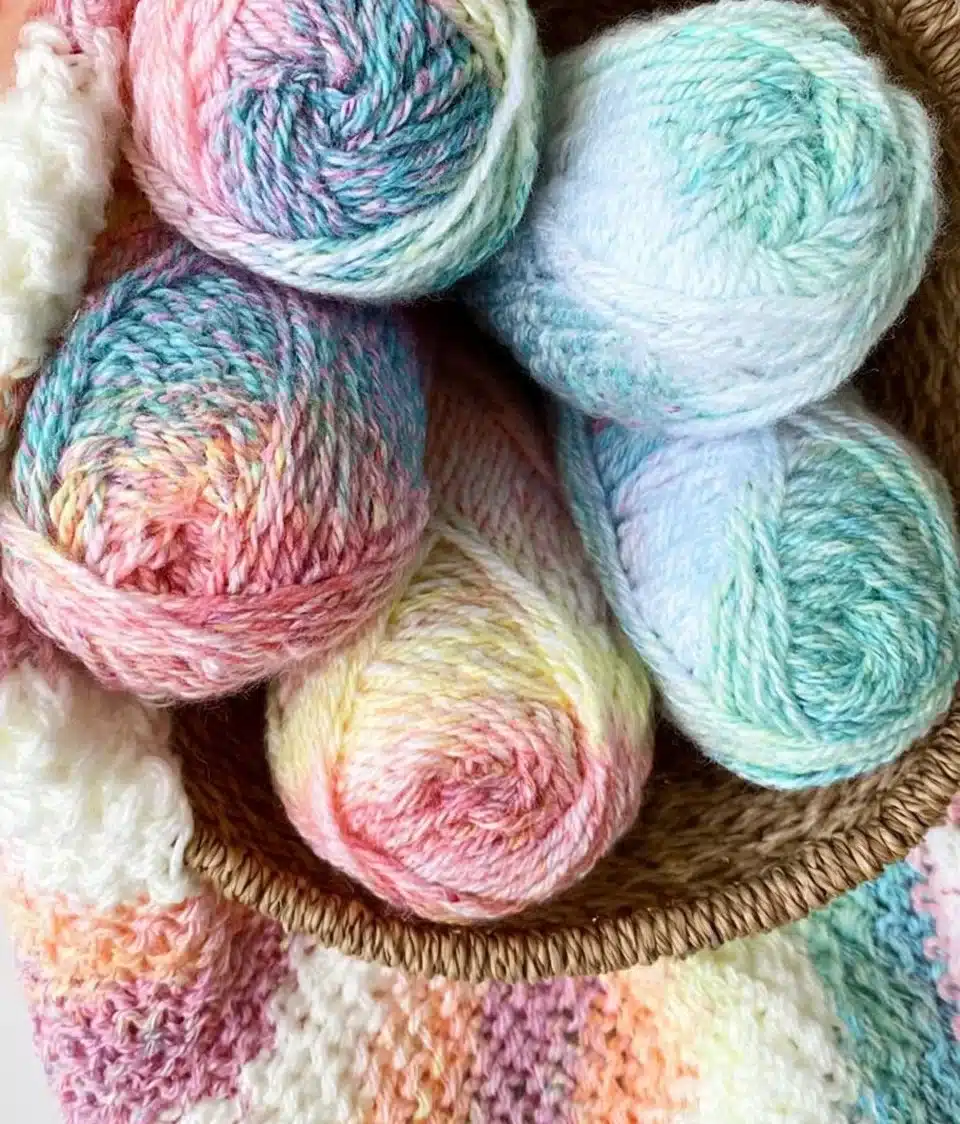
Feel free to experiment with different yarn types, such as wool versus acrylic, but be mindful that it will alter the final look and feel.
Sizing Guide
For the Honey Weave Placemat, a standard size is typically suitable for most dining needs. However, customization is key, so feel free to adjust your chains based on your table size.
| Size | Approx. Length | Approx. Width | |————|—————–|—————–| | Small | 12 inches | 18 inches | | Medium | 14 inches | 20 inches | | Large | 16 inches | 22 inches |
Remember to create a gauge swatch before starting, ensuring your work matches your desired dimensions.
Step-by-Step: How to Crochet the Honey Weave Placemat
Step 1: Start the Base
- Make a slip knot and place it on your hook.
- Chain a desired length for your placemat (I recommend starting with 40 chains for a medium size).
- Double crochet in the fourth chain from the hook.
- Continue double crocheting across the chain until the end.
Step 2: Crochet the Core Technique Section
- Turn your work.
- Chain 3 (this will count as your first double crochet).
- Double crochet in each stitch across the row.
- Introduce the crossover treble stitch where indicated, enhancing the visual complexity.
Step 3: Crochet the Shaping/Assembly Section
- Continue working rows until your placemat reaches the desired length.
- Finish the last row.
- Fasten off the yarn, leaving a tail for weaving.
- Prepare for the shell stitch border.
Step 4: Add the Finishing Touches
- Join a new color of yarn at any corner.
- Chain 2 to start the shell stitch.
- Create shell stitch by alternating between double crochets, skipping stitches as you go.
- Continue working the shell stitch around all edges.
- Weave in any loose ends with your tapestry needle for a neat finish.
Tips for Clean, Even Honey Weave
- Watch Your Tension: Keeping consistent tension leads to more uniform stitches.
- Track Your Stitches: Use stitch markers if necessary to help align your work.
- Practice Swatches: Before starting your placemat, practice on a small swatch.
- Maintain Alignment: Keep the height of your stitches consistent during double crochet and treble sections.
Common Mistakes to Avoid
- Inconsistent Tension — leads to uneven texture across your placemat.
- Incorrect Chain Count — can alter final dimensions, leading to a misfit.
- Skipping Steps — missing steps can throw off the entire pattern.
- Not Fastening Off Properly — can cause unraveling during future handling.
Frequently Asked Questions
What is the Honey Weave technique?
It is a crochet method that combines various stitches to create a textured look and feel, unlike standard, flat crochet.
What type of yarn should I use?
I recommend using a soft cotton blend for its flexibility and durability, giving your placemat a lovely drape.
Is this harder than standard crochet?
While it has its unique twists, the Honey Weave Placemat is accessible for those with basic crochet knowledge.
How much yarn will I need?
Typically, two skeins of soft cotton blend yarn will be sufficient for most sizes of the placemat.
Can I use this technique for other patterns?
Absolutely! Once you master the Honey Weave, feel free to incorporate it into other creative projects.
Conclusion
The Honey Weave Placemat offers not just a functional kitchen accessory, but a canvas for creativity and warmth in your home. This project is a beautiful reminder that even the simplest of items can carry personal touch and beauty, making it worth your time and effort. I encourage you to dive into this crochet adventure, and when you’re done, share your finished placemats with our vibrant crochet community. Happy crocheting!