Nesting Basket
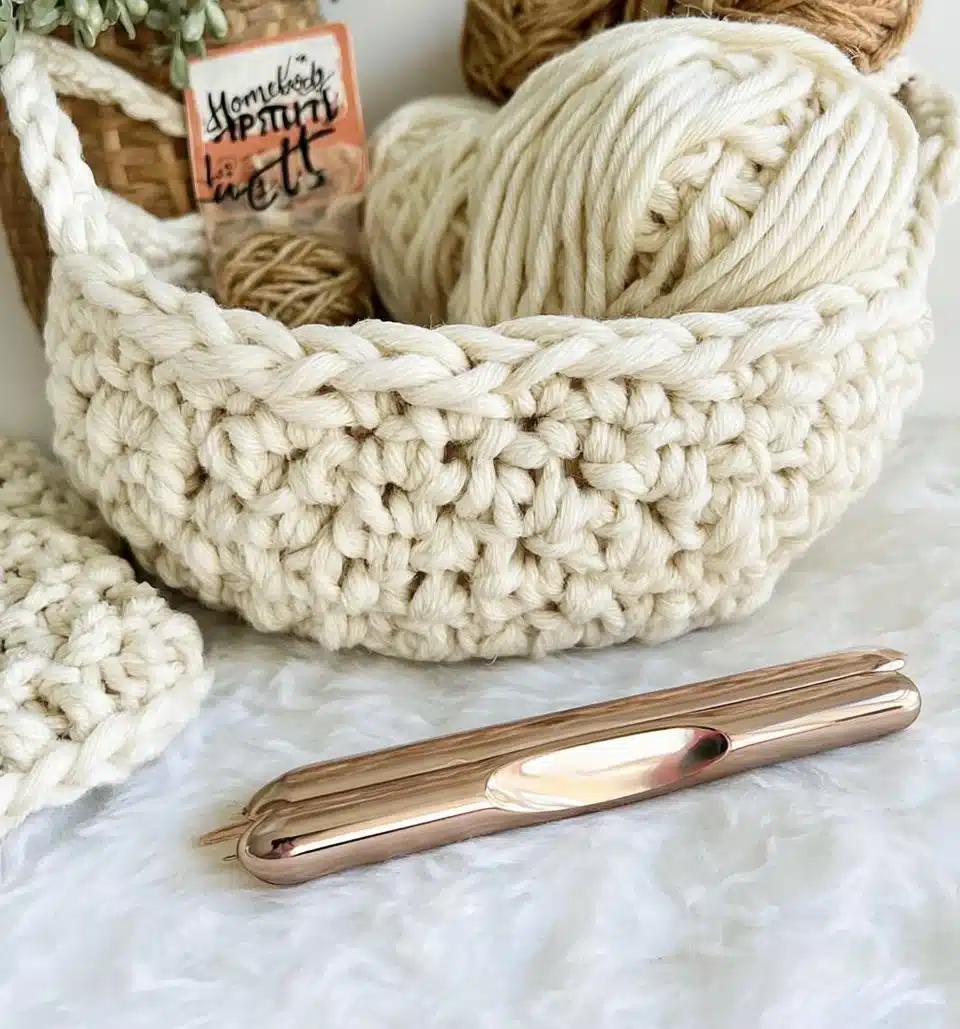
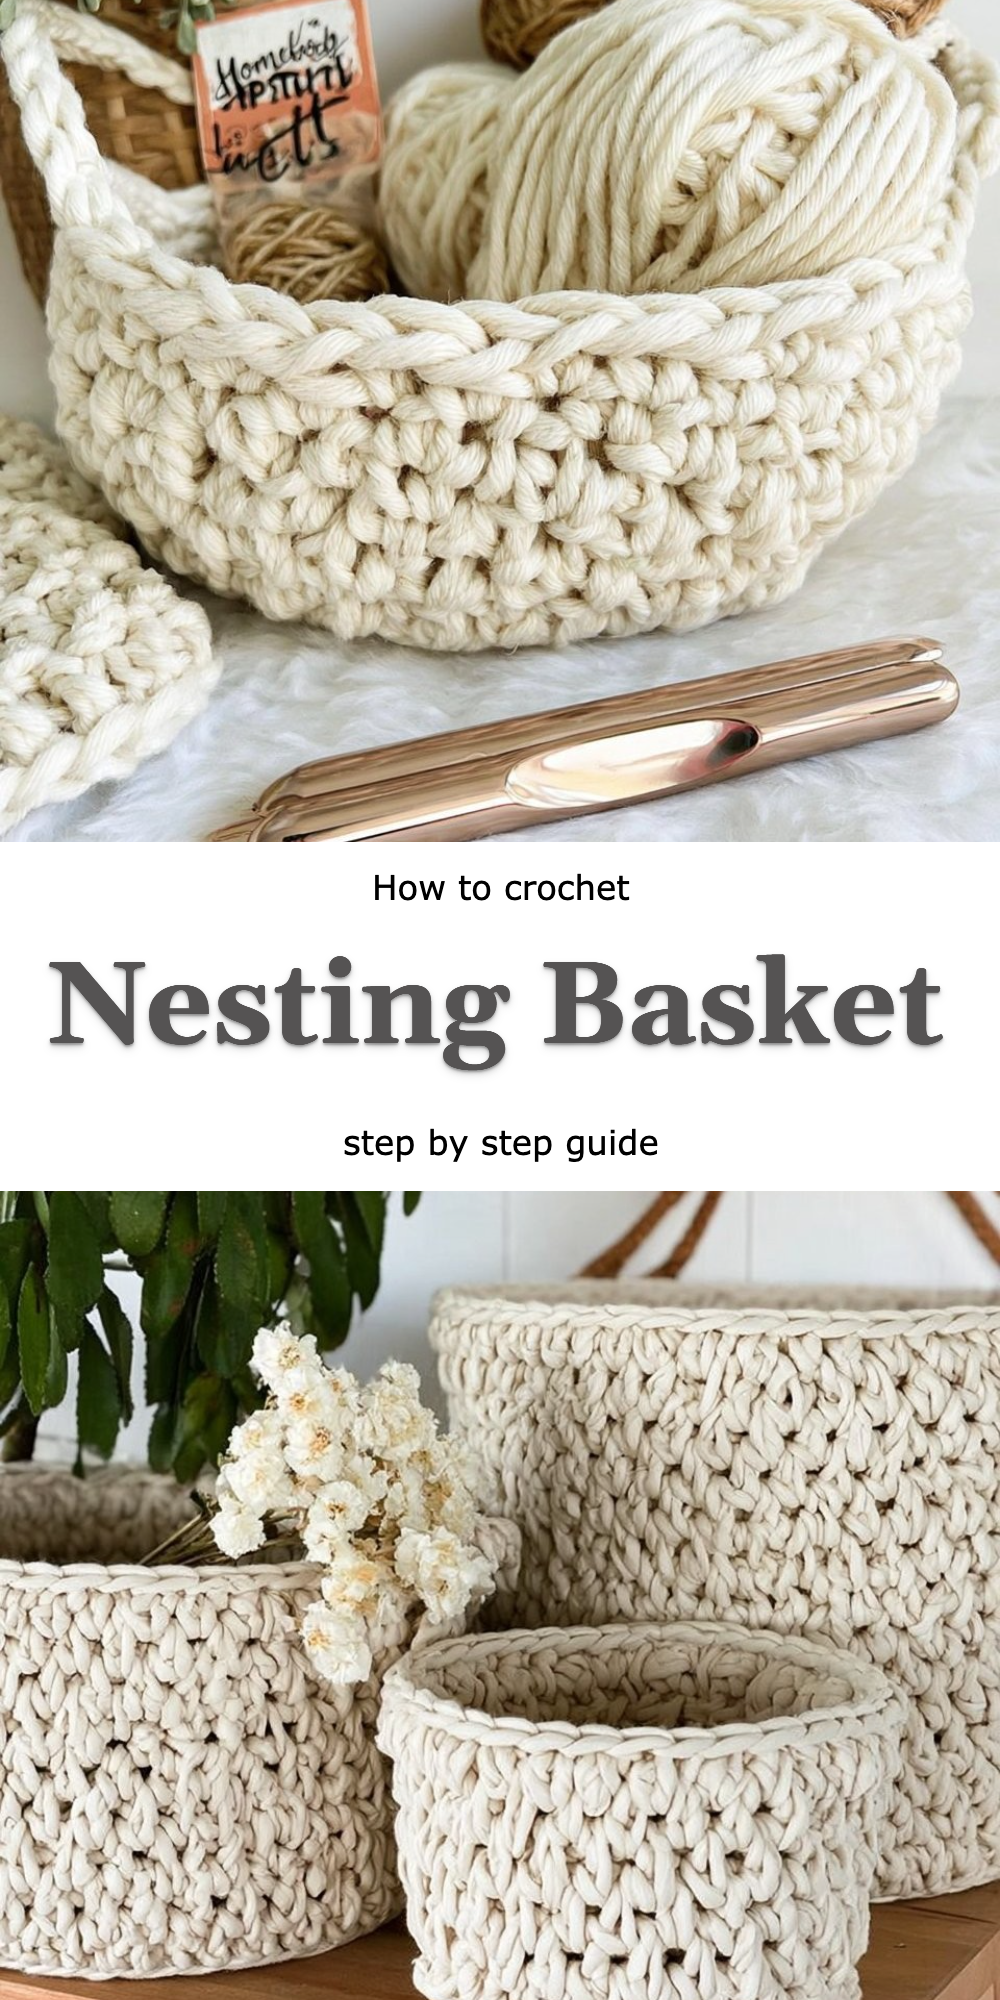
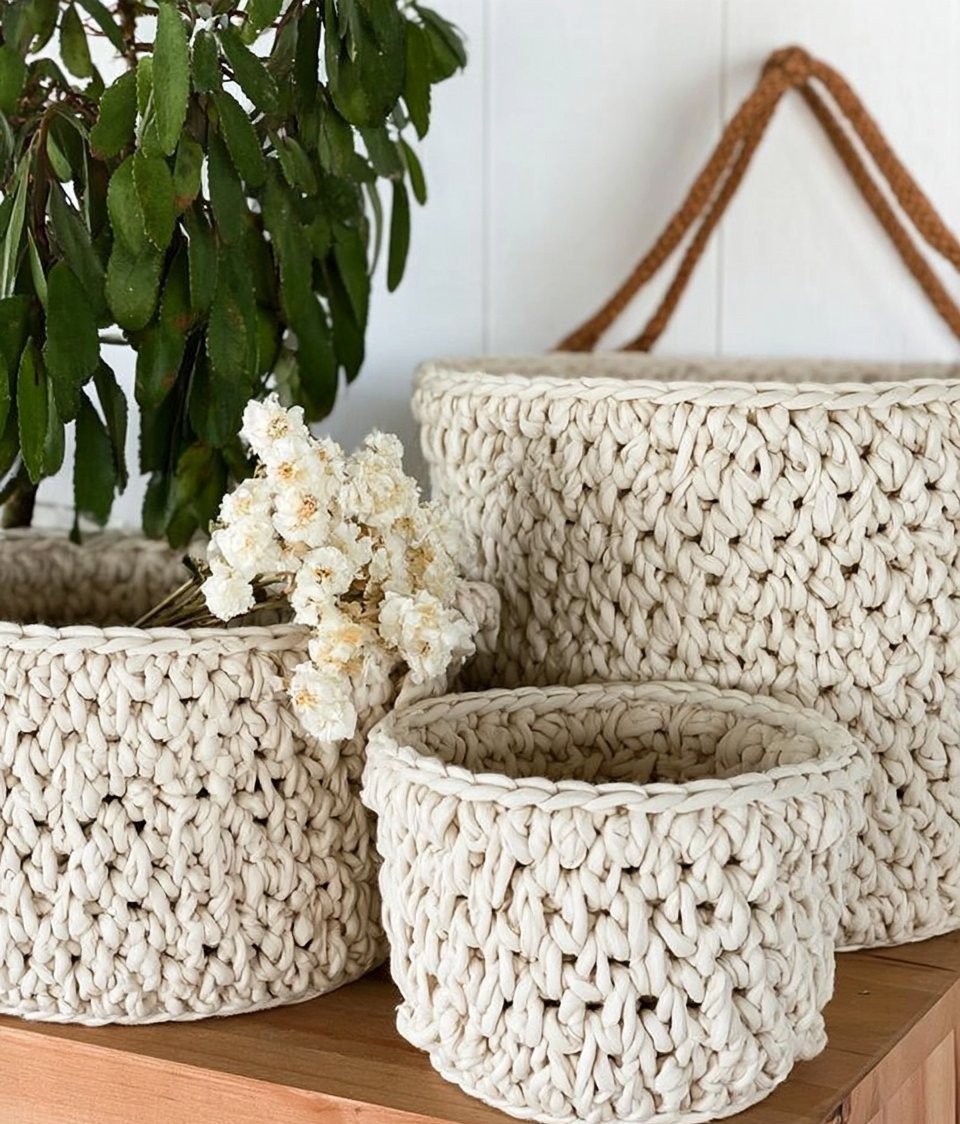
Creating a cozy atmosphere at home often involves little touches that add warmth and functionality. One of my favorite ways to achieve this is by making lovely crochet baskets, particularly the Homebody Crochet Nesting Basket Pattern. This charming design stands out from standard versions thanks to its intricate Alpine stitches and the use of a cotton blend yarn that feels soft yet sturdy. Not only does it offer a unique texture, but it also provides a visually stunning addition to your space.
This free pattern is approachable for anyone, even if you’re new to crochet. I’m excited to walk you through the technique step-by-step, so you can create your very own Homebody Crochet Nesting Basket, perfect for tidying up small items around the house or as an eye-catching décor piece.
Why the Homebody Crochet Nesting Basket Feels Different
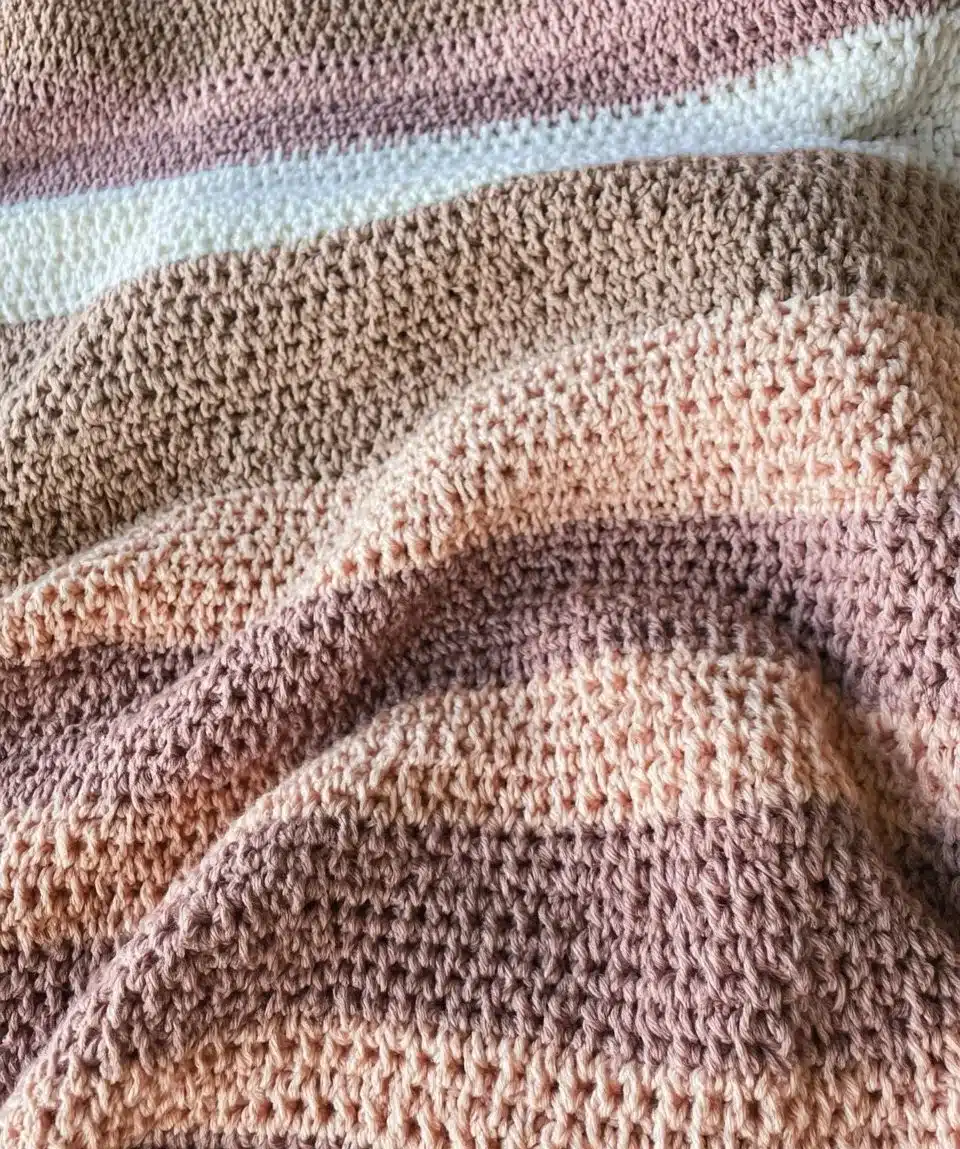
The Homebody Crochet Nesting Basket Pattern incorporates the Alpine stitch, which changes the feel and look of your basket compared to a standard double crochet. The result is a beautifully textured fabric that’s pleasing to the touch and gives depth to your work.
What makes this variation worth trying:
- Unique Texture: The Alpine stitch creates a tactile quality that intrigues the senses.
- Visual Depth: Adds a lovely dimensional look, making it a standout piece.
- Versatile Size: You can easily adjust the base chains to create different sizes for various uses.
- Functional Style: Perfect for organizing or as an eye-catching decorative element.
What You’ll Need: Materials Table
Before diving into your crochet project, gather your supplies. Here’s a handy table for what you’ll need:
| Item | Recommended Type | Approximate Amount |
|—————————|———————————-|————————|
| Worsted weight cotton blend yarn | Soft and durable yarn choice | 200 – 300 yards |
| Crochet hook | Size H-8 or 5mm | 1 unit |
| Standard fabric scissors | Sharp and precise | 1 pair |
| Flexible measuring tape | For measurements | 1 unit |
Feel free to substitute with materials like wool or acrylic, but keep in mind how each will affect the final look and feel of your basket.
Sizing Guide
For this pattern, you can easily adjust the sizing to match your needs. Just remember that the size of your initial chain will determine the base of your basket. Use the table below as a guide for different sizes:
| Size | Base Chains | Height |
|—————|————-|——————-|
| Small | 22 | 6 inches |
| Medium | 26 | 8 inches |
| Large | 30 | 10 inches |
Tip: It’s always a good idea to swatch and check your gauge for the best results, especially when adjusting sizes!
Step-by-Step: How to Crochet the Homebody Crochet Nesting Basket Pattern
Let’s dive into the details of crocheting the Homebody Crochet Nesting Basket! Follow this step-by-step guide for complete clarity.
Step 1: Start the Base
- Create a slip knot with your yarn.
- Chain 22 to 30 stitches to form the base of your basket, based on desired size.
- Join the last chain to the first with a slip stitch to create a ring.
Step 2: Crochet the Core Technique Section
- Chain 2 for the first round.
- Double Crochet in the same stitch.
- Yarn Over, insert hook into the next stitch, pull up a loop (3 loops on the hook).
- Yarn Over and pull through the first two loops.
- Yarn Over again and pull through the remaining two loops.
- Repeat the process for each stitch around.
- Join with a slip stitch to the top of the first double crochet.
Step 3: Crochet the Shaping Section
- Chain 2 for the next round.
- Work the Alpine stitch into each stitch around.
Step 4: Add the Finishing Touches
- Continue crocheting rounds until the desired height (typically 6 to 10 inches) is achieved.
- Finish Off by weaving in loose ends with a tapestry needle.
- Consider adding embellishments or handles.
- Maintain tension for consistent stitches.
- Track your rounds to keep your basket shape even.
Tips for Clean, Even Crochet
- Keep Tension Consistent: Maintaining the same tension will ensure an even look throughout your project.
- Track Your Rounds: Note your rounds to avoid any accidental increases or decreases.
- Practice a Swatch: It’s always wise to crochet a swatch to analyze your stitch tension before starting the main project.
- Align Stitches: Ensure that your stitches are aligned for a polished finish.
Common Mistakes to Avoid
- Crocheting Too Tight — causes fabric to become stiff and less flexible.
- Forgetting to Join — results in a twist in your basket.
- Neglecting Tension — leads to uneven stitches and an inconsistent appearance.
- Ignoring Gauge — may result in an incorrect size for your intended use.
Frequently Asked Questions
What is the Alpine stitch?
The Alpine stitch consists of a double crochet, followed by a unique technique involving skipping stitches to create texture; it provides a lovely 3D appearance.
What type of yarn is best?
I recommend using a worsted weight cotton blend for maximum comfort and durability, but acrylic can work too for a lighter feel.
Is this pattern more difficult than standard baskets?
While the Alpine stitch adds complexity, it’s still beginner-friendly with this detailed guide.
How much yarn do I need?
You’ll need approximately 200 to 300 yards depending on the size of the basket you are creating.
Can I apply this technique to other patterns?
Absolutely! The Alpine stitch can enhance many crochet projects, adding unique texture and style.
Conclusion
The Homebody Crochet Nesting Basket Pattern is a delightful way to combine functionality with aesthetic appeal. Its unique stitches and cozy vibes make it a project worth undertaking. I encourage you to grab your yarn and start crafting! Don’t forget to share your finished creations with the community; it’s inspiring to see how our projects can bring joy and organization to our lives.