Santa Penguin
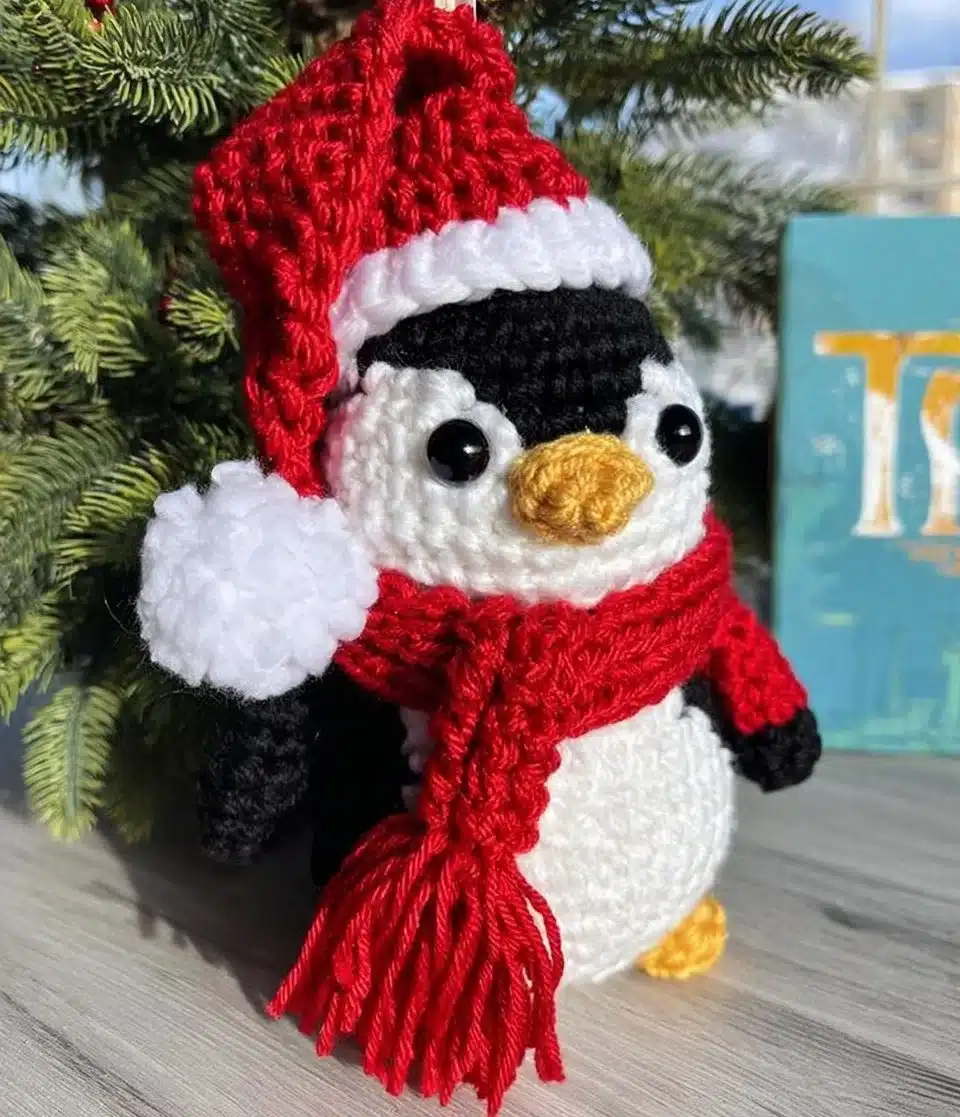
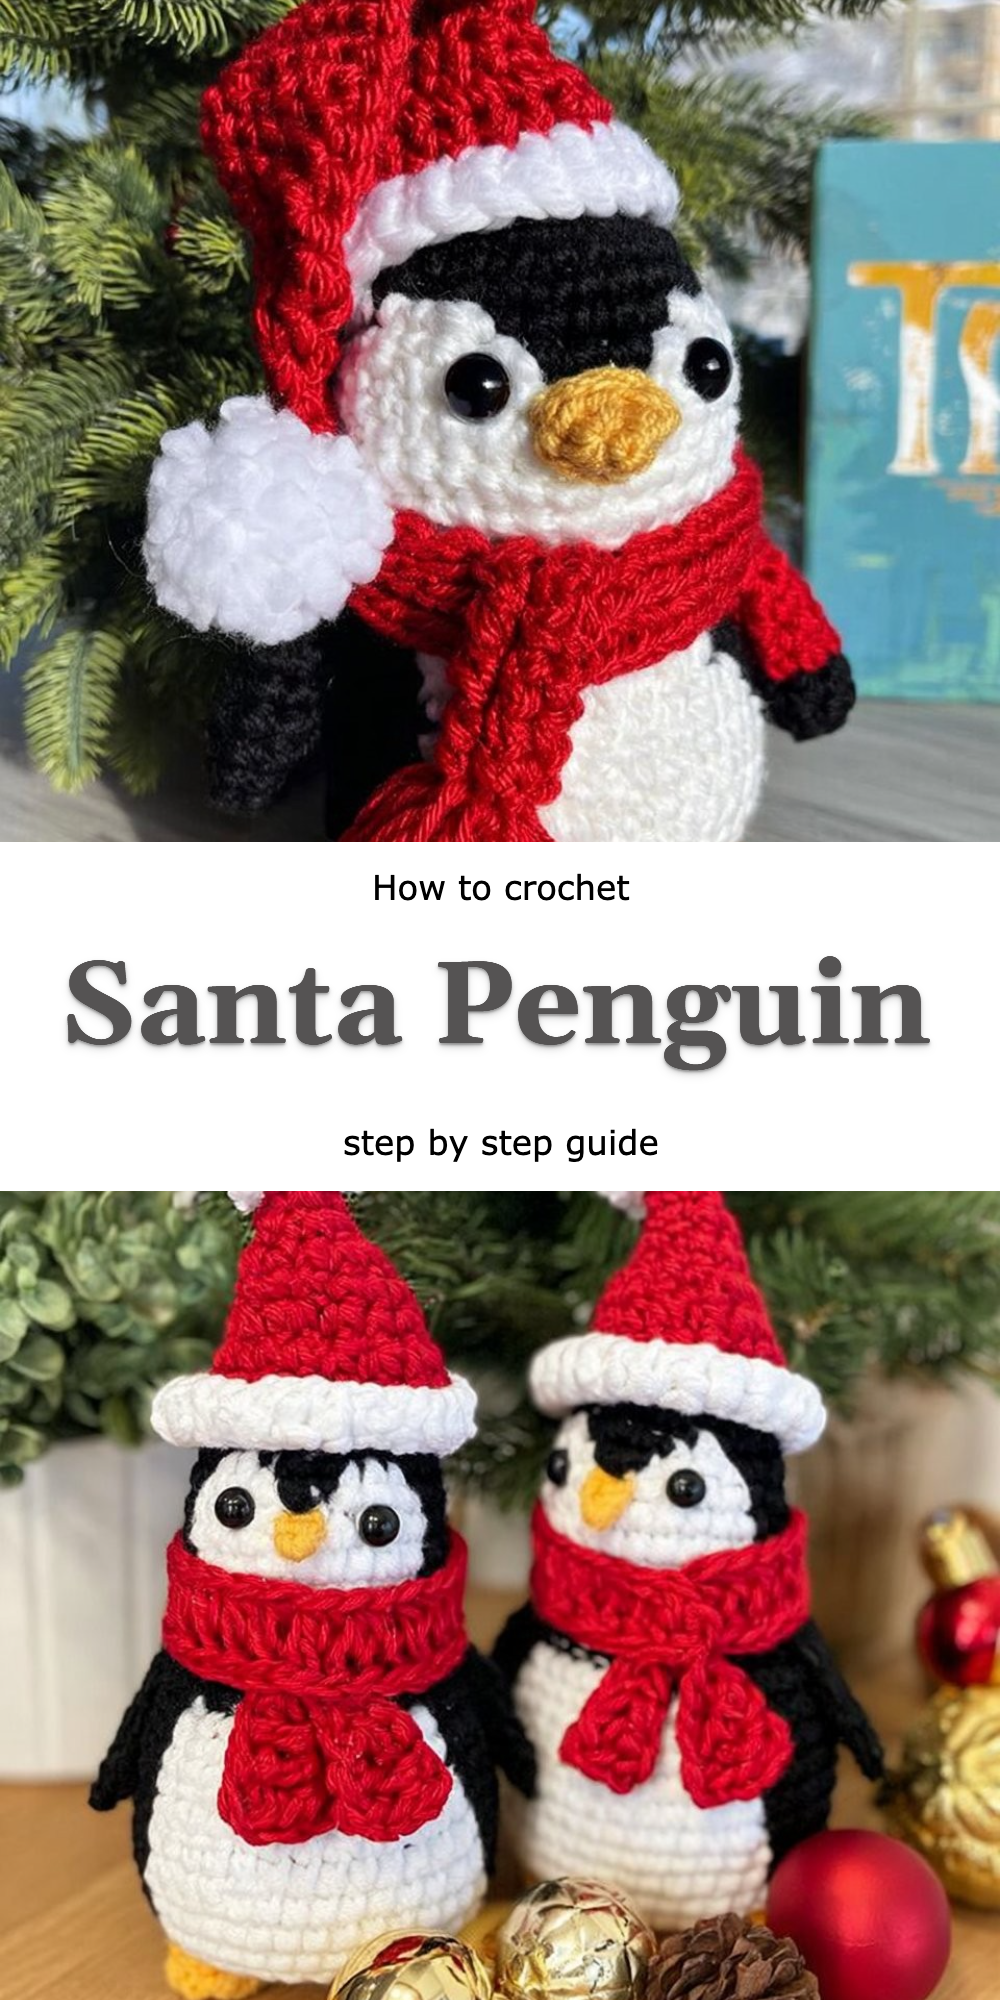
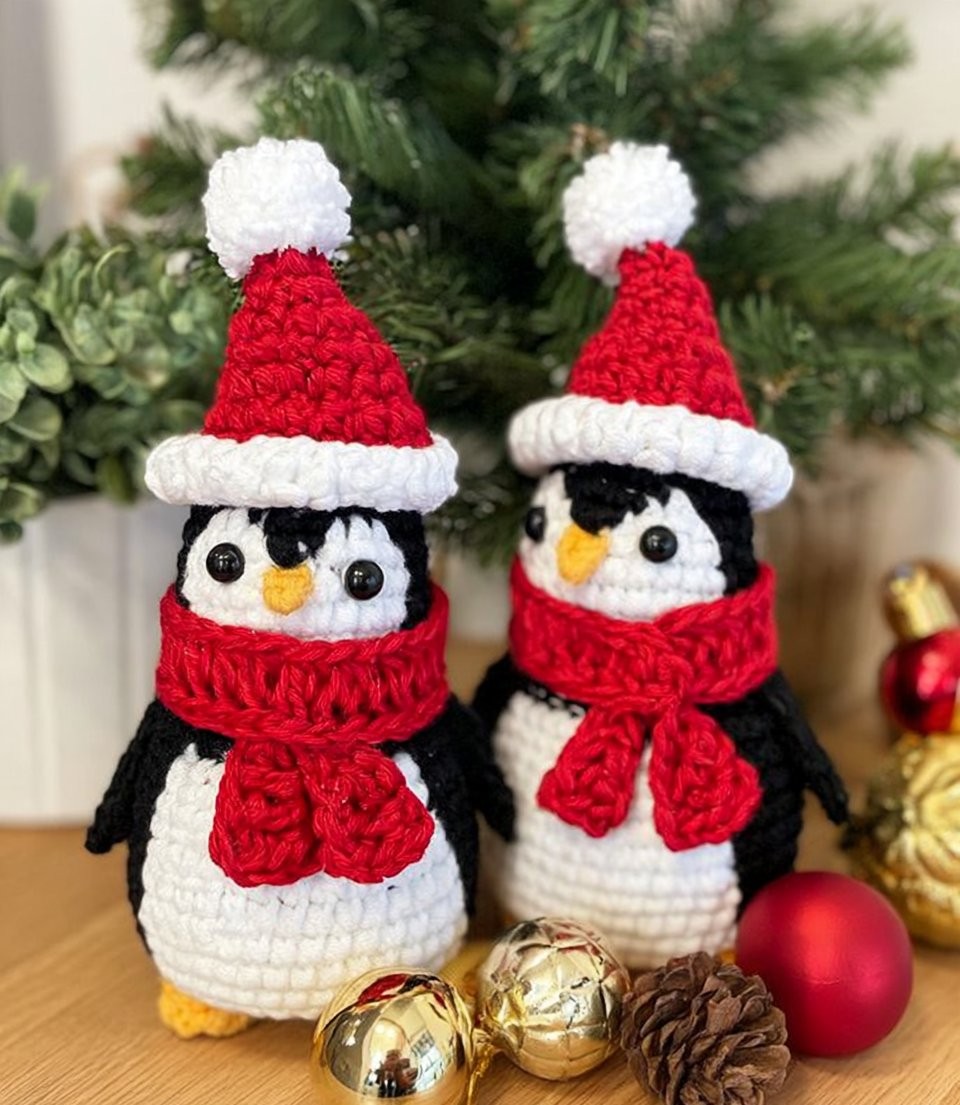
The holiday season always brings out my creative side, with crochet hooks and vibrant yarn swirling around me like magic. This year, I decided to craft a delightful twist on the classic crochet penguin — my Merry and Bright Santa Penguin Crochet Pattern! This cheerful little fellow is not just a standard penguin; he’s decked out in a festive Santa hat, ready to bring warmth and joy to your seasonal decor.
The Merry and Bright Santa Penguin Crochet Pattern is designed to be approachable even for newcomers to crochet, with clear, step-by-step instructions that guide you through every round and stitch. Whether you’re looking for a cherished homemade gift or a charming addition to your holiday displays, this pattern ensures your crafting journey is as joyful as the finished product.
Why the Merry and Bright Santa Penguin Crochet Pattern Feels Different
This version of the penguin features a unique integration of festive holiday elements, creating a whimsical character that stands out from the basic form. The combination of bulky yarn and thoughtful shaping excels in delivering a charming aesthetic and a soft, cuddly feel.
What makes this variation worth trying:
- Whimsical design that adds festive cheer to your decor.
- Satisfying texture due to the use of bulky yarn.
- Easy assembly with clear rounds that keep your progress visible.
- Versatile for gifting as it can be personalized with colors and embellishments.
What You’ll Need: Materials Table
Before diving into your crochet adventure, it’s essential to gather your supplies. Here’s what you’ll need:
| Item | Recommended Type | Approximate Amount |
|——————————-|——————————|——————–|
| Bulky yarn | Acrylic or wool | Approximately 200 yards |
| Crochet hook | Size 6.5 mm | 1 |
| Stuffing material | Fiberfill | As required |
| Yarn needle | Tapestry needle | 1 |
Consider substituting materials, like using wool instead of acrylic, to achieve different textures and warmth in your creation.
Sizing Guide
Though this pattern doesn’t have specific size variants, it can be modified to make your penguin larger or smaller by adjusting the number of body rounds. Remember to check your gauge to maintain a consistent fabric.
Step-by-Step: How to Crochet the Merry and Bright Santa Penguin Crochet Pattern
Step 1: Start the Body
- Chain 2.
- Join into a ring.
- Work 8 single crochet (sc) into the ring.
- Tighten the ring and slip stitch to the first sc.
- Chain 1 and work 2 sc in each stitch around (16).
- Join the round with a slip stitch.
Step 2: Crochet the Body Rounds
- Chain 1.
- Work 1 sc in the first stitch.
- Increase by adding 2 sc in the next stitch.
- Repeat around (24).
- Join the round.
- Repeat this pattern until reaching your desired height, making sure to sc into each stitch.
Step 3: Shape the Head
- Chain 1 and work 1 sc in each stitch around for 2 rounds.
- Decrease by crocheting two stitches together at the beginning of each round until the head is closed.
- Fasten off and leave a long tail for stitching.
Step 4: Crochet the Arms
- Chain 2 and make 6 sc in the first chain.
- Join the round, then work in continuous rounds.
- Alternate between 1 sc and 2 sc in the next stitch until the desired arm length is achieved.
- Fasten off and leave a long tail for attachment.
Step 5: Create the Santa Hat
- Chain 4 and join into a ring.
- Work 12 sc into the ring.
- Increase in every stitch until you reach your desired hat size.
- Fasten off and attach a fun pom-pom on top.
Step 6: Add the Finishing Touches
- Stuff your penguin with fiberfill material evenly.
- Sew the head onto the body securely.
- Attach the arms at desired positions.
- Position the Santa hat snugly on top of the head and secure it with stitches.
- Embellish with small buttons or fabric pieces to give your penguin even more character.
Tips for Clean, Even Work
- Maintain consistent tension by checking your grip regularly.
- Track your stitches to avoid losing count, especially in the body rounds.
- Practice with a swatch if unsure of gauge — it can save you from later adjustments.
- Keep stitches aligned to maintain a neat and tidy look.
Common Mistakes to Avoid
- Skipping stitches — this causes gaps or deformities.
- Overstuffing — leading to misshapen areas or holes.
- Ignoring gauge — results in size inconsistencies.
- Neglecting to weave in ends — can unravel your hard work.
Frequently Asked Questions
What is the technique of amigurumi?
Amigurumi is the craft of crocheting or knitting stuffed toys, focusing on creating 3D shapes and intricate designs.
Can I use any type of yarn?
While bulky yarn is recommended for this pattern, you could experiment with other weights. Just remember that it may affect the size and structure.
How does this pattern differ from a standard penguin?
The Merry and Bright Santa Penguin Crochet Pattern adds festive touches, like the Santa hat, giving it a unique holiday charm.
What’s the yardage needed?
Approximately 200 yards of bulky yarn will ensure you have enough material to complete your penguin.
Can this technique apply to other patterns?
Absolutely! The skills learned here can be used for various amigurumi projects, letting your creativity flow!
Conclusion
The Merry and Bright Santa Penguin Crochet Pattern is an enchanting project that weaves together the holiday spirit with the love of crafting. With charming details and cozy textures, this pattern not only creates a delightful penguin but also provides a pathway for you to explore your creativity this season.
I encourage you to embark on this joyful journey of crochet, and once your whimsical Santa Penguin is complete, please share your masterpiece with our crafting community. Let’s celebrate our creations together!