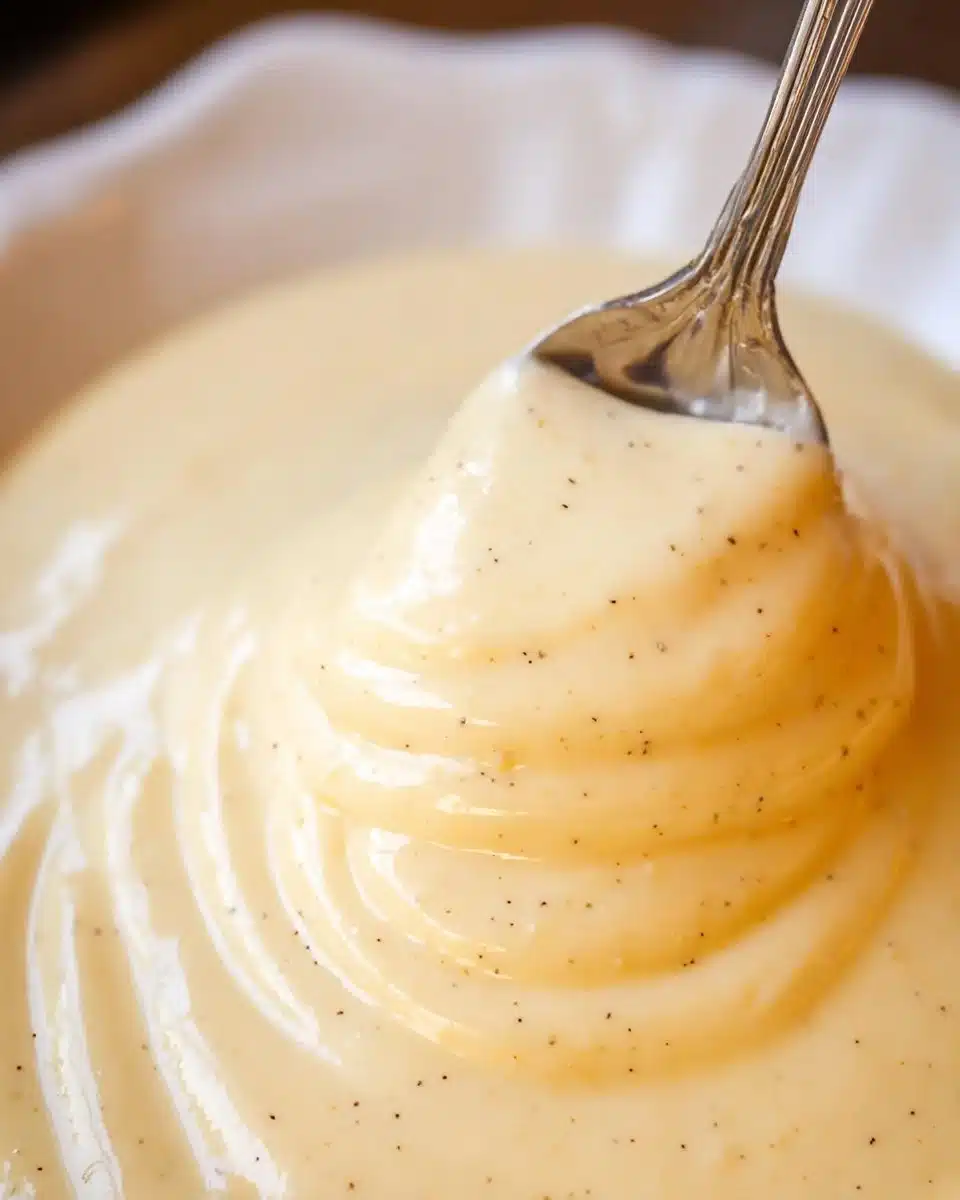
Vanilla Pudding
This post may contain affiliate links.
There’s something truly magical about the act of making Homemade Vanilla Pudding. The gentle stirring of ingredients, the sweet aroma wafting through the kitchen, and that moment when the pudding transforms from a simple mixture into a creamy, luscious delight all evoke a sense of nostalgia. Each spoonful reminds me of summer afternoons spent with my grandmother, who always had a way of making the simplest things feel special.
As the warmth of the stovetop fills the air around me, I often think back to those cherished moments, discovering the joy of cooking and sharing homemade treats with loved ones. Today, I’m excited to share my recipe for Homemade Vanilla Pudding—an easy, delicious dessert that brings comfort and happiness to any gathering.
A Closer Look at Homemade Vanilla Pudding
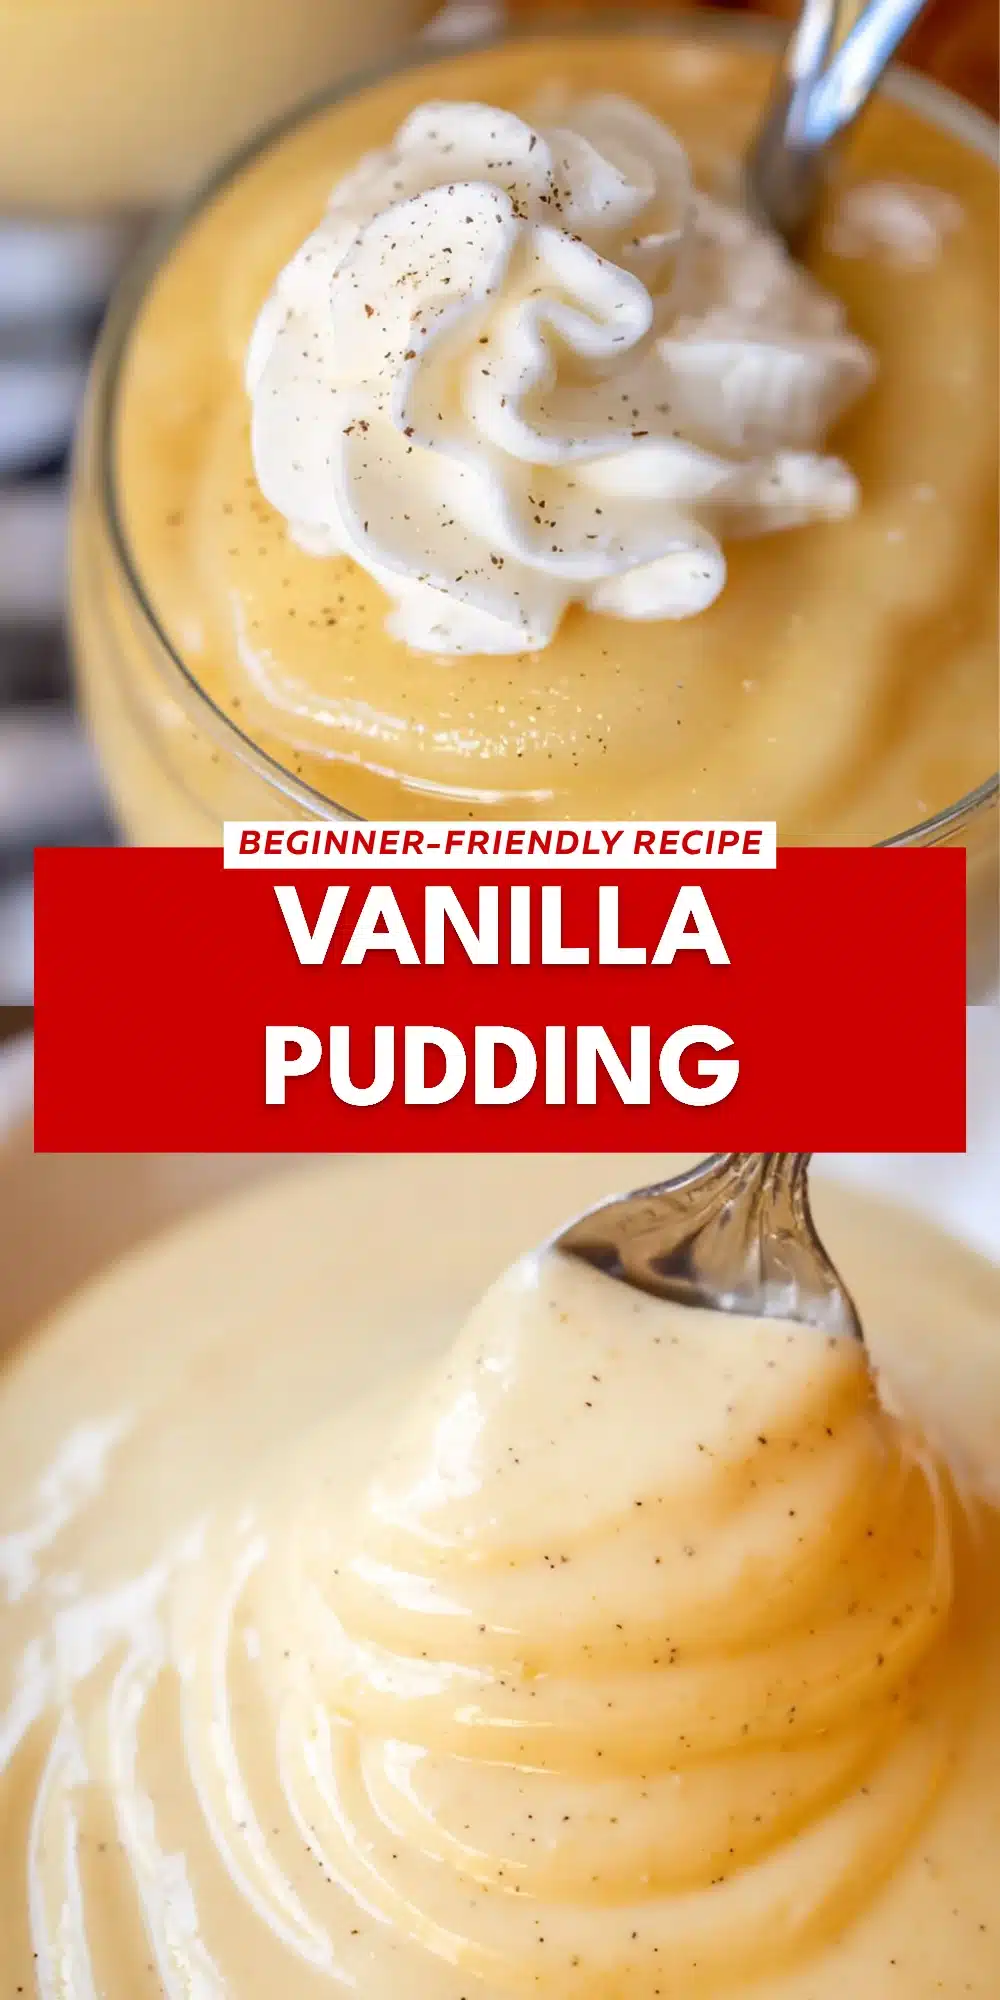
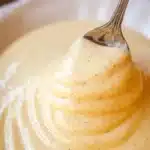
Homemade Vanilla Pudding is a classic dessert that transcends generations. Its roots can be traced back to traditional cooking practices when desserts were often made from scratch, unlike today’s fast-paced world. This creamy concoction has gracefully adapted over time, remaining a beloved staple in many households. Whether it’s served in elegant dinnerware or simply in a bowl, this pudding evokes feelings of warmth and nostalgia. One taste is enough to transport us back to those carefree childhood days.
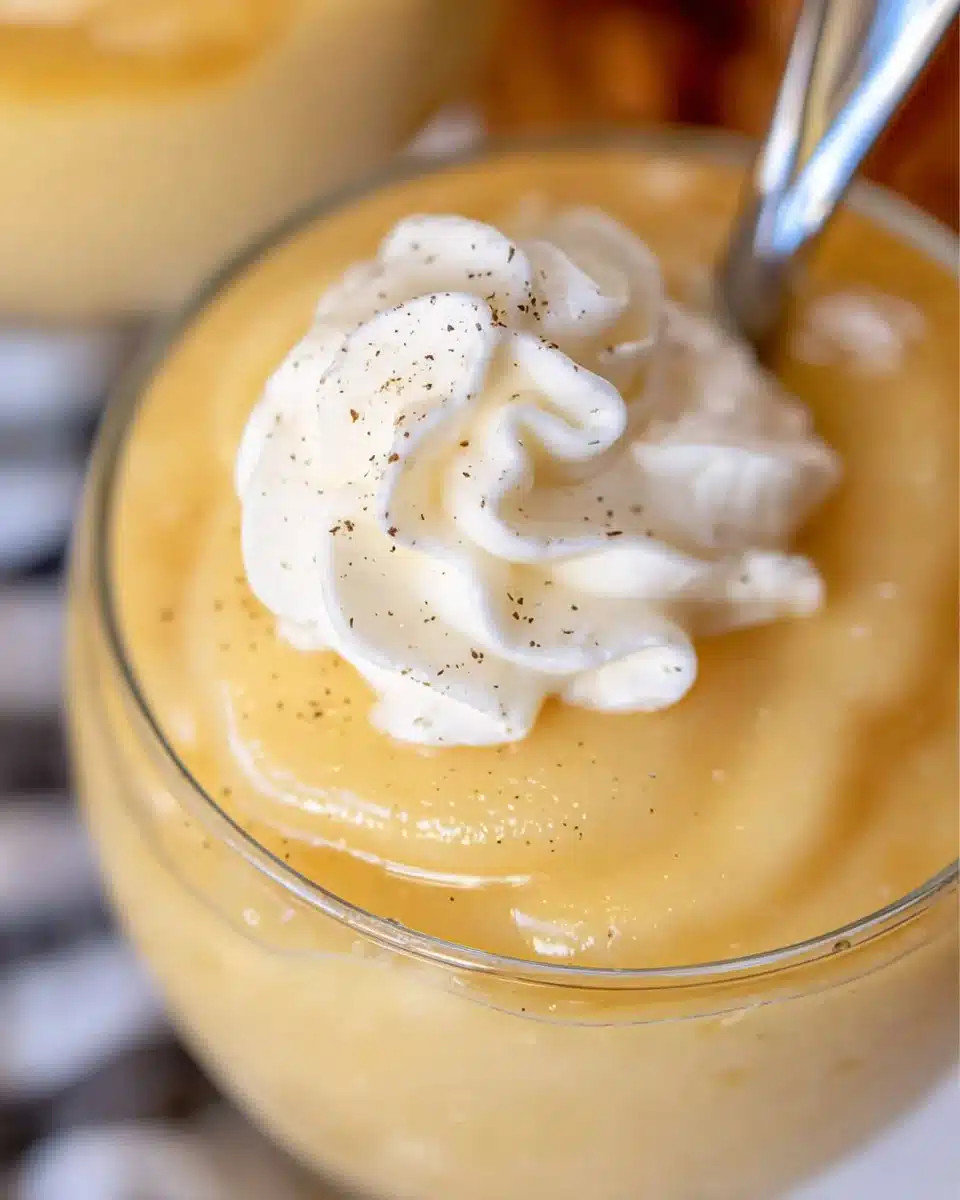
What makes this dessert even more special is its versatility. You can serve it plain, layer it with fresh fruit, or integrate it into trifles. From backyard barbecues to elegant dinner parties, Homemade Vanilla Pudding effortlessly fits into any occasion, making it a cherished dessert in many cultures.
Why You’ll Love This Homemade Vanilla Pudding
- Flavorful and creamy: The rich taste of whole milk combined with pure vanilla extract creates a smooth, velvety texture that melts in your mouth.
- Easily customizable: Dress it up with your favorite toppings like berries, whipped cream, or even a drizzle of chocolate.
- Quick and simple: With just a few pantry staples and 30 minutes of your time, you can whip up this comforting dessert.
- Perfect for all ages: From kids to adults, everyone loves a bowl of creamy pudding. It’s a nostalgic treat that appeals to our sweet tooth.
Perfect Moments to Enjoy Homemade Vanilla Pudding
- Weeknight dessert: Treat your family to a special dessert after a long day.
- Celebrations: Birthdays, anniversaries, or just because—this pudding adds sweetness to any occasion.
- Cozy nights: Curl up on the couch with a warm blanket, a book, and a generous bowl of pudding.
- Picnics or potlucks: Serve it in individual cups for a delightful romantic touch.
How to Make the Perfect Homemade Vanilla Pudding
Making Homemade Vanilla Pudding is a simple process that doesn’t require advanced skills, making it accessible for everyone. Gather your ingredients and let’s create something delightful!
Ingredients
- 2 ¾ cups whole milk
- ¾ cup granulated sugar
- ¼ cup cornstarch
- ¼ teaspoon salt
- 2 tablespoons unsalted butter
- 2 teaspoons pure vanilla extract
Step-by-Step Instructions
- Whisk together the sugar, cornstarch, and salt in a medium saucepan.
- Gradually add the milk while continually whisking to create a smooth mixture.
- Place the saucepan over medium heat.
- Cook the mixture while continuously stirring until it thickens and begins to bubble, approximately 8-10 minutes.
- Remove the saucepan from heat.
- Stir in the butter and vanilla extract until fully incorporated.
- Pour the pudding into serving dishes or a large bowl.
- Cover with plastic wrap, making sure it touches the surface of the pudding to prevent a skin from forming.
- Chill in the refrigerator for at least two hours before serving.
For People with Diabetes: Sugar Substitutes
If you’re looking for sugar-free alternatives, consider using options like stevia, monk fruit, or allulose. These substitutes can help create a delicious version without compromising taste. Just be cautious and avoid using honey or maple syrup, as they contain sugars.
Essential Tools for Homemade Vanilla Pudding
- Medium saucepan
- Whisk
- Measuring cups and spoons
- Serving dishes or bowls
- Plastic wrap
Expert Cooking Tips
- Use high-quality vanilla extract for the best flavor.
- Stir continuously while cooking to avoid lumps and ensure a smooth pudding.
- Taste right before chilling—you can adjust sweetness at this stage by adding a little more sugar if desired.
How to Store & Reheat Homemade Vanilla Pudding
- Refrigerator: Store covered in the fridge for up to 3 days. Make sure it’s tightly sealed to keep its creamy texture.
- Freezer: If you have leftovers, you can freeze the pudding. Store in an airtight container for up to 2 months. Thaw it overnight in the refrigerator.
- Reheat: To warm up, gently microwave at low power, stirring often to prevent scorching.
Common Mistakes to Avoid
- Forgetting to whisk continuously: This can lead to a lumpy texture.
- Using low-fat milk: Whole milk offers the best creaminess and flavor; non-dairy milks can also work but will affect the texture.
- Chilling without proper covering: Leave no room for air between the plastic wrap and pudding surface to avoid a skin.
Frequently Asked Questions: Homemade Vanilla Pudding
- Can I make this pudding in advance? Yes, you can make Homemade Vanilla Pudding a day ahead and store it in the refrigerator.
- Is this recipe gluten-free? Yes, this Homemade Vanilla Pudding is gluten-free, as it doesn’t contain any flour or gluten ingredients.
- Can I use almond milk instead of whole milk? It depends. Almond milk can be used, but the texture may not be as rich as with whole milk.
- Can I serve this with fruit? Yes, fresh fruit pairs beautifully with Homemade Vanilla Pudding!
- How long does it last? Store in the fridge for up to 3 days for the best flavor and texture.
Wrapping Up: The Joy of Homemade Vanilla Pudding
In a world full of complex desserts, sometimes the simplest pleasures bring the most joy. Homemade Vanilla Pudding is one of those timeless treasures that deserves a spot on your table. I would love to hear your thoughts! Have you tried this recipe or added your unique twist? Comment below or share with friends who would enjoy it, too!
Homemade Vanilla Pudding
- Total Time: 120 minutes
- Yield: 4 servings 1x
- Diet: Vegetarian
Description
A classic, creamy dessert that brings comfort and nostalgia, perfect for any occasion.
Ingredients
- 2 ¾ cups whole milk
- ¾ cup granulated sugar
- ¼ cup cornstarch
- ¼ teaspoon salt
- 2 tablespoons unsalted butter
- 2 teaspoons pure vanilla extract
Instructions
- Whisk together the sugar, cornstarch, and salt in a medium saucepan.
- Gradually add the milk while continually whisking to create a smooth mixture.
- Place the saucepan over medium heat.
- Cook the mixture while continuously stirring until it thickens and begins to bubble, approximately 8-10 minutes.
- Remove the saucepan from heat.
- Stir in the butter and vanilla extract until fully incorporated.
- Pour the pudding into serving dishes or a large bowl.
- Cover with plastic wrap, making sure it touches the surface of the pudding to prevent a skin from forming.
- Chill in the refrigerator for at least two hours before serving.


Notes
Use high-quality vanilla extract for the best flavor and stir continuously to avoid lumps.
- Prep Time: 10 minutes
- Cook Time: 10 minutes
- Category: Dessert
- Method: Stovetop
- Cuisine: American
Nutrition
- Serving Size: 1 serving
- Calories: 220
- Sugar: 28g
- Sodium: 100mg
- Fat: 7g
- Saturated Fat: 4g
- Unsaturated Fat: 3g
- Trans Fat: 0g
- Carbohydrates: 34g
- Fiber: 0g
- Protein: 4g
- Cholesterol: 20mg