Red Velvet Cupcakes
This post may contain affiliate links.
There’s something truly magical about Red Velvet Cupcakes—those striking, crimson treats that effortlessly steal the spotlight at any gathering. I have fond memories of my first encounter with them, a whimsical dessert at a friend’s birthday party, adorned with luscious cream cheese frosting. The soft, fluffy texture and the rich, unique flavor kept me coming back for more. It was love at first bite!
As I began my journey into baking, these cupcakes became a staple in my kitchen. Their vibrant color and delightful taste always bring joy and excitement. Whether it’s for a birthday party, a cozy gathering, or just to indulge myself on a quiet evening, these cupcakes never fail to excite my senses. Let me take you on a flavorful ride as we explore the magic of Red Velvet Cupcakes together.
Exploring the Roots of Red Velvet Cupcakes
Red Velvet Cupcakes are more than just a delicious dessert; they carry a rich history intertwined with Southern charm and culinary traditions. Originating in the American South, this beloved recipe has evolved over the years, reflecting the innovation and flair of home cooks. Often associated with special celebrations, the deep red color symbolizes warmth, love, and hospitality—qualities that resonate deeply with anyone who’s ever baked or shared these treats.
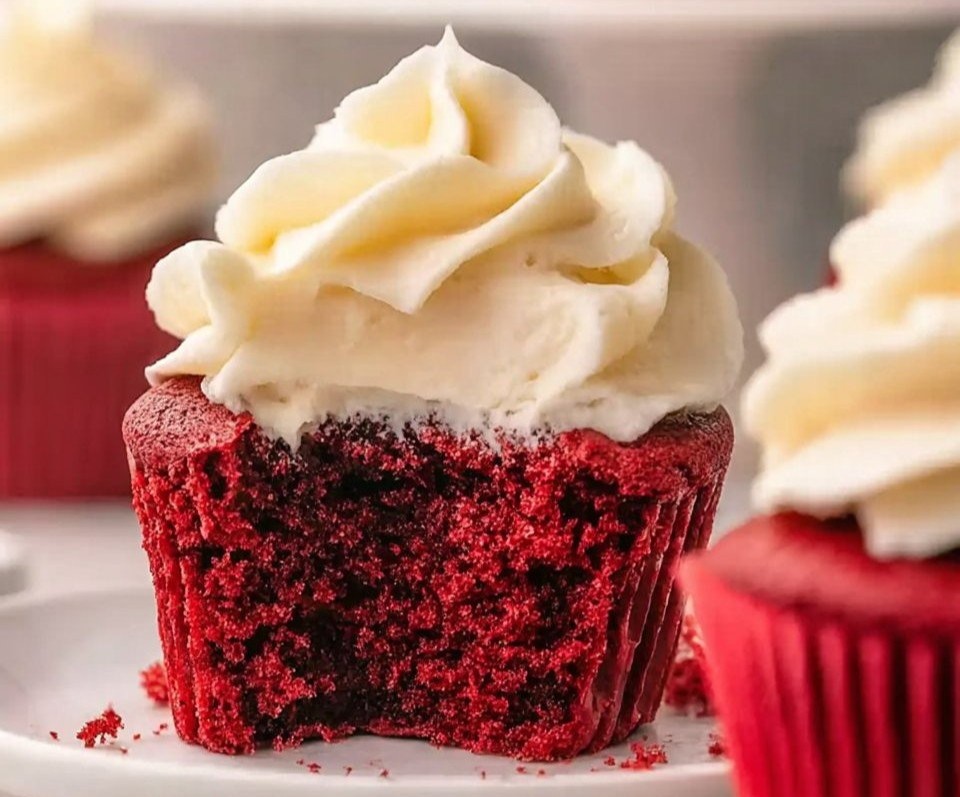
The unique flavor profile of Red Velvet Cupcakes is a delightful combination of hints of cocoa, tangy buttermilk, and a luxurious moisture that makes them irresistible. They’re often served with a luscious cream cheese frosting, which adds the perfect tang to balance out the sweetness. It’s this beautiful juxtaposition of flavors and colors that has made these cupcakes a sought-after treat across cultures and generations.
Why You’ll Love This Red Velvet Cupcakes
- Flavor Heaven: With a delicate balance of sweetness and a hint of cocoa, these cupcakes are a true delight for your taste buds.
- Easy to Make: This recipe doesn’t require any fancy techniques, making it perfect for beginners eager to impress.
- Family Favorite: Everyone loves a slice of red velvet—kids adore the vibrant color, while adults appreciate the sophisticated flavor.
- Perfect for Any Occasion: Their stunning appearance and delicious flavor make them a go-to for birthdays, holidays, and everything in between.
Who Will Enjoy This Red Velvet Cupcakes Most
- Busy Families: This quick recipe is ideal for week night baking with your loved ones.
- Health-Conscious Cooks: As we’ll see later, there are sugar substitutes available to adapt the recipe for everyone.
- Beginners: The simple instructions make it easy enough for novice bakers to create beautiful treats.
- Foodies: Anyone with a passion for baking or a love for unique flavors will be enamored by this classic treat.
Perfect Moments to Enjoy Red Velvet Cupcakes
- Birthdays: A staple dessert for any birthday celebration.
- Holidays: The vibrant red is a perfect match for Valentine’s Day or Christmas.
- Cozy Nights: Paired with a warm cup of cocoa or tea, they’re perfect for a quiet evening at home.
- Gatherings: Elevate your next potluck or casual gathering—everyone will want to try them!
How to Make the Perfect Red Velvet Cupcakes
Creating these luscious cupcakes at home is a delightful process that fills your kitchen with sweet aromas. Here’s how you do it!
Ingredients
- 1 1/2 cups all-purpose flour
- 1 cup granulated sugar
- 1 teaspoon baking soda
- 1 teaspoon salt
- 1 teaspoon cocoa powder
- 1 cup vegetable oil
- 1 cup buttermilk, at room temperature
- 2 large eggs, at room temperature
- 2 tablespoons red food coloring
- 1 teaspoon vanilla extract
- 1 teaspoon white vinegar
Step-by-Step Instructions
- Preheat the oven to 350°F (175°C). Line a muffin tin with cupcake liners.
{image_2} - Whisk together the flour, sugar, baking soda, salt, and cocoa powder in a large bowl.
- Mix together the oil, buttermilk, eggs, red food coloring, vanilla extract, and vinegar until well combined in another bowl.
- Add the wet ingredients to the dry ingredients and mix until just combined.
- Divide the batter evenly among the cupcake liners, filling each about two-thirds full.
- Bake for 18-20 minutes, or until a toothpick inserted into the center comes out clean.
- Let cool completely before frosting.
- Top with cream cheese frosting and enjoy!
For People with Diabetes: Sugar Substitutes
If you’re looking for sugar-free alternatives, consider using stevia, monk fruit, or allulose for a healthier option. Be cautious and avoid using honey or maple syrup, as they can significantly alter the texture and flavor of your cupcakes.
Essential Tools for Red Velvet Cupcakes
- Muffin tin
- Cupcake liners
- Mixing bowls
- Whisk
- Measuring cups and spoons
- Toothpick
Top Tips from Well-Known Chefs
- Don’t Overmix: Gently combine your wet and dry ingredients to avoid dense cupcakes.
- Room Temperature Ingredients: Using room-temperature eggs and buttermilk helps create a smoother batter and a better rise.
- Chill Your Frosting: Refrigerating your cream cheese frosting for about 30 minutes before frosting the cupcakes ensures easier application and a perfect finish.
- Experiment with Flavors: Try adding a touch of almond extract for a unique twist.
Storing and Reheating Tips
- Refrigerator: Store leftovers in an airtight container for up to 5 days.
- Freezer: Freeze unfrosted cupcakes for up to 3 months. Thaw at room temperature before frosting.
- Reheating: Warm in the microwave for about 10-15 seconds for a freshly baked taste.
Common Mistakes to Avoid
- Not Measuring Ingredients Accurately: Baking is a science, and precise measurements can make or break your cupcakes.
- Overbaking: Keep a close eye on baking times to prevent dry cupcakes.
- Using Cold Ingredients: Cold eggs or buttermilk can result in a less fluffy texture.
- Skipping the Cooling Time: Frosting warm cupcakes can lead to a melty mess instead of a beautiful topping.
Frequently Asked Questions: Red Velvet Cupcakes
- Can I use a different flour?
Yes, but it may affect the texture. Almond flour can yield a denser cupcake. - What can I use instead of buttermilk?
It depends; you can mix milk with a tablespoon of vinegar or lemon juice for a quick substitute. - Can I make these cupcakes in advance?
Yes, they freeze beautifully before frosting. Just thaw and frost when you’re ready to serve. - Is it possible to make Red Velvet Cupcakes without food coloring?
Yes, but they won’t have the signature red color; they’ll simply taste like chocolate cupcakes.
Wrapping Up: The Joy of Red Velvet Cupcakes
There’s something incredibly heartwarming about baking Red Velvet Cupcakes. This delightful recipe allows me to share love, celebration, and joy in every bite. I invite you to try this recipe and create lasting memories in your kitchen. Don’t forget to share your baking experiences in the comments below! Happy baking!
{image_template}
PrintRed Velvet Cupcakes
- Total Time: 35 minutes
- Yield: 12 servings 1x
- Diet: Vegetarian
Description
Delightful and vibrant Red Velvet Cupcakes topped with cream cheese frosting, perfect for any occasion.
Ingredients
- 1 1/2 cups all-purpose flour
- 1 cup granulated sugar
- 1 teaspoon baking soda
- 1 teaspoon salt
- 1 teaspoon cocoa powder
- 1 cup vegetable oil
- 1 cup buttermilk, at room temperature
- 2 large eggs, at room temperature
- 2 tablespoons red food coloring
- 1 teaspoon vanilla extract
- 1 teaspoon white vinegar
Instructions
- Preheat the oven to 350°F (175°C). Line a muffin tin with cupcake liners.
- Whisk together the flour, sugar, baking soda, salt, and cocoa powder in a large bowl.
- Mix together the oil, buttermilk, eggs, red food coloring, vanilla extract, and vinegar until well combined in another bowl.
- Add the wet ingredients to the dry ingredients and mix until just combined.
- Divide the batter evenly among the cupcake liners, filling each about two-thirds full.
- Bake for 18-20 minutes, or until a toothpick inserted into the center comes out clean.
- Let cool completely before frosting.
- Top with cream cheese frosting and enjoy!


Notes
For a healthier option, consider using sugar substitutes like stevia or monk fruit.
- Prep Time: 15 minutes
- Cook Time: 20 minutes
- Category: Dessert
- Method: Baking
- Cuisine: American
Nutrition
- Serving Size: 1 cupcake
- Calories: 300
- Sugar: 25g
- Sodium: 400mg
- Fat: 10g
- Saturated Fat: 2g
- Unsaturated Fat: 3g
- Trans Fat: 0g
- Carbohydrates: 45g
- Fiber: 1g
- Protein: 3g
- Cholesterol: 25mg