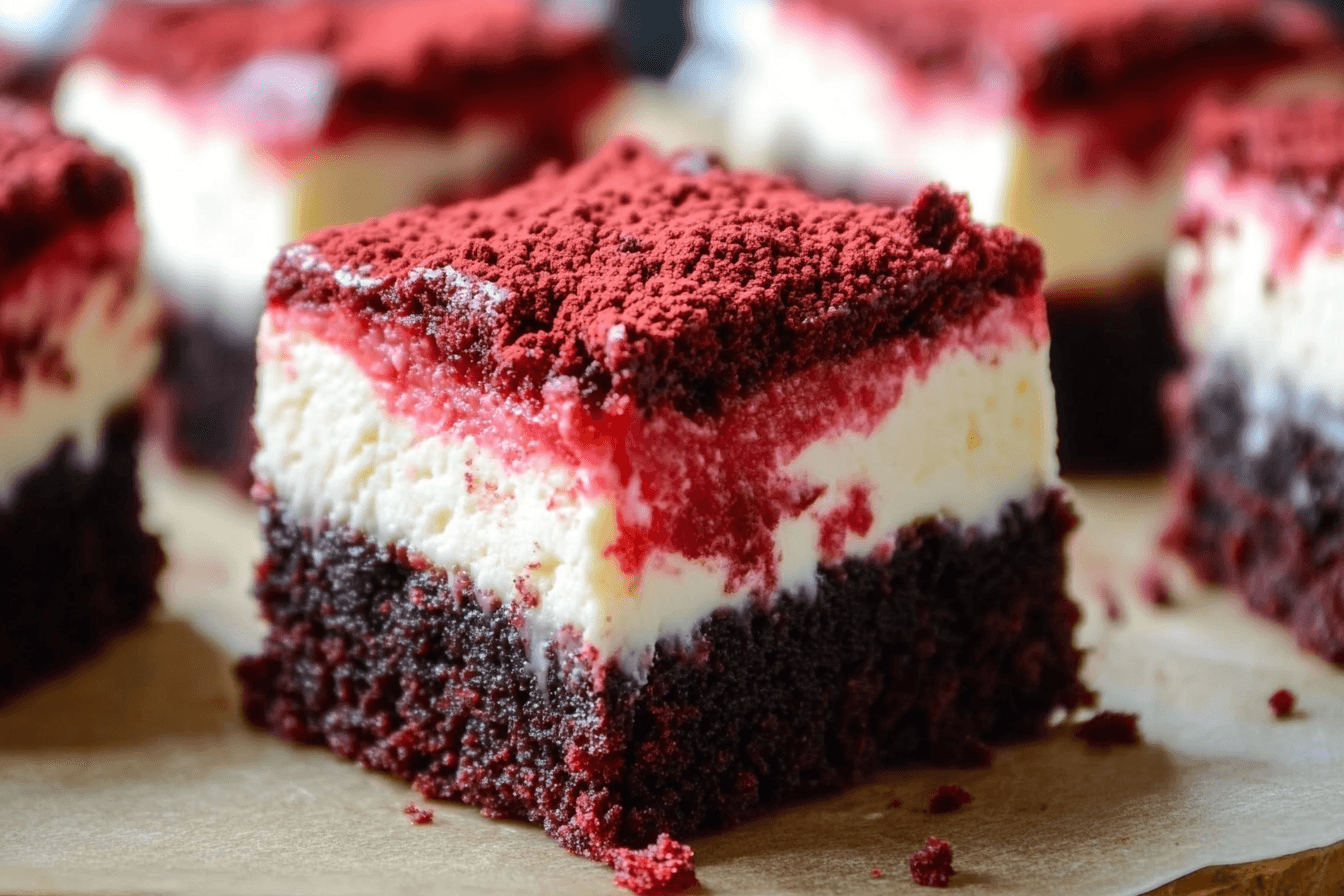
I still remember the first time I baked these Red Velvet Bottom Cheesecake Mini Brownies. It was a rainy Friday, my youngest daughter was hosting her very first sleepover, and she’d asked, “Mom, can we bake something that feels fancy?” I smiled, rolled up my sleeves, and reached for the red food coloring.
These aren’t just brownies. They’re little bites of joy — fudgy, creamy, sweet but not too sweet. The red velvet base is rich and cocoa-kissed, while the cheesecake layer brings a smooth tang that cuts right through. You don’t need a mixer or any fancy tools. Just a whisk, a bowl, and the kind of love only home baking brings.
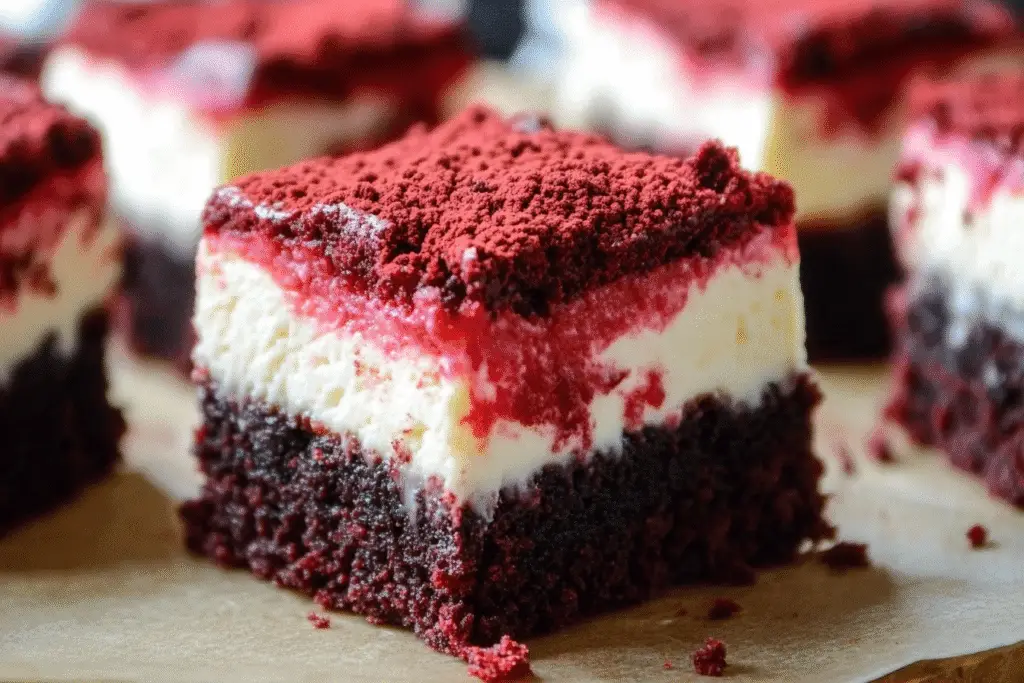
Whether you’re baking for a party, packing school lunches, or just treating yourself during an episode of your favorite K-drama (I’ve been rewatching “Crash Landing on You” lately), these mini brownies are one of those “always turn out amazing” recipes. And yes, the swirl is easier than it looks.
What Are Red Velvet Bottom Cheesecake Mini Brownies?
Red Velvet Bottom Cheesecake Mini Brownies are a hybrid dessert that combines two beloved treats: the deep, slightly cocoa-infused flavor of red velvet brownies with a creamy, tangy cheesecake topping — all baked in mini form for extra cuteness and convenience.
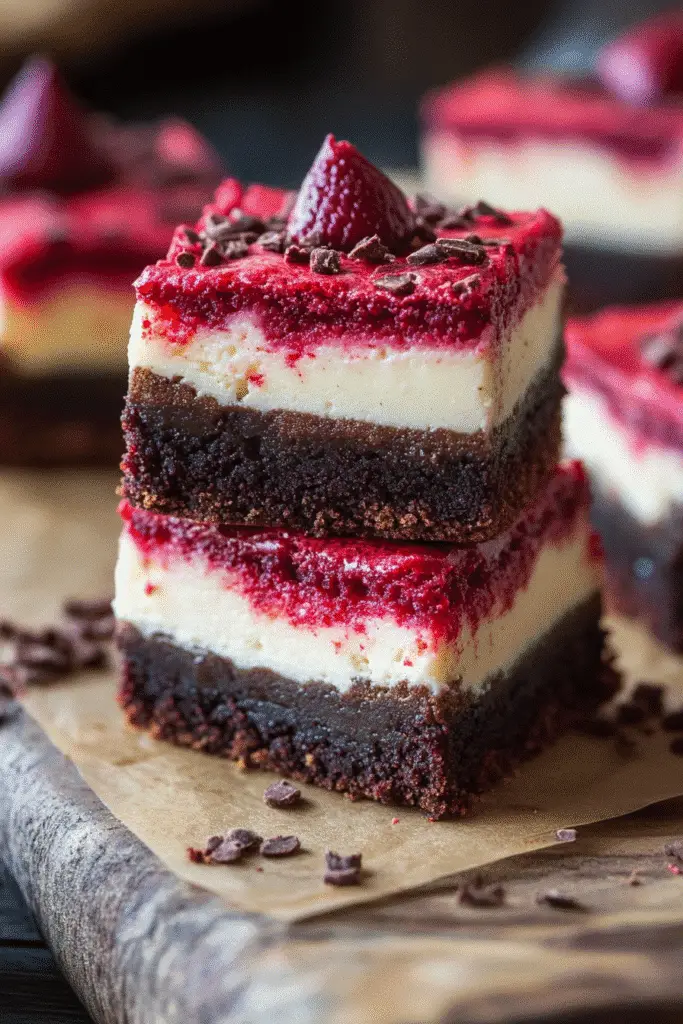
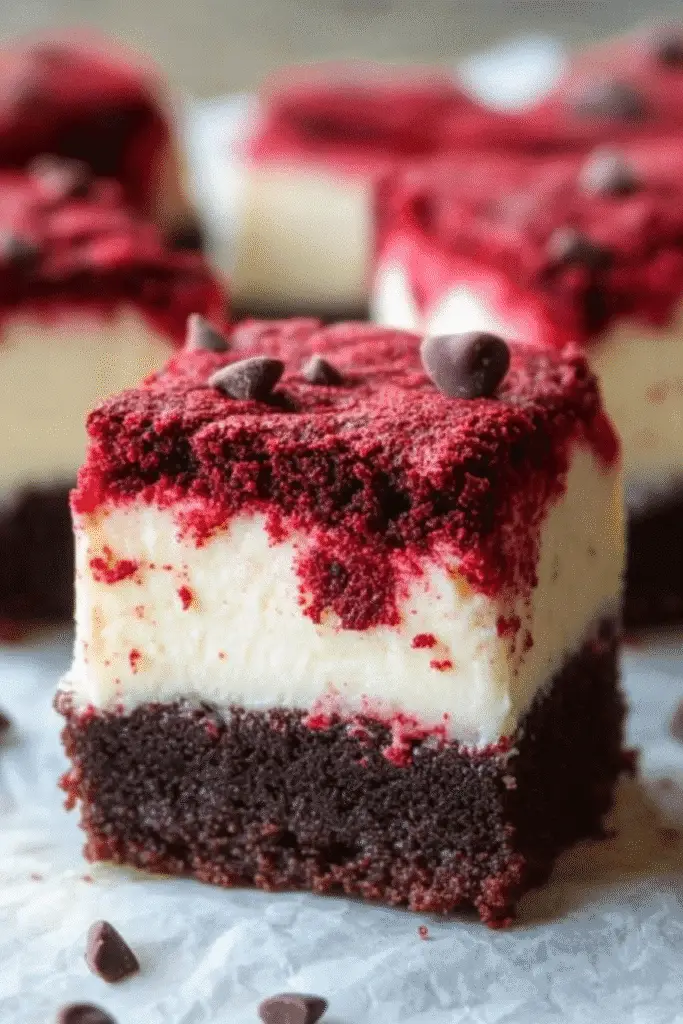
Unlike a traditional red velvet cake, the brownie base is dense and chewy, thanks to less leavening and more fat (hellooo, butter). Then comes the cheesecake swirl — a luscious mixture of cream cheese, sugar, and vanilla — dolloped and twirled on top, creating that signature marbled look.
They’re not cupcakes. They’re not bars. They’re bite-sized layers of comfort.
If you’ve ever enjoyed a red velvet cupcake with cream cheese frosting, imagine it condensed into a fudgy square or mini round with the frosting baked right in. No mess. No assembly. Just pop, bite, swoon.
Why You’ll Love This Red Velvet Bottom Cheesecake Mini Brownies Recipe
Let’s be honest — there are desserts that wow… and then there are desserts that vanish from the tray before you’ve even poured the coffee. These Red Velvet Bottom Cheesecake Mini Brownies? They’re the latter. Here’s why:
- Fudgy Meets Creamy: Each bite gives you the chewy richness of a brownie with the creamy tang of cheesecake — baked together in one pan.
- Eye-Catching for Any Occasion: That red velvet swirl always draws compliments, whether it’s Valentine’s Day, a bake sale, or Tuesday.
- Small-Batch Friendly: No need to make a whole cake or cheesecake — this recipe works beautifully in mini muffin tins or an 8×8 pan.
- Freezer-Ready: Make a batch, stash them in the freezer, and thaw one when that midnight sweet tooth kicks in.
- No Mixer Needed: Just a bowl, a whisk, and a spoon. It’s fuss-free, beginner-friendly, and kitchen-therapy approved.
Who It’s For:
- Home bakers who want a recipe that feels impressive but doesn’t require culinary gymnastics.
- Parents looking for a fun, semi-fancy dessert for parties or kid sleepovers.
- Red velvet lovers who crave something more indulgent than cake.
- Cheesecake fans who appreciate portion control — without compromise.
When to Cook It:
- Date nights in with a rom-com and a warm drink.
- Potlucks where you want to stand out without stress.
- Celebrations: birthdays, Valentine’s, anniversaries, or “just because” Sundays.
- Moments when you need a quick, soulful treat that still feels special.
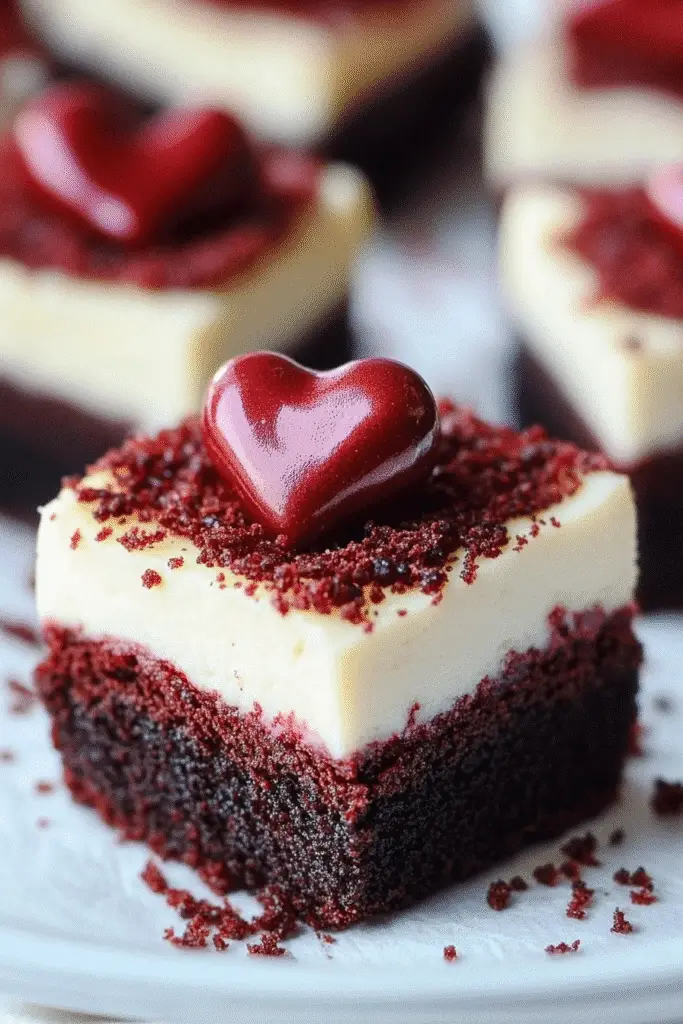
Tips for Making the Best Red Velvet Bottom Cheesecake Mini Brownies
After years of tweaking, testing, and (let’s be real) rescuing a few cracked cheesecake tops, I’ve landed on a handful of simple tips that take this recipe from good to divine. These tricks keep your red velvet base rich and moist, your swirl picture-perfect, and the layers beautifully distinct.
Use Room Temperature Ingredients
This goes especially for the cream cheese and eggs. Cold ingredients don’t blend well and can lead to lumpy cheesecake tops. Let them sit out for 30–45 minutes before you start.
Don’t Over-Swirl
You want those gorgeous red and white swirls — not a pink muddle. Use a butter knife or toothpick and gently swirl just 3–4 figure-eight motions. Stop while it still looks marbled.
Check Early, Bake Just Until Set
Start checking at the 18-minute mark if you’re using a mini muffin pan. The edges should be set, and the centers slightly jiggly. Overbaking dries out the brownie base and can crack your cheesecake layer.
Quick Cultural Note:
Red velvet has deep roots in the American South. My grandmother in Houston used to make a version of red velvet sheet cake with boiled frosting — no food coloring. This brownie twist modernizes it, but the heart is the same: soft cocoa flavor, cream cheese tang, and plenty of love.
Use Dutch-Process Cocoa
Natural cocoa works fine, but Dutch-process cocoa will deepen the red color and give you a more luxurious chocolate note. It also reacts better with the acid in the vinegar and cream cheese.
Don’t Skip the Vinegar
Even though it’s a small amount, vinegar adds that slight tang and reacts with the baking soda to give the brownies just enough lift. It’s part of what makes red velvet… well, red velvet.
Bonus Tip from My Kitchen:
Let the brownie batter sit for 5 minutes before spreading it in the pan. This hydrates the flour and gives the red velvet base a richer texture. Totally optional — but totally worth it.
How to Make Red Velvet Bottom Cheesecake Mini Brownies
You won’t need a mixer or a ton of time — just two bowls, a whisk, and a mini muffin pan (or an 8×8 if you prefer bars). Here’s everything you’ll need and exactly how to make it all come together.
🧾 Ingredients
For the Red Velvet Brownie Base:
- ½ cup (1 stick) unsalted butter, melted
- ¾ cup granulated sugar
- 1 large egg
- 1 tsp vanilla extract
- 1 tbsp red food coloring (liquid or gel)
- 1 tsp white vinegar
- ⅓ cup unsweetened cocoa powder (Dutch-process preferred)
- ½ cup all-purpose flour
- ¼ tsp salt
For the Cheesecake Swirl:
- 8 oz cream cheese, softened
- ¼ cup granulated sugar
- 1 large egg yolk
- ½ tsp vanilla extract
For People with Diabetes: Sugar Substitutes
Yes, Red Velvet Bottom Cheesecake Mini Brownies can be adapted for those managing blood sugar — with a few smart swaps.
Instead of granulated sugar, try these safe, diabetes-friendly alternatives:
- Stevia (liquid or powdered)
- Monk Fruit Sweetener
- Erythritol (like Swerve or Lakanto)
- Allulose (great for baking — no bitter aftertaste)
Avoid using:
- Honey
- Maple syrup
- Agave nectar
These natural sweeteners still spike blood sugar and are not recommended for diabetic-friendly recipes.
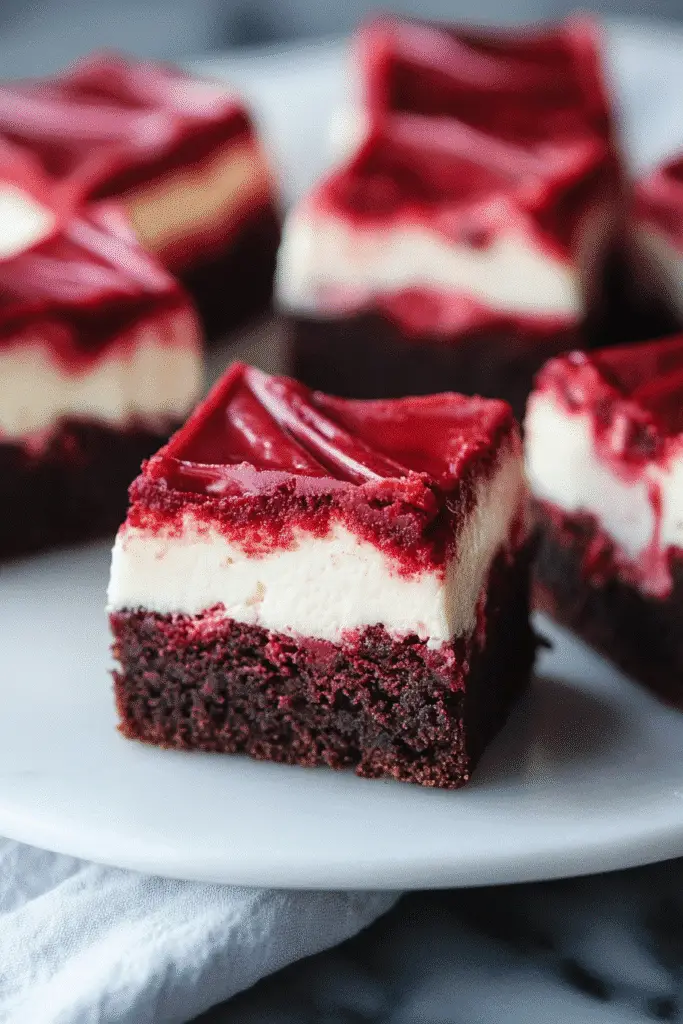
Behind the Recipe: Why This One Matters to Me
Some recipes just happen — thrown together in a rush, eaten on the go, forgotten. But others, like these Red Velvet Bottom Cheesecake Mini Brownies, seem to carry a little extra soul.
I made the first batch for my daughter’s sleepover. Five kids in footie pajamas, one Dalmatian lurking under the table, and a countertop full of sprinkles and red batter smears. Chaos. Sweet chaos. But as we sat around the kitchen island — laughter echoing, faces glowing under soft kitchen light — I remember thinking: this is why I cook.
Not every recipe from my culinary career makes it into my home kitchen. But this one crossed the divide. It’s simple enough to make on a school night, yet beautiful enough to bring to a bridal shower or holiday party. And when you bite in — the soft cocoa base, that creamy cheesecake, the gentle tang of vinegar and cream cheese — it’s like dessert is giving you a hug.
It also reminds me of my grandmother, who believed red velvet was a celebration in itself. She used to make hers in big sheet pans, topped with swirls of boiled icing. I’ve modernized it here, but the heart of her recipe still lives in every swirl.
Tools You’ll Need
You don’t need a stand mixer or a sous-chef. Just a few reliable kitchen tools will take these Red Velvet Bottom Cheesecake Mini Brownies from good to “how did you make these!?”
Here’s what I always keep on hand:
- Mini muffin pan (24-cup)
(or an 8×8-inch square pan if you’re going for brownie bars) - Mixing bowls – One medium, one small
- Whisk – For that glossy red velvet batter
- Rubber spatula – To scrape down the sides and fold gently
- Toothpick or butter knife – For creating that perfect swirl
- Cooling rack – Optional but helpful for setting the texture evenly
Optional but helpful:
- Cookie scoop (for evenly portioning batter into muffin cups)
- Parchment paper (for lining your square pan)
You Must Know
Before you whip out the butter and cocoa, here are 3 key things that’ll change how your Red Velvet Bottom Cheesecake Mini Brownies turn out:
- Let the batter rest for 5 minutes before baking. It thickens slightly and gives a richer texture once baked.
- Swirl gently — no more than 3 or 4 passes — to keep those layers beautifully distinct instead of blending into pink.
- Cool completely before removing or slicing. The cheesecake sets as it cools, and trying to rush it leads to messy tops (still tasty, though!).
Top Tips for Perfecting Your Red Velvet Bottom Cheesecake Mini Brownies
These little swirled beauties are surprisingly forgiving, but a few smart moves can make the difference between “pretty good” and “save me another one!”
Use Room Temperature Cream Cheese
Cold cream cheese doesn’t blend smoothly and can leave lumps in the swirl. Pull it out at least 30 minutes before baking.
Don’t Overbake
These brownies are done when the edges are set but the centers still jiggle slightly. Overbaking dries out the red velvet layer and can crack the cheesecake. Start checking early!
Spoon, Don’t Pour
Use a spoon or small scoop to layer your brownie and cheesecake batters. It gives you more control and prevents overflow in mini pans.
Use Gel Food Coloring (Optional)
If you want that deep red velvet hue without thinning your batter, gel food coloring works beautifully — a little goes a long way.
Tap the Pan
Gently tap your pan on the counter before baking. This helps air bubbles rise and gives you smoother tops.
Storing and Reheating Tips
These brownies are fantastic make-ahead treats — they keep their texture and flavor surprisingly well.
To Store:
Place in an airtight container and refrigerate for up to 5 days. I line the container with parchment to keep the bottoms from getting sticky.
To Freeze:
Freeze in a single layer until solid, then transfer to a freezer-safe bag. They’ll keep for up to 2 months. Thaw overnight in the fridge.
To Reheat:
Not required, but if you want that fudgy, warm center? Microwave for 10–15 seconds. That swirl softens into creamy, dreamy magic.
Helpful Notes
A few optional tweaks and thoughtful substitutions can make these Red Velvet Bottom Cheesecake Mini Brownies suit almost any occasion or dietary need.
Dairy-Free?
Use dairy-free cream cheese (like Kite Hill or Miyoko’s) and plant-based butter. Texture may vary slightly, but the flavor still sings.
Want Extra Indulgence?
Fold in white chocolate chips or mini dark chocolate chunks to the red velvet base. Adds richness without overpowering the swirl.
Add a Fruity Twist
Drop a small spoonful of raspberry or strawberry preserves under the cheesecake layer before swirling. The tart fruit cuts the sweetness beautifully.
Tips from Well-Known Chefs
A few pastry chef secrets I picked up in the D.C. kitchen and from mentors along the way:
- Claire Saffitz recommends swirling from the center outward, rather than side to side — helps the swirl look more organic.
- A Michelin sous-chef in Madrid once told me to bake with “tensión”—a little tension. In this case: don’t overmix. Let the batter stay rustic. It bakes more soulfully that way.
- From my own experience? Let your brownies rest overnight. Like chili or stew, they taste better the next day. The cheesecake layer settles, the cocoa deepens, and the texture evens out.
Common Mistakes to Avoid
Save yourself the learning curve — here are the top three pitfalls I see home bakers run into:
1. Overmixing the Batter or the Swirl
When you over-stir, you blend the layers and lose that red-white contrast. Stir just enough to combine. Swirl just enough to marble.
2. Using Cold Cream Cheese
Cold cream cheese = lumpy swirl = uneven bake. Always bring it to room temp first.
3. Underfilling or Overfilling the Muffin Cups
Aim for ¾ full. Too little, and they’ll be flat. Too full, and you’ll lose the swirl to overflow.
Conclusion: A Bite of Joy in Every Swirl
There’s something timeless about Red Velvet Bottom Cheesecake Mini Brownies. They’re just the right size. Just the right balance. Just the right touch of fancy — without the fuss. Whether you’re baking for loved ones, sharing with friends, or stealing a quiet bite by the fridge light (we’ve all been there), this recipe delivers more than dessert. It delivers a memory.
Baking these always reminds me why I cook: not for perfection, but for connection. For that “mmm” at first bite, the icing swipe from a child’s fingertip, the quiet pause before someone says, “Can I have another?”
So try them. Tweak them. Make them your own.
Tell us how yours turned out in the comments — did you add chocolate chips, go gluten-free, or sneak in a swirl of jam? We’d love to hear how they landed in your kitchen.
Print
Red Velvet Bottom Cheesecake Mini Brownies
- Total Time: 35 minutes
- Yield: 24 mini brownies 1x
- Diet: Vegetarian
Description
Fudgy red velvet brownies swirled with tangy cheesecake — baked mini for easy sharing or late-night snacking. A family favorite.
Ingredients
- ½ cup unsalted butter, melted
- ¾ cup granulated sugar
- 1 large egg
- 1 tsp vanilla extract
- 1 tbsp red food coloring
- 1 tsp white vinegar
- ⅓ cup unsweetened cocoa powder
- ½ cup all-purpose flour
- ¼ tsp salt
- 8 oz cream cheese, softened
- ¼ cup granulated sugar
- 1 egg yolk
- ½ tsp vanilla extract
Instructions
- Preheat oven to 350°F. Grease a mini muffin tin or line with paper liners.
- In a bowl, whisk melted butter and sugar. Add egg, vanilla, food coloring, and vinegar.
- Stir in cocoa, flour, and salt until just combined. Set aside.
- In a small bowl, beat cream cheese, sugar, egg yolk, and vanilla until smooth.
- Spoon red velvet batter into muffin cups, filling ¾ full. Add a dollop of cheesecake on top.
- Swirl gently with a toothpick or knife.
- Bake for 18–22 minutes. Centers should be just set. Cool completely before serving.
Notes
For a richer swirl, use room temperature cream cheese and avoid overmixing. Rest the batter 5 minutes before baking for deeper flavor.
- Prep Time: 15 minutes
- Cook Time: 20 minutes
- Category: Dessert
- Method: Baking
- Cuisine: American
Nutrition
- Serving Size: 1 mini brownie
- Calories: 140
- Sugar: 11g
- Sodium: 75mg
- Fat: 8g
- Saturated Fat: 5g
- Unsaturated Fat: 2g
- Trans Fat: 0g
- Carbohydrates: 15g
- Fiber: 0.5g
- Protein: 2g
- Cholesterol: 30mg
Keywords: red velvet brownies, cheesecake brownies, mini brownies, red velvet cheesecake
