Raspberry Jam
This post may contain affiliate links.
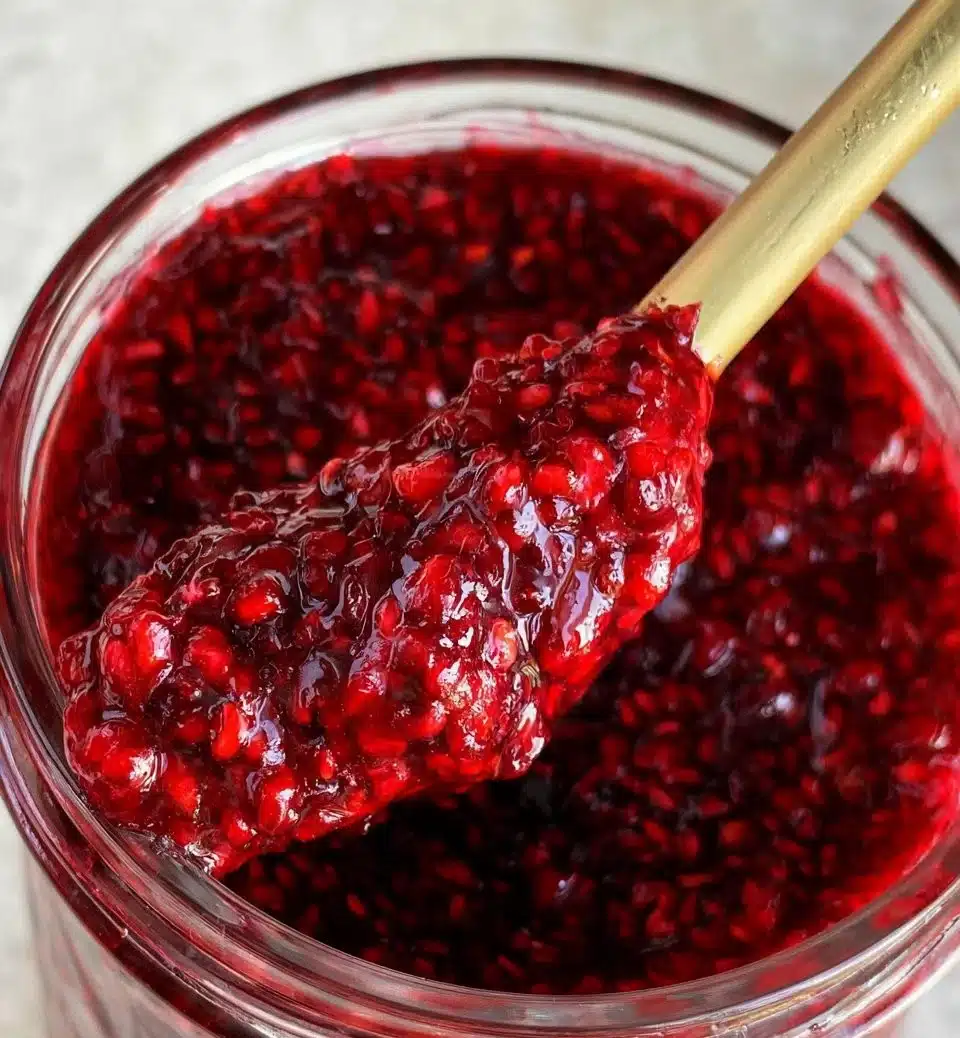
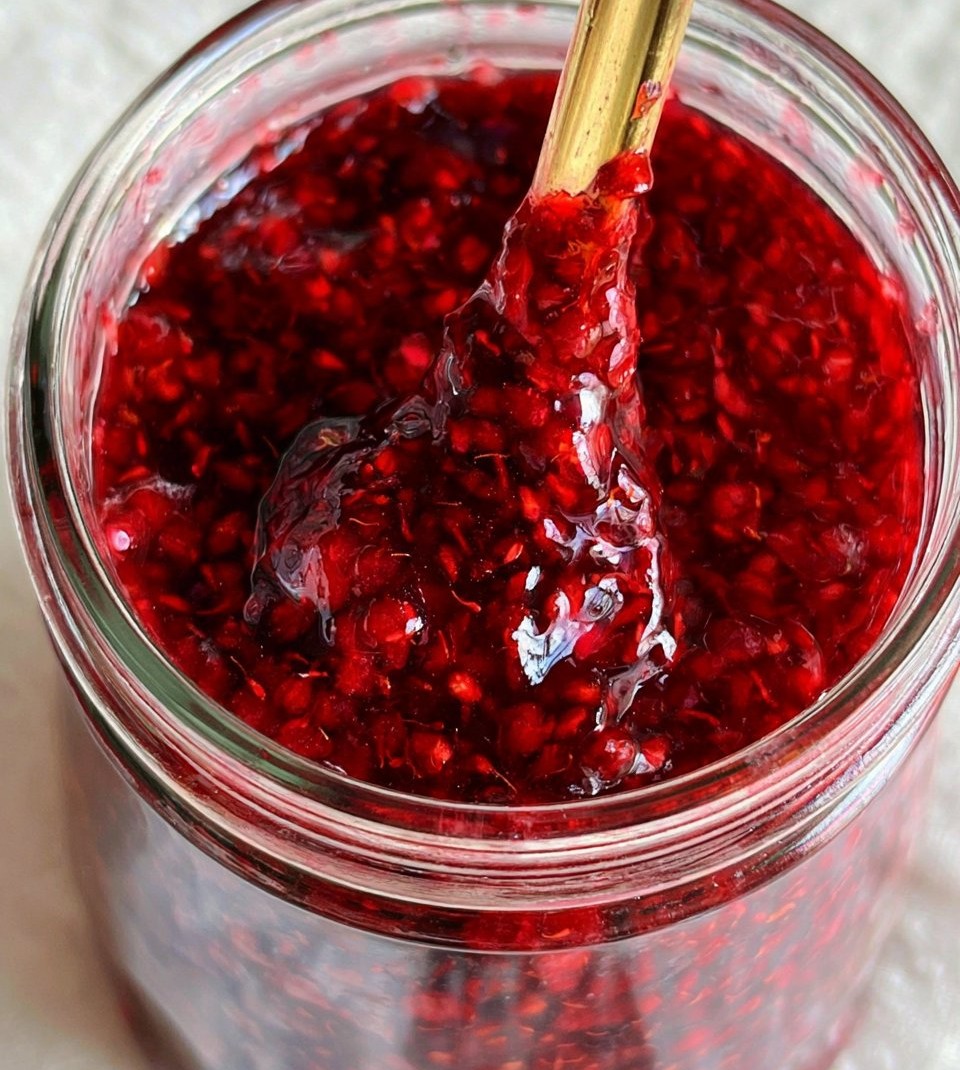
There’s something truly magical about the process of making Homemade Raspberry Jam. It transports me back to sun-drenched kitchen counters, the sweet aroma of simmering fruit dancing in the air, and the joy of creating something nourishing. As I crush the berries and watch the vibrant red mixture come together, it reminds me not just of summer, but of the simple pleasures in life—family gatherings, lazy afternoons, and the satisfied smiles around a breakfast table.
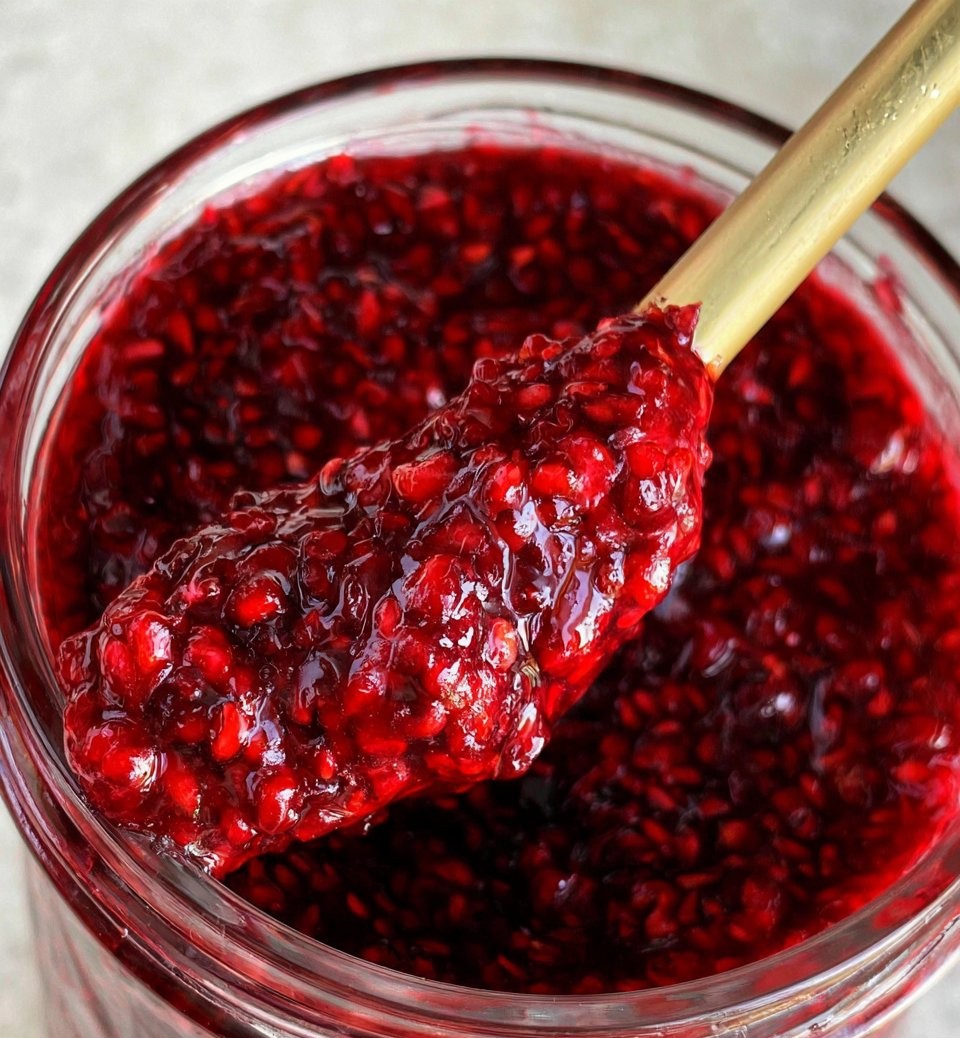
Every time I dip my spoon into a jar of Homemade Raspberry Jam, I’m reminded of the love and care that went into it. This isn’t just a recipe; it’s a tiny snapshot of joy, carefully sealed in a jar, ready to enhance everything from morning toast to festive desserts. Let’s dive deeper into the world of Homemade Raspberry Jam together, discovering its roots and why it deserves a cherished spot in your pantry.
Exploring the Roots of Homemade Raspberry Jam
Homemade Raspberry Jam isn’t just a delightful treat; it’s steeped in rich tradition. Historically, fruit preservation was a vital skill, especially before refrigeration became the norm. Jams and jellies allowed families to savor the fruits of their labor long after the harvest season had passed. While jam recipes vary across cultures, the essence remains the same: capturing the flavor of ripe fruit in its peak ripeness.
Raspberries, with their delicate sweetness and vibrant color, have long been loved in cuisines worldwide. This jam speaks to a timeless practice of transforming simple ingredients into something extraordinary. Whether you’re preparing it for a breakfast spread or a layer in a decadent dessert, Homemade Raspberry Jam has earned its place in culinary history.
Why You’ll Love This Homemade Raspberry Jam
- Quick and Easy: This is a straightforward recipe that anyone can conquer, making it perfect for beginner cooks.
- Bursting with Flavor: The fresh raspberries shine, creating a jam that’s not overly sweet but beautifully balanced.
- Healthier Option: By making your own jam, you control the ingredients, ensuring it’s made with just fruit, sugar, and a splash of lemon juice.
- Versatile Usage: Use it on toast, dollop it on yogurt, or incorporate it into desserts for an added layer of flavor.
Who It’s For
- Busy Families: Perfect for a quick breakfast spread or an easy homemade gift.
- Health-Conscious Cooks: A delicious alternative to store-bought varieties loaded with preservatives.
- Beginner Home Cooks: Simple enough for anyone to try their hand at making jam.
- Foodies and Preservation Enthusiasts: A chance to engage in a beloved culinary tradition.
Perfect Moments to Enjoy Homemade Raspberry Jam
- Summer Mornings: Brighten your breakfast table during those warm, lazy weekends.
- Holiday Spread: Use it to add a homemade touch to your holiday brunches.
- Picnics and Gatherings: A delightful addition to any charcuterie board or picnic basket.
- Cozy Winter Nights: Spread it on warm biscuits while sipping tea by the fire.
How to Make the Perfect Homemade Raspberry Jam
Making Homemade Raspberry Jam is a heartwarming experience that fills your kitchen with warmth and delightful scents. Here’s how to whip up this delightful treat.
Ingredients
- 2 cups fresh raspberries
- 1 cup granulated sugar
- 1 tablespoon lemon juice
Step-by-Step Instructions
- Combine raspberries, sugar, and lemon juice in a saucepan.
- Cook over medium heat, stirring gently until the mixture comes to a boil.
- Continue to boil for about 10-15 minutes, or until the jam thickens.
- Remove from heat and let cool slightly.
- Pour into sterilized jars and refrigerate.
For People with Diabetes: Sugar Substitutes
If you’re looking for sugar alternatives, consider using stevia, monk fruit, or allulose. However, it’s important to avoid honey or maple syrup in jam recipes, as these can alter the texture and consistency.
Must-Have Tools for This Recipe
- Medium saucepan
- Wooden spoon or spatula
- Measuring cups
- Sterilized jars for storage
Chef-Approved Tips for Success
- Use Fresh Fruit: The quality of your raspberries will directly impact the flavor of your jam. Opt for ripe, organic berries if possible.
- Sterilize Your Jars: Always ensure your storage jars are sterilized to prolong shelf life.
- Adjust the Sweetness: Feel free to tweak sugar amounts according to your taste preference or dietary needs.
- Test for Thickness: To check if the jam has thickened, place a spoonful on a cold plate; it should hold its shape.
Keeping Your Homemade Raspberry Jam Fresh
- Refrigerate: Store in the fridge for up to two weeks.
- Freezing: For longer storage, freeze in airtight containers for up to a year.
- Reheating: Gently warm the jam in the microwave or on the stove if it thickens too much after refrigeration.
Common Mistakes to Avoid
- Not Sterilizing Jars: Failing to properly sterilize jars can lead to spoilage.
- Rushing the Cooking: Allow the jam to boil long enough to achieve a proper consistency; be patient!
- Not Tasting: Don’t forget to taste and adjust the sweetness as you cook; every batch is different.
- Ignoring Fruit Quality: Using overripe or spoiled fruit can affect not only the taste but also the safety of the jam.
Frequently Asked Questions: Homemade Raspberry Jam
Can I use frozen raspberries?
Yes, frozen raspberries work well, but make sure they’re thawed and drained before use.How long can I keep homemade jam?
It depends, but typically 2-3 weeks in the refrigerator or up to a year in the freezer.Do I need pectin for this recipe?
No, this recipe doesn’t require added pectin due to the natural pectin found in raspberries.Is this jam suitable for canning?
It depends on your canning method; be sure to follow safe canning practices if you want to preserve it long-term.Can I substitute other fruits?
Yes, you can experiment with other berries or fruits to suit your taste!
Wrapping Up: The Joy of Homemade Raspberry Jam
There’s something incredibly gratifying about spooning the last bit of Homemade Raspberry Jam onto your morning toast. As the sweet-tart flavor lingers on your palate, you’re not just enjoying a delicious treat—you’re savoring a labor of love that encapsulates summer. I invite you to try this recipe and share your journey with me. What memories does Homemade Raspberry Jam evoke for you? Please leave a comment or share this with friends who might enjoy creating their own jars of joy!
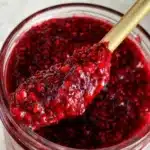
Homemade Raspberry Jam
- Total Time: 25 minutes
- Yield: 2 cups 1x
- Diet: Vegetarian
Description
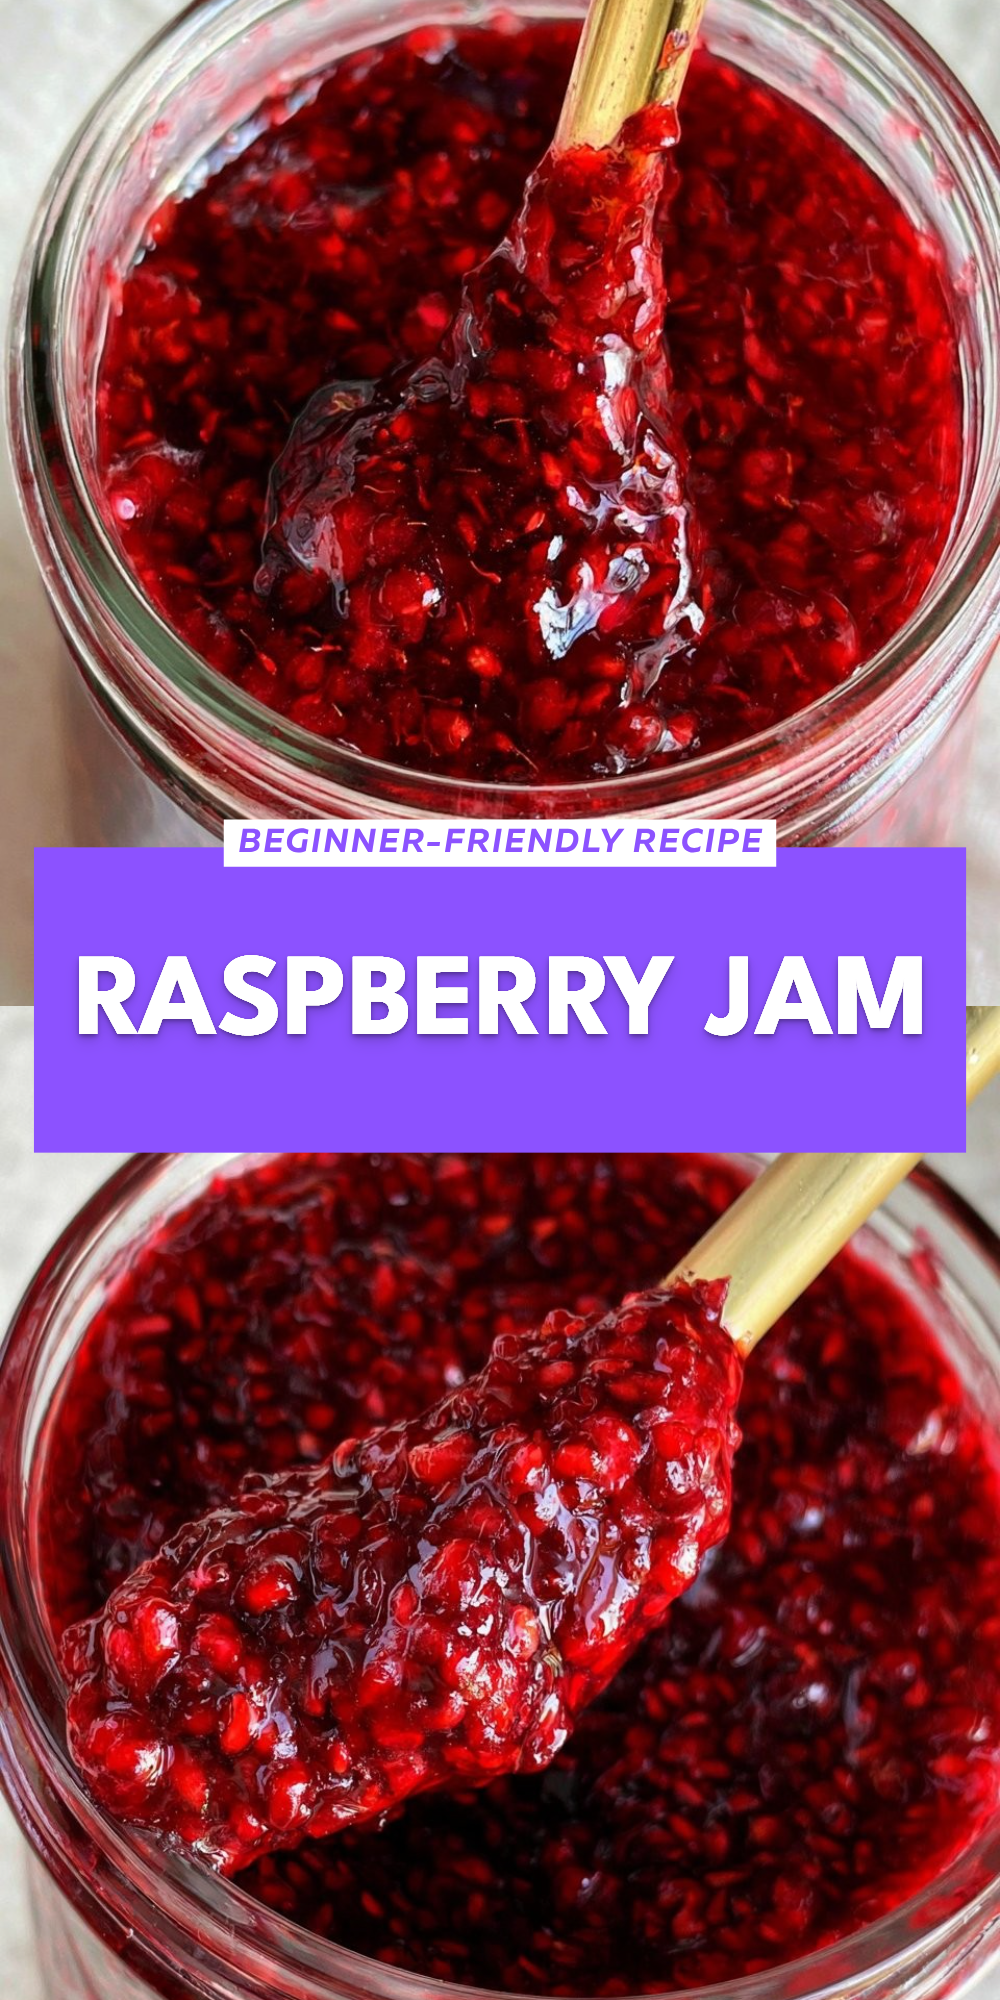
A delightful and easy recipe for making homemade raspberry jam, capturing the vibrant flavors of fresh raspberries with a touch of sweetness.
Ingredients
- 2 cups fresh raspberries
- 1 cup granulated sugar
- 1 tablespoon lemon juice
Instructions
- Combine raspberries, sugar, and lemon juice in a saucepan.
- Cook over medium heat, stirring gently until the mixture comes to a boil.
- Continue to boil for about 10-15 minutes, or until the jam thickens.
- Remove from heat and let cool slightly.
- Pour into sterilized jars and refrigerate.
Notes
Use fresh, ripe raspberries for the best flavor. Always sterilize jars for longer shelf life.
- Prep Time: 10 minutes
- Cook Time: 15 minutes
- Category: Condiment
- Method: Cooking
- Cuisine: American
Nutrition
- Serving Size: 1 tablespoon
- Calories: 50
- Sugar: 10g
- Sodium: 0mg
- Fat: 0g
- Saturated Fat: 0g
- Unsaturated Fat: 0g
- Trans Fat: 0g
- Carbohydrates: 13g
- Fiber: 1g
- Protein: 0g
- Cholesterol: 0mg


