Lunch Lady Peanut Butter Bars
This post may contain affiliate links.
Peanut butter has always held a special place in my heart—and my kitchen. It reminds me of my childhood, bonding with family over bowls of creamy goodness. One recipe that often graced our table was the delightful Lunch Lady Peanut Butter Bars. Trust me, once you try these bars, you’ll be transported back to carefree lunchroom days filled with laughter and sweet treats!
As those warm bars cool in the pan, their aroma wafts through the house, filling each corner with the delightful scent of peanut butter and nostalgia. The taste? Think of a heavenly cookie bar with a rich peanut butter finish, playing out like a sweet symphony in every bite.
Understanding the Magic of Lunch Lady Peanut Butter Bars
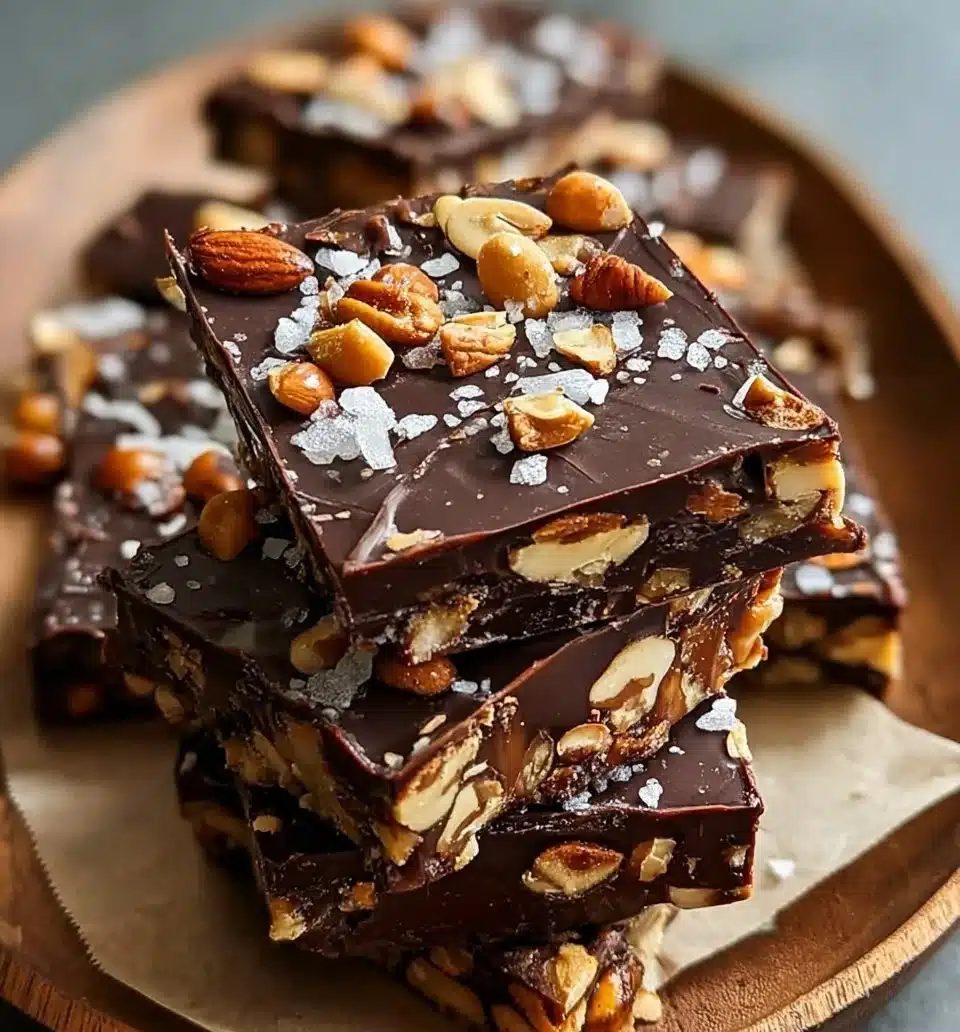
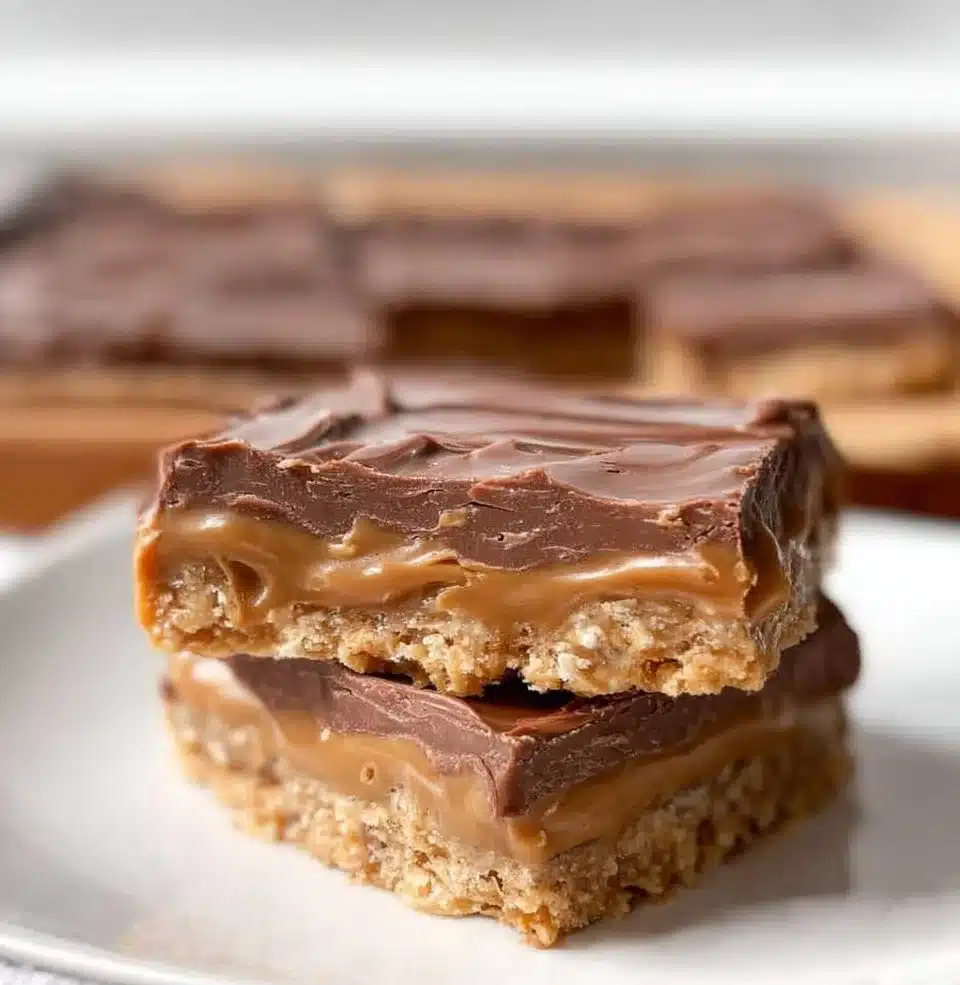
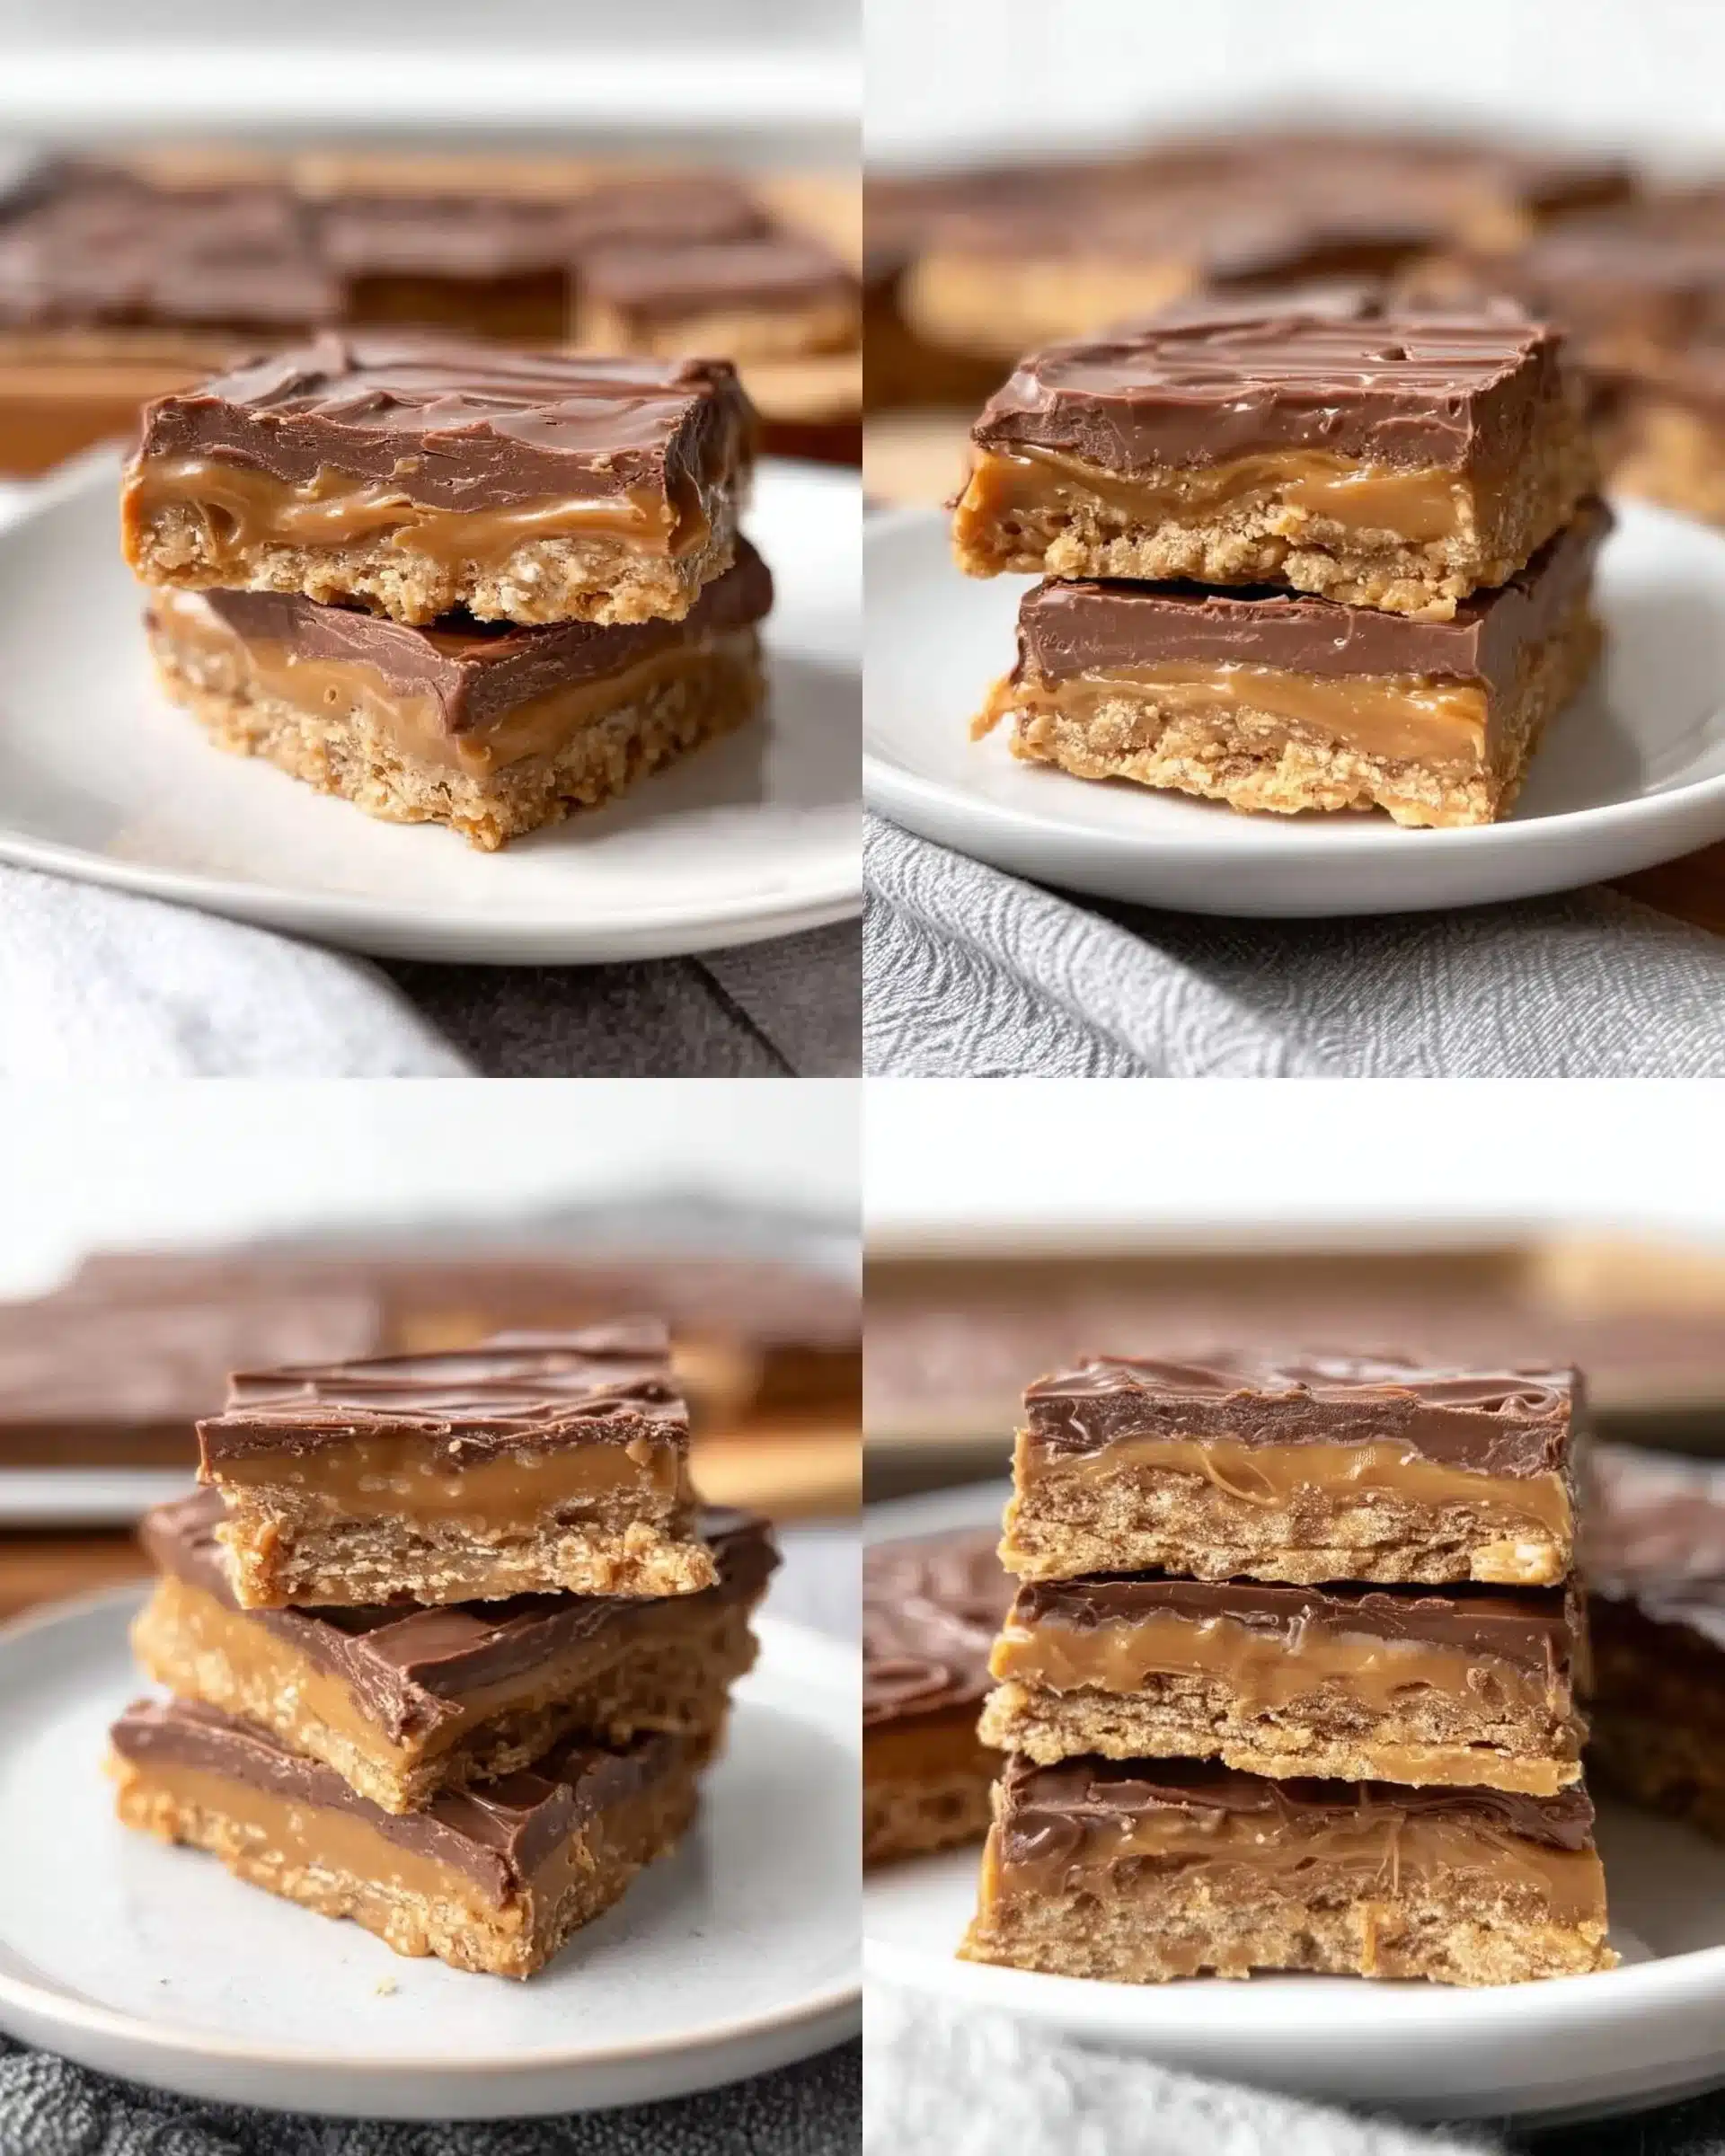
Lunch Lady Peanut Butter Bars are more than just a dessert; they symbolize warmth, comfort, and childhood memories. This classic recipe is derived from the lunchroom favorites served in many schools across the nation. They are dense, chewy, and filled with the irresistible combination of peanut butter and chocolate. The blend of old-fashioned oats adds a delightful texture, making each bar heartier.
It’s a recipe that celebrates simplicity and brings people together, whether it’s a family picnic or a potluck with friends. With a sprinkle of nostalgia and a dash of joy, these bars are bound to evoke memories and create new ones.
Why You’ll Love This Lunch Lady Peanut Butter Bars
- Flavor Explosion: The combination of creamy peanut butter, sweet chocolate frosting, and chewy oats creates an irresistible taste.
- Convenient: They’re easy to whip up, perfect for any occasion, and can even be made ahead of time!
- Family-Friendly: Kids and adults alike will love them; they’re a surefire hit for lunchboxes or afternoon snacks.
- Versatile: You can tweak the recipe to suit dietary needs, such as making it gluten-free or lower in sugar.
Who It’s For
- Busy Families: Perfect for quick snacks or dessert.
- Health-Conscious Cooks: A delightful treat that can be made healthier with substitutions.
- Baking Beginners: Simple enough for novice bakers to master.
- Peanut Butter Lovers: A heavenly addition to your repertoire of peanut butter recipes.
Perfect Moments to Enjoy Lunch Lady Peanut Butter Bars
- After School: A sweet treat for kiddos returning home.
- Weekend Gatherings: Perfect for family barbecues or friendly get-togethers.
- Cozy Nights In: Enjoy with a glass of milk while curled up on the couch.
- Holidays: Share them at potlucks or make them part of family traditions.
How to Make the Perfect Lunch Lady Peanut Butter Bars
Creating the perfect Lunch Lady Peanut Butter Bars is simpler than you might think! Follow my guide, and you’ll be on your way to baking up a dreamy treat.
Ingredients
- 1 cup salted butter (softened (227g))
- 1 cup granulated sugar (200g)
- 1 cup packed light brown sugar (200g)
- 2 1/2 cups creamy peanut butter (divided)
- 2 large eggs
- 2 teaspoons vanilla extract
- 2 cups all-purpose flour (scooped & leveled (282g))
- 2 cups old-fashioned oats
- 1 teaspoon baking soda
- 1 teaspoon salt
- 1/2 cup salted butter (softened (114g))
- 3 cups powdered sugar
- 4 Tablespoons cocoa powder
- 1/4 cup milk
- 2 teaspoons vanilla extract
Step-by-Step Instructions
- Preheat oven to 350°F.
- Spray a half-sheet baking sheet (13″x18″) with baking spray.
- Beat the butter, granulated sugar, brown sugar, and 1 cup of the peanut butter in a mixer until creamy and light.
- Add eggs and vanilla extract, then beat again, scraping the bottom and sides of the bowl.
- Add the flour, oats, baking soda, and salt. Mix just until combined.
- Spread the peanut butter oatmeal cookie dough into the prepared pan with a spatula.
- Bake for 15-17 minutes until golden brown around the edges and barely set in the middle. Do not overbake.
- Melt the remaining 1 1/2 cups of peanut butter in the microwave in a microwave-safe bowl for 1 minute, then drizzle over the top of the bars, spreading it into an even layer with a spatula or knife.
- Let cool completely until the peanut butter has firmed up. This can be sped up by sticking the bars in the fridge.
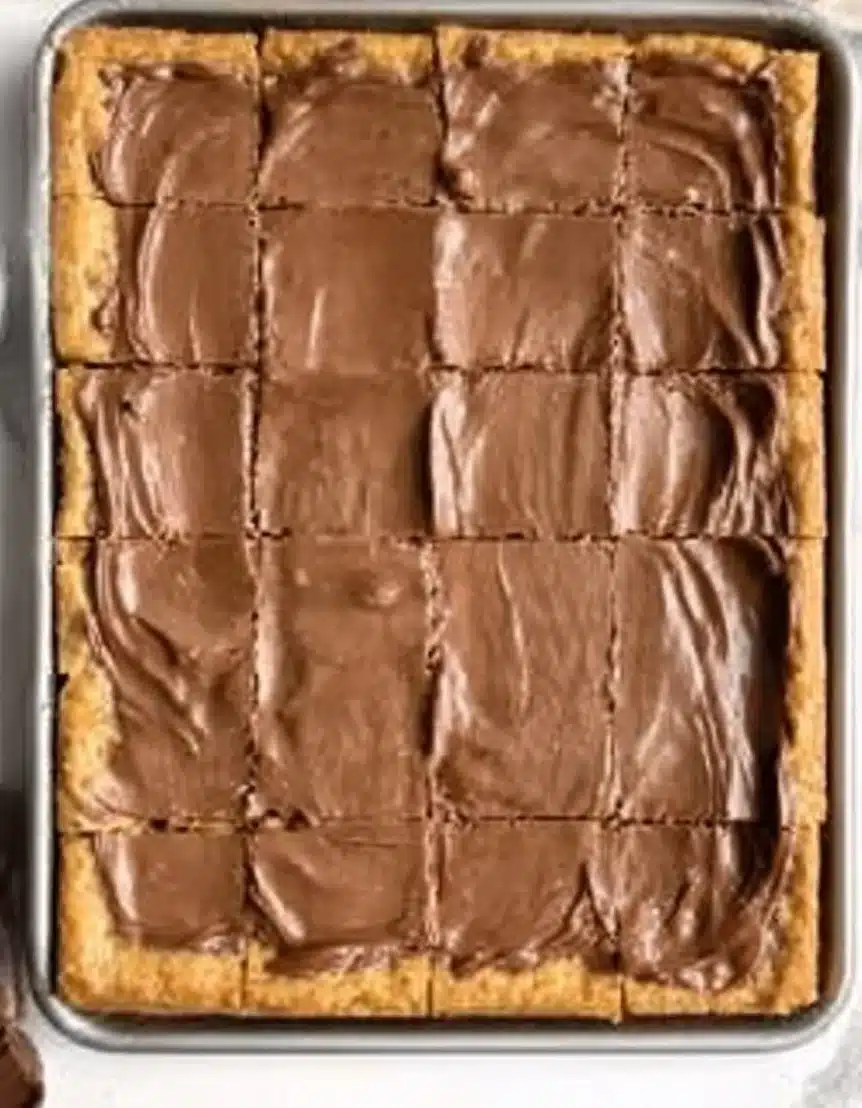
- Make the chocolate frosting by beating the butter, powdered sugar, cocoa powder, milk, and vanilla extract in a large bowl until smooth.
- Spread in an even layer over the cooled bars, then cut into squares.
For People with Diabetes: Sugar Substitutes
Consider using sugar alternatives like stevia, monk fruit, or allulose for a healthier twist on your Lunch Lady Peanut Butter Bars. However, avoid honey or maple syrup, as these can spike blood sugar levels.
Essential Tools for Lunch Lady Peanut Butter Bars
- Mixing bowl
- Electric mixer
- Rubber spatula
- 13″x18″ baking sheet
- Measuring cups and spoons
- Microwave-safe bowl
Expert Cooking Tips
- Don’t Overbake: Keep an eye on the bars as every oven is different. They should be set in the middle but not dry.
- Layering Peanut Butter: Melting the peanut butter before drizzling helps create a smooth and even layer.
- Cool Completely: Allow the bars to cool fully before cutting for clean edges.
- Experiment with Toppings: Feel free to add chocolate chips or chopped nuts for an extra crunch!
Storing and Reheating Tips
- Fridge: Store in an airtight container for up to one week.
- Freezer: Wrap individual bars in plastic wrap and place them in a freezer-safe bag for up to three months.
- Reheat: Microwave for a few seconds just to warm them up, or enjoy them cold!
Common Mistakes to Avoid
- Not Measuring Accurately: Baking is a science; accurate measurements ensure the best texture.
- Overmixing: Once you add the dry ingredients, mix just until combined to keep them light and fluffy.
- Skipping Cooling Time: Cutting bars before they’re completely cool will lead to messy edges.
FAQs About Lunch Lady Peanut Butter Bars
Can I make this recipe gluten-free?
Yes, you can substitute the all-purpose flour with a gluten-free blend.
How can I store leftovers?
It depends; store in the fridge for one week or freeze for up to three months.
Can I use natural peanut butter?
No, while you can use it, the texture may differ, affecting the overall outcome.
What if I’m allergic to peanuts?
Yes, you could substitute the peanut butter with almond butter or sunflower seed butter.
Is this recipe kid-friendly?
Yes, they are a hit with kids, perfect for lunchboxes or snack time!
Wrapping Up: The Joy of Lunch Lady Peanut Butter Bars
In the end, the joy of baking and sharing Lunch Lady Peanut Butter Bars goes beyond the taste—it’s about creating memories and celebrating the moments we spend with loved ones. I hope you give this recipe a try and share your experiences. Leave a comment, and let me know how your creation turned out!
Print
Lunch Lady Peanut Butter Bars
- Total Time: 32 minutes
- Yield: 24 servings 1x
- Diet: Vegetarian
Description
Delightful and nostalgic peanut butter bars reminiscent of childhood lunchroom favorites, perfect for snacks and gatherings.
Ingredients
- 1 cup salted butter, softened (227g)
- 1 cup granulated sugar (200g)
- 1 cup packed light brown sugar (200g)
- 2 1/2 cups creamy peanut butter, divided
- 2 large eggs
- 2 teaspoons vanilla extract
- 2 cups all-purpose flour, scooped & leveled (282g)
- 2 cups old-fashioned oats
- 1 teaspoon baking soda
- 1 teaspoon salt
- 1/2 cup salted butter, softened (114g)
- 3 cups powdered sugar
- 4 tablespoons cocoa powder
- 1/4 cup milk
- 2 teaspoons vanilla extract
Instructions
- Preheat oven to 350°F.
- Spray a half-sheet baking sheet (13″x18″) with baking spray.
- Beat the butter, granulated sugar, brown sugar, and 1 cup of the peanut butter in a mixer until creamy and light.
- Add eggs and vanilla extract, then beat again, scraping the bottom and sides of the bowl.
- Add the flour, oats, baking soda, and salt. Mix just until combined.
- Spread the peanut butter oatmeal cookie dough into the prepared pan with a spatula.
- Bake for 15-17 minutes until golden brown around the edges and barely set in the middle. Do not overbake.
- Melt the remaining 1 1/2 cups of peanut butter in the microwave in a microwave-safe bowl for 1 minute, then drizzle over the top of the bars, spreading it into an even layer with a spatula or knife.
- Let cool completely until the peanut butter has firmed up. This can be sped up by sticking the bars in the fridge.
- Make the chocolate frosting by beating the butter, powdered sugar, cocoa powder, milk, and vanilla extract in a large bowl until smooth.
- Spread in an even layer over the cooled bars, then cut into squares.
Notes
For a healthier twist, consider using sugar substitutes like stevia or monk fruit. Avoid skipping the cooling time for clean edges when cutting.
- Prep Time: 15 minutes
- Cook Time: 17 minutes
- Category: Dessert
- Method: Baking
- Cuisine: American
Nutrition
- Serving Size: 1 square
- Calories: 350
- Sugar: 20g
- Sodium: 200mg
- Fat: 16g
- Saturated Fat: 7g
- Unsaturated Fat: 6g
- Trans Fat: 0g
- Carbohydrates: 45g
- Fiber: 3g
- Protein: 6g
- Cholesterol: 30mg