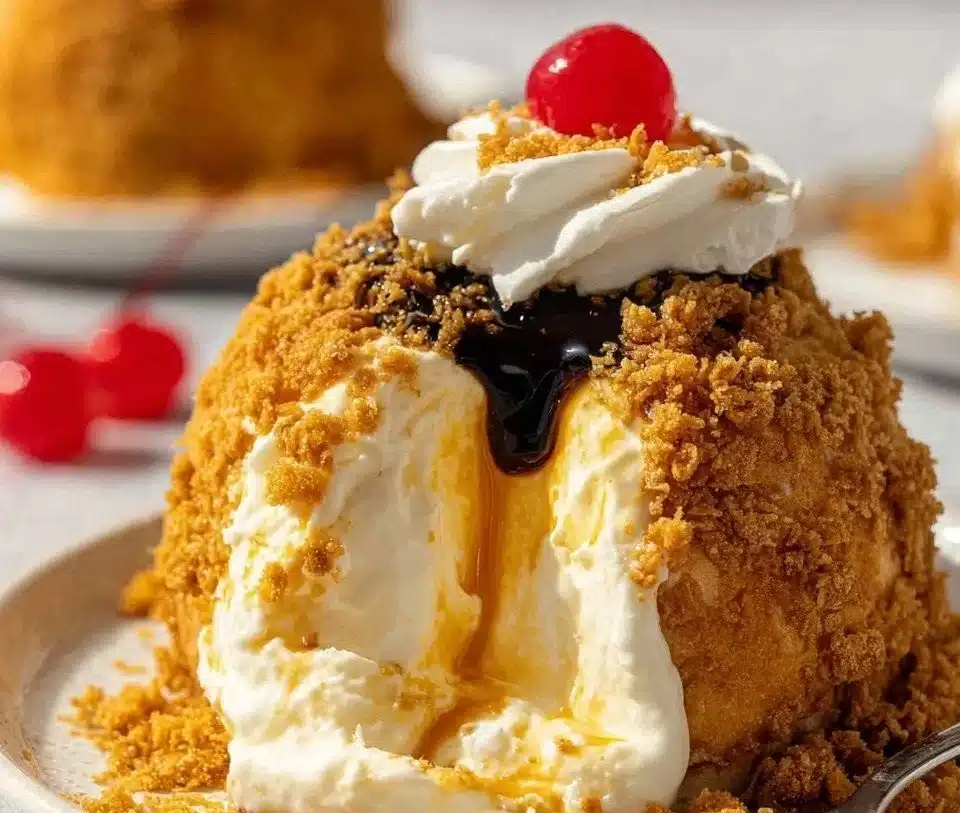
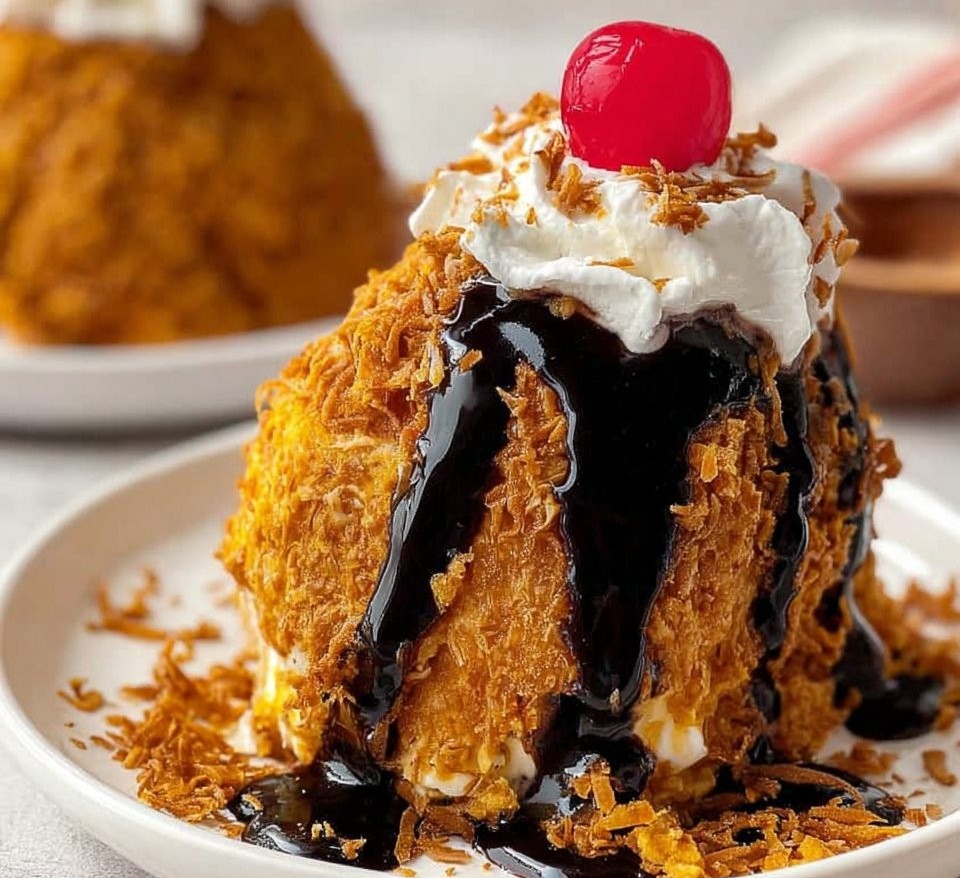
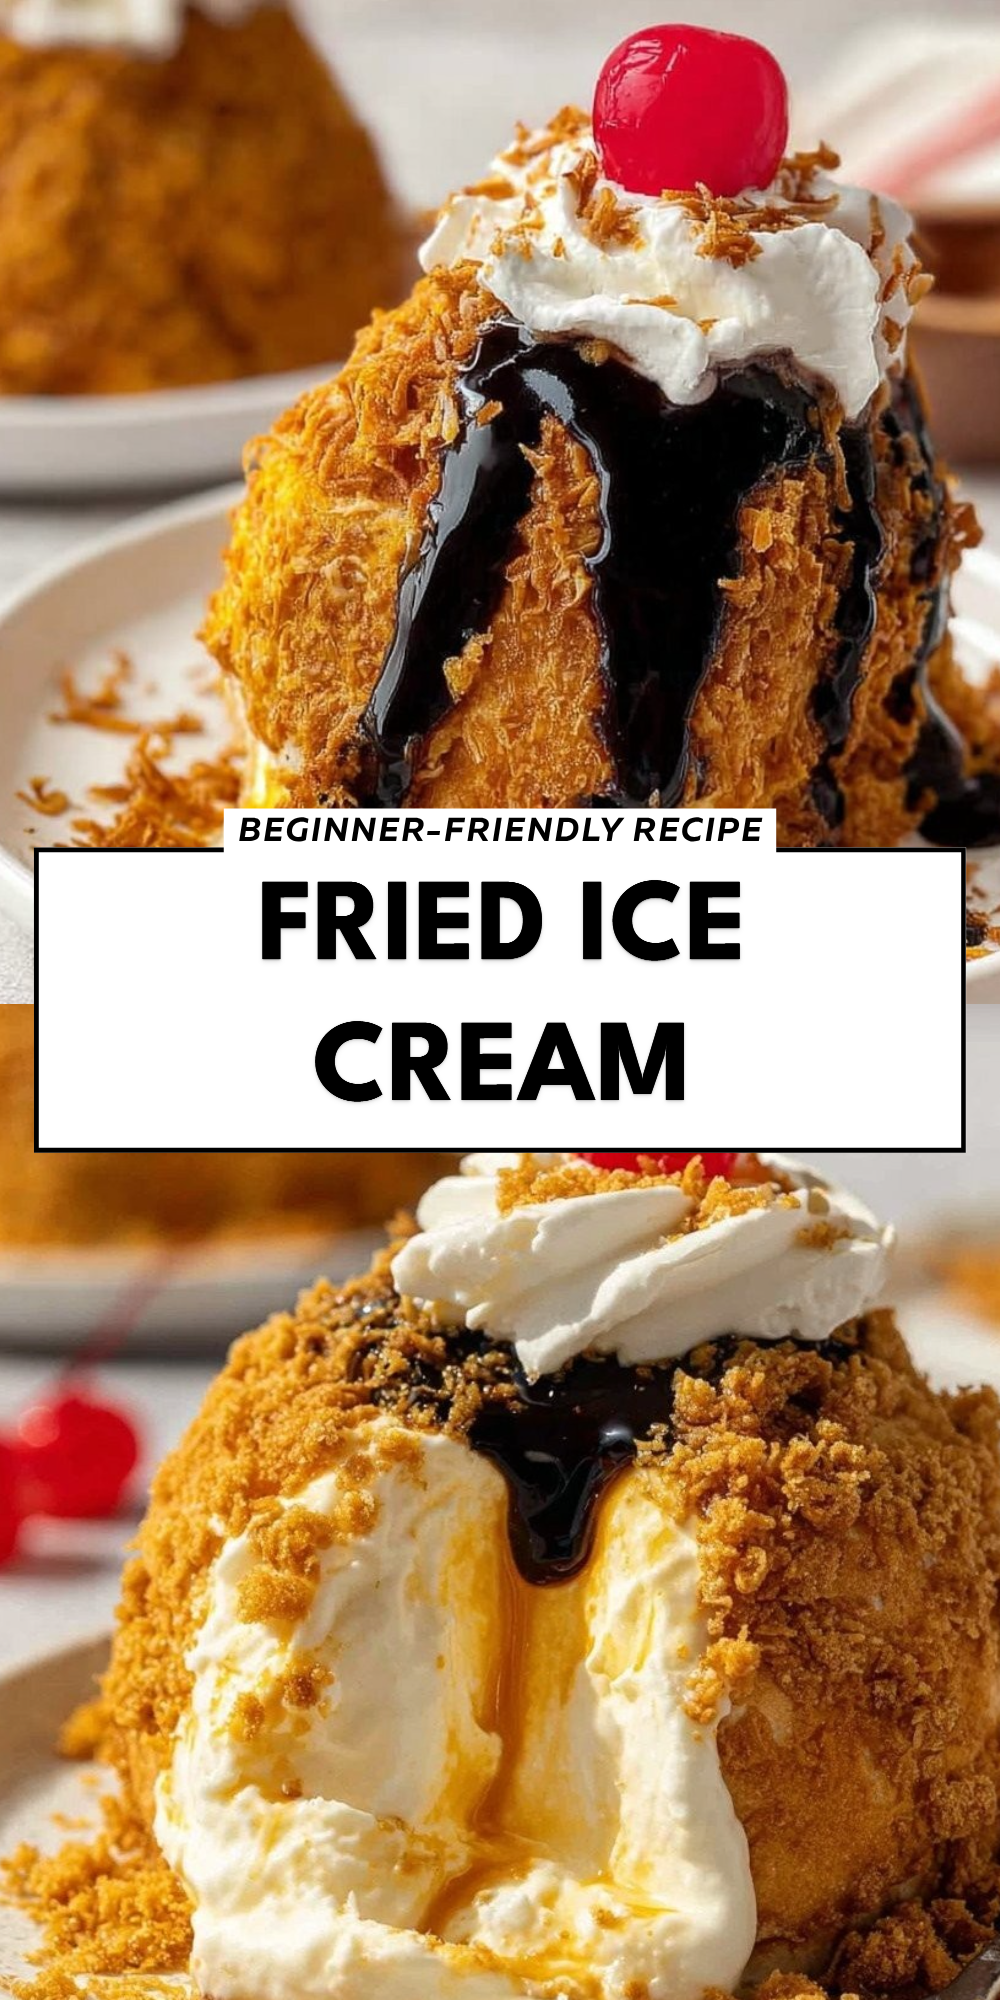
Fried Ice Cream
This post may contain affiliate links.
There’s something truly magical about the moment when a cold, creamy scoop of ice cream meets the hot embrace of frying oil, transforming into a crunchy, warm treat that awakens your senses. Homemade Fried Ice Cream is not just a dessert; it’s an experience, a sweet journey that brings back memories of summer days spent at fairs and festivals. The first bite delivers a delightful contrast: the crispiness of the golden crust followed by the smooth richness inside.
As I dive into making this delight, the essence of childhood nostalgia fills my kitchen—a promise to recreate those moments of joy with every reluctant lift of the spoon. Let’s embark on this sweet adventure together, exploring the captivating world of Homemade Fried Ice Cream.
The Story Behind Homemade Fried Ice Cream
Homemade Fried Ice Cream embodies the spirit of indulgence across different cultures, each adding its own twist to this delightful dish. Originating from Mexico, it has successfully transcended borders, becoming a favorite in many countries, especially in the United States where it often graces menus at both small taquerias and lavish restaurants. Traditionally made with a scoop of ice cream rolled in a crunchy coating and then quickly fried, this dessert brings together the warmth of fried treats with the coolness of ice cream.
What makes this dish so remarkable is its ability to mirror the shared joy of food—uniting friends and families over crispy bites of happiness. Homemade Fried Ice Cream is more than just a recipe; it’s a way to share moments of love and laughter in the kitchen.
Why You’ll Love This Homemade Fried Ice Cream
- Flavor Explosion: Each bite is a symphony of textures, combining the crunchy cornflake exterior with the luscious ice cream inside.
- Family Fun: This recipe is perfect for involving kids in the kitchen, encouraging creativity and exploration.
- Quick Indulgence: Despite its gourmet appearance, this dessert requires simple ingredients and is surprisingly easy to make at home.
- Celebration Ready: Whether it’s a birthday, holiday, or just a cozy weeknight dinner, Homemade Fried Ice Cream can elevate any occasion.
Who Will Enjoy This Homemade Fried Ice Cream Most
- Families looking for a fun cooking project to enjoy together.
- Dessert lovers who crave a unique twist on classic ice cream.
- Home cooks eager to impress guests with a visually stunning dish.
- Anyone with a sweet tooth who enjoys crunchy, creamy combinations.
Perfect Moments to Enjoy Homemade Fried Ice Cream
The beauty of Homemade Fried Ice Cream lies in its versatility. Here are some of the best moments to whip it up:
- Summer Gatherings: Perfect for outdoor barbecues and picnics.
- Birthday Parties: Kids and adults alike will adore the surprise of hot ice cream!
- Holiday Celebrations: Add a festive touch to your holiday dessert table.
- Cozy Nights In: Enjoy a comforting dessert while watching a movie on a chilly evening.
How to Make the Perfect Homemade Fried Ice Cream
Creating the perfect Homemade Fried Ice Cream might sound daunting, but I assure you, it’s a fun and rewarding process. Here’s how to do it step by step.
Ingredients
- 1 pint of ice cream (your choice)
- 2 cups cornflakes, crushed
- 1 teaspoon ground cinnamon
- 1 cup all-purpose flour
- 2 eggs, beaten
- 1 teaspoon vanilla extract
- Oil for frying
- Chocolate sauce (for drizzling)
- Whipped cream (for serving)
Step-by-Step Instructions
- Scoop ice cream into small balls and freeze until solid, about 2 hours.
- Mix crushed cornflakes with cinnamon in a shallow dish.
- Add flour into another bowl.
- Combine beaten eggs with vanilla in a third bowl.
- Roll each ice cream ball first in flour.
- Dip each ball in the egg mixture.
- Coat with the cornflake mixture.
- Freeze the coated balls for an additional 30 minutes.
- Heat oil in a deep pan over medium heat.
- Fry the ice cream balls for a few seconds until golden brown.
- Remove and drain on paper towels.
- Serve immediately with chocolate sauce and whipped cream.
For People with Diabetes: Sugar Substitutes
- Stevia: A natural sweetener that provides sweetness without the calories.
- Monk Fruit: A zero-calorie, natural alternative that doesn’t raise blood sugar levels.
- Allulose: A low-calorie sugar substitute that behaves like sugar in recipes.
Avoid using honey or maple syrup, as they can significantly increase sugar levels.
Must-Have Tools for This Recipe
- Deep frying pan or pot
- Measuring cups
- Mixing bowls
- Freezer-safe tray
- Slotted spoon or spatula
Pro Tips to Elevate Your Homemade Fried Ice Cream
- Freeze Longer: For best results, allow the ice cream balls to freeze for an extra hour.
- Temperature Check: Ensure your oil is hot enough to fry quickly—test with a small piece of bread; it should sizzle immediately.
- Creative Coatings: Experiment by adding nuts, sprinkles, or flaked coconut to the cornflake mixture for extra flair.
Storing and Reheating Tips
- Fridge: It’s best enjoyed fresh, but if you have leftovers, store them covered in the refrigerator for a day.
- Freezer: Place any leftover ice cream balls in an airtight container in the freezer.
- Reheat: Fried ice cream is best eaten right away. If you must reheat, use a toaster oven to maintain its crispiness.
Common Mistakes to Avoid
- Skipping Freezing Time: Not allowing the ice cream balls to freeze sufficiently can lead to a melted mess during frying.
- Overcrowding the Pan: Fry in small batches to maintain oil temperature and achieve an even fry.
- Not Monitoring Temperature: Too hot and the coating burns; too cool and the ice cream melts before it crisps.
Common Queries Regarding Homemade Fried Ice Cream
- Can I use any flavor of ice cream? Yes, you can customize it with your favorite ice cream flavor!
- Is frying necessary? Yes, frying is essential to create the crispy texture of the coating.
- Can I make it ahead of time? You can prepare the balls and freeze them, but fry just before serving for the best texture.
- Does it have to be served hot? Yes, for the best experience, serve it immediately after frying while it’s still warm.
Final Word on This Homemade Fried Ice Cream Recipe
Homemade Fried Ice Cream deserves a special place at our tables, evoking nostalgia, joy, and a sweet celebration meal after every successful fry. So why not make it a family affair in the kitchen? Feel free to share your thoughts and experiences below. Happy cooking!
Homemade Fried Ice Cream
- Total Time: 135 minutes
- Yield: 4 servings 1x
- Diet: Vegetarian
Description
Experience the delightful contrast of crunchy, warm coating with creamy ice cream in this nostalgic dessert.
Ingredients
- 1 pint of ice cream (your choice)
- 2 cups cornflakes, crushed
- 1 teaspoon ground cinnamon
- 1 cup all-purpose flour
- 2 eggs, beaten
- 1 teaspoon vanilla extract
- Oil for frying
- Chocolate sauce (for drizzling)
- Whipped cream (for serving)
Instructions
- Scoop ice cream into small balls and freeze until solid, about 120 minutes.
- Mix crushed cornflakes with cinnamon in a shallow dish.
- Add flour into another bowl.
- Combine beaten eggs with vanilla in a third bowl.
- Roll each ice cream ball first in flour.
- Dip each ball in the egg mixture.
- Coat with the cornflake mixture.
- Freeze the coated balls for an additional 30 minutes.
- Heat oil in a deep pan over medium heat.
- Fry the ice cream balls for a few seconds until golden brown.
- Remove and drain on paper towels.
- Serve immediately with chocolate sauce and whipped cream.


Notes
For best results, freeze the ice cream balls for an extra hour before frying.
- Prep Time: 15 minutes
- Cook Time: 10 minutes
- Category: Dessert
- Method: Frying
- Cuisine: Mexican
Nutrition
- Serving Size: 1 serving
- Calories: 350
- Sugar: 30g
- Sodium: 400mg
- Fat: 20g
- Saturated Fat: 8g
- Unsaturated Fat: 10g
- Trans Fat: 0g
- Carbohydrates: 45g
- Fiber: 2g
- Protein: 6g
- Cholesterol: 140mg


