To create these delightful Sticky Toffee Pudding Cookies, you’ll need a few simple ingredients that come together to form a warm, gooey treat. Here’s what you’ll need:
What is Sticky Toffee Pudding Cookies?
Why You’ll Love This Sticky Toffee Pudding Cookies
- 1 cup unsalted butter, softened
- 1 cup brown sugar
- 1/2 cup granulated sugar
- 2 large eggs
- 2 teaspoons vanilla extract
- 2 cups all-purpose flour
- 1 teaspoon baking soda
- 1/2 teaspoon salt
- 1 cup chopped dates
- 1/2 cup chopped walnuts (optional)
- 1 cup salted caramel sauce
Who It’s For
Each ingredient plays a vital role in achieving that perfect chewy texture and rich flavor. For a twist, consider substituting coconut sugar for brown sugar to give your cookies a unique depth of flavor. If you’re not a fan of walnuts, feel free to leave them out or swap them for pecans!
When to Cook It
Now, let’s dive into the process of making these Sticky Toffee Pudding Cookies. Follow these easy steps:
How to Make the Perfect Sticky Toffee Pudding Cookies
Ingredients
- Quick Baking Time: With just 15 minutes of prep and 12 minutes in the oven, you can have these cookies ready in no time, making them perfect for busy weeknights.
- Delightful Flavors and Textures: The combination of soft, chewy dates and rich salted caramel creates a symphony of flavors that dance on your palate.
- Healthier Indulgence: Using dates not only adds natural sweetness but also provides fiber, making these cookies a more wholesome treat.
- Family-Friendly Appeal: These cookies are a hit with kids and adults alike, making them an ideal dessert for family gatherings or after-school snacks.
Step-by-Step Instructions
- Preheat your oven to 350°F (175°C).
- In a large bowl, cream together the softened butter, brown sugar, and granulated sugar until light and fluffy, about 3-5 minutes.
- Add the eggs one at a time, mixing well after each addition, then stir in the vanilla extract until well combined.
- In another bowl, whisk together the flour, baking soda, and salt until evenly mixed.
- Gradually add the dry ingredients to the wet ingredients, mixing until just combined; be careful not to overmix.
- Fold in the chopped dates and walnuts, if using, ensuring they are evenly distributed throughout the dough.
- Drop spoonfuls of dough onto a baking sheet lined with parchment paper, spacing them about 2 inches apart.
- Bake for 10-12 minutes or until the edges are golden brown and the centers are set but still soft.
- Let the cookies cool on the baking sheet for a few minutes before transferring them to a wire rack to cool completely.
- Drizzle with salted caramel sauce before serving for that extra touch of sweetness.
For People with Diabetes: Sugar Substitutes
- Stevia: A natural sweetener that can replace sugar without the calories.
- Monk fruit: Another natural option that provides sweetness without affecting blood sugar levels.
- Erythritol: A sugar alcohol that has minimal impact on blood sugar and can be used in equal amounts as sugar.
- Allulose: A low-calorie sugar that tastes like sugar but is absorbed differently by the body.
It’s best to avoid using honey or maple syrup, as they can still raise blood sugar levels significantly.
Tools You’ll Need
- Mixing Bowls: A set of various sizes is ideal. If you don’t have mixing bowls, any large, deep dish will work.
- Electric Mixer: For creaming the butter and sugars. If you don’t have one, a sturdy whisk and some elbow grease will do the trick!
- Measuring Cups and Spoons: Accurate measurements are key. If you’re in a pinch, use a standard coffee mug for dry ingredients and a tablespoon for liquids.
- Rubber Spatula: Perfect for folding in ingredients. A wooden spoon can also work well for this task.
- Baking Sheet: A flat, rimmed baking sheet is essential. If you don’t have one, a large oven-safe dish can serve as a substitute.
- Parchment Paper: This helps prevent sticking. If you’re out, lightly greasing the baking sheet will suffice.
- Wire Rack: For cooling the cookies. If you don’t have one, a plate or cutting board can work in a pinch.
Top Tips from Well-Known Chefs
- Use Room Temperature Ingredients: Many chefs emphasize the importance of using room temperature butter and eggs. This helps create a smoother batter and ensures even mixing, resulting in a better texture for your cookies.
- Don’t Overmix the Dough: Chef Julia Child once said, “The secret to great cookies is not to overmix.” Overmixing can lead to tough cookies. Mix until just combined for that perfect chewy texture.
- Chill the Dough: Renowned pastry chef Dominique Ansel recommends chilling your cookie dough for at least 30 minutes before baking. This helps the flavors meld together and prevents the cookies from spreading too much in the oven.
- Experiment with Spices: Adding a pinch of cinnamon or nutmeg can elevate the flavor profile of your Sticky Toffee Pudding Cookies. Chef Ina Garten suggests that a little spice can add warmth and depth to your baked goods.
- Quality Ingredients Matter: Chef Thomas Keller emphasizes using high-quality ingredients, especially when it comes to chocolate and vanilla. Opt for pure vanilla extract and fresh dates for the best flavor in your cookies.
- Don’t Skip the Salt: A sprinkle of sea salt on top of your cookies before baking can enhance the sweetness and create a delightful contrast. Chef Alice Waters swears by this technique to elevate her desserts.
Storing and Reheating Tips
- Add Spices: For a warm, cozy flavor, consider adding a teaspoon of ground cinnamon or nutmeg to the dry ingredients. These spices will enhance the sweetness and give your cookies a comforting aroma reminiscent of fall.
- Experiment with Nuts: While walnuts add a lovely crunch, you can also try using pecans or hazelnuts for a different texture and flavor. If you prefer a nut-free option, simply omit them altogether!
- Incorporate Chocolate: For a decadent twist, fold in a cup of chocolate chips or chunks. Dark chocolate pairs beautifully with the sweetness of the dates and caramel, creating a rich, indulgent cookie.
- Use Dried Fruits: Mix in other dried fruits like cranberries, apricots, or raisins for added sweetness and a burst of flavor. This not only enhances the taste but also adds a pop of color to your cookies.
- Infuse with Citrus: A teaspoon of orange or lemon zest can brighten the flavor profile of your cookies, adding a refreshing twist that complements the richness of the toffee.
- Make it Gluten-Free: If you’re looking for a gluten-free option, substitute all-purpose flour with a 1:1 gluten-free flour blend. This allows everyone to enjoy these delicious cookies without compromising on taste.
Common Mistakes to Avoid
- Measure Ingredients Accurately: Precision is key in baking. Use a kitchen scale for the most accurate measurements, especially for flour and sugar. This ensures your cookies turn out consistently delicious every time.
- Room Temperature Ingredients: Allow your butter and eggs to come to room temperature before mixing. This helps create a smoother batter and ensures even mixing, resulting in a tender cookie.
- Don’t Overmix: When combining the wet and dry ingredients, mix until just combined. Overmixing can lead to tough cookies, so be gentle and stop as soon as you no longer see dry flour.
- Chill the Dough: For the best results, chill your cookie dough for at least 30 minutes before baking. This helps the flavors meld together and prevents the cookies from spreading too much in the oven, resulting in a thicker, chewier cookie.
- Use Quality Ingredients: Opt for high-quality butter, pure vanilla extract, and fresh dates. The better the ingredients, the more flavorful your cookies will be. This is especially true for the salted caramel sauce—choose one that you love!
- Experiment with Baking Times: Every oven is different. Start checking your cookies a minute or two before the recommended baking time. You want the edges to be golden brown while the centers remain soft and slightly underbaked for that perfect chewy texture.
- Let Them Cool: Allow your cookies to cool on the baking sheet for a few minutes before transferring them to a wire rack. This helps them set and prevents them from breaking apart.
- Top with Sea Salt: A sprinkle of flaky sea salt on top of your cookies before baking enhances the sweetness and adds a delightful contrast. This simple touch can elevate your Sticky Toffee Pudding Cookies to a whole new level.
FAQs About Sticky Toffee Pudding Cookies
- Room Temperature: If you plan to enjoy your cookies within a week, store them in an airtight container at room temperature. This keeps them soft and chewy, just like when they first came out of the oven.
- Refrigerator: For longer storage, you can keep your cookies in the fridge. Place them in an airtight container, and they will stay fresh for up to two weeks. Just be aware that refrigeration may slightly alter their texture, making them a bit firmer.
- Freezer: To keep your Sticky Toffee Pudding Cookies for an extended period, freeze them! Place the cookies in a single layer on a baking sheet to freeze for about an hour. Once frozen, transfer them to a freezer-safe bag or container, separating layers with parchment paper. They can be stored in the freezer for up to three months.
Conclusion: Final Thoughts on Sticky Toffee Pudding Cookies
When you’re ready to enjoy your cookies again, reheating them can bring back that fresh-baked warmth:
By following these storing and reheating tips, you can enjoy your Sticky Toffee Pudding Cookies at their best, whether it’s the day they’re baked or weeks later!
As you embark on your journey to create these delightful Sticky Toffee Pudding Cookies, here are some extra clarifications and tips to ensure your baking experience is smooth and enjoyable:
Sticky toffee pudding has a rich history in British cuisine, often enjoyed as a comforting dessert during family gatherings and festive occasions. It’s a dish that evokes nostalgia and warmth, making it a beloved staple in many households. By transforming this classic dessert into cookies, I hope to bring a piece of that tradition into your kitchen, allowing you to share the joy of sticky toffee pudding with your loved ones in a new and exciting way.
With these helpful notes, you’ll be well-equipped to create the most delicious Sticky Toffee Pudding Cookies that capture the essence of the original dessert while adding your personal touch!
Baking can be a delightful experience, but there are a few common pitfalls that can turn your Sticky Toffee Pudding Cookies into a less-than-perfect treat. Here are some mistakes to watch out for:
By avoiding these common mistakes, you’ll be well on your way to creating the most delicious Sticky Toffee Pudding Cookies that will impress everyone!
Here are some common questions I often receive about Sticky Toffee Pudding Cookies, along with their answers to help you on your baking journey:
These FAQs should help clarify any doubts you may have about making Sticky Toffee Pudding Cookies. Happy baking!
As I reflect on my journey of creating these Sticky Toffee Pudding Cookies, I can’t help but feel a warm sense of nostalgia. Each bite transports me back to that cozy pub in England, where the rich flavors of sticky toffee pudding first captured my heart. These cookies are more than just a dessert; they are a celebration of comfort, family, and the joy of sharing good food with loved ones.
I encourage you to try this recipe and experience the magic for yourself. Whether you’re baking for a family gathering, a cozy night in, or simply to indulge your sweet tooth, these cookies are sure to bring smiles all around. I would love to hear about your baking adventures! Please share your thoughts, tips, and any variations you try in the comments below.
If you enjoyed this recipe, don’t forget to share it with your friends and family. Let’s spread the joy of Sticky Toffee Pudding Cookies and create more delicious memories together!
Print
Sticky Toffee Pudding Cookies Recipe
- Total Time: 27 minutes
- Yield: 24 cookies 1x
- Diet: Vegetarian
Description
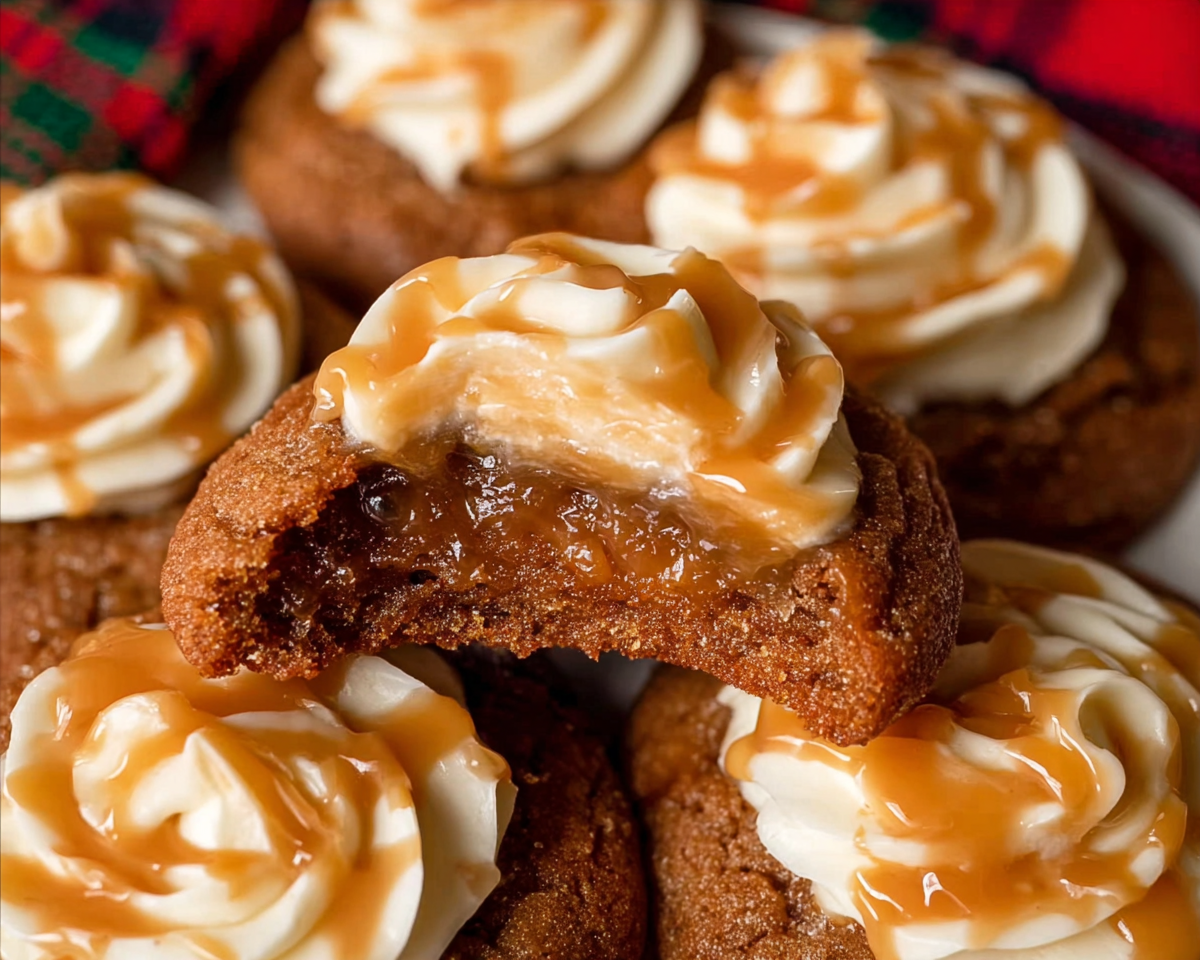
Deliciously soft and chewy cookies inspired by the classic sticky toffee pudding.
Ingredients
- 1 cup unsalted butter, softened
- 1 cup brown sugar
- 1/2 cup granulated sugar
- 2 large eggs
- 2 teaspoons vanilla extract
- 2 cups all-purpose flour
- 1 teaspoon baking soda
- 1/2 teaspoon salt
- 1 cup chopped dates
- 1/2 cup chopped walnuts (optional)
- 1 cup salted caramel sauce
Instructions
- Preheat your oven to 350°F (175°C).
- In a large bowl, cream together the softened butter, brown sugar, and granulated sugar until light and fluffy.
- Add the eggs one at a time, mixing well after each addition, then stir in the vanilla extract.
- In another bowl, whisk together the flour, baking soda, and salt.
- Gradually add the dry ingredients to the wet ingredients, mixing until just combined.
- Fold in the chopped dates and walnuts, if using.
- Drop spoonfuls of dough onto a baking sheet lined with parchment paper.
- Bake for 10-12 minutes or until the edges are golden brown.
- Let the cookies cool on the baking sheet for a few minutes before transferring them to a wire rack to cool completely.
- Drizzle with salted caramel sauce before serving.
Discover my favorite kitchen tools I always use.
Notes
- Store cookies in an airtight container for up to a week.
- For a richer flavor, use dark brown sugar.
- These cookies can be frozen for up to 3 months.
- Prep Time: 15 minutes
- Cook Time: 12 minutes
- Category: Dessert
- Method: Baking
- Cuisine: British
Nutrition
- Serving Size: 1 cookie
- Calories: 150
- Sugar: 10g
- Sodium: 100mg
- Fat: 7g
- Saturated Fat: 4g
- Unsaturated Fat: 2g
- Trans Fat: 0g
- Carbohydrates: 20g
- Fiber: 1g
- Protein: 2g
- Cholesterol: 30mg