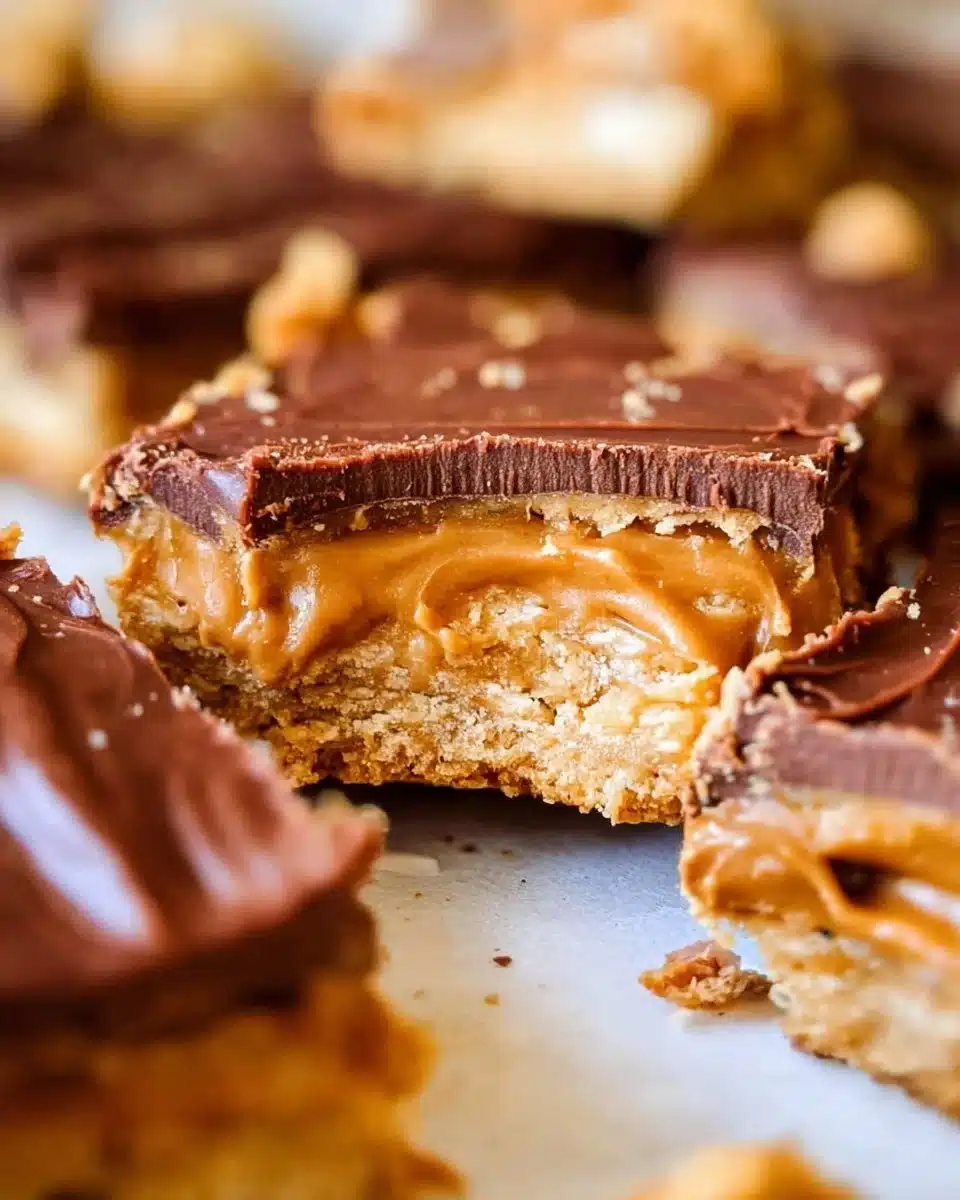
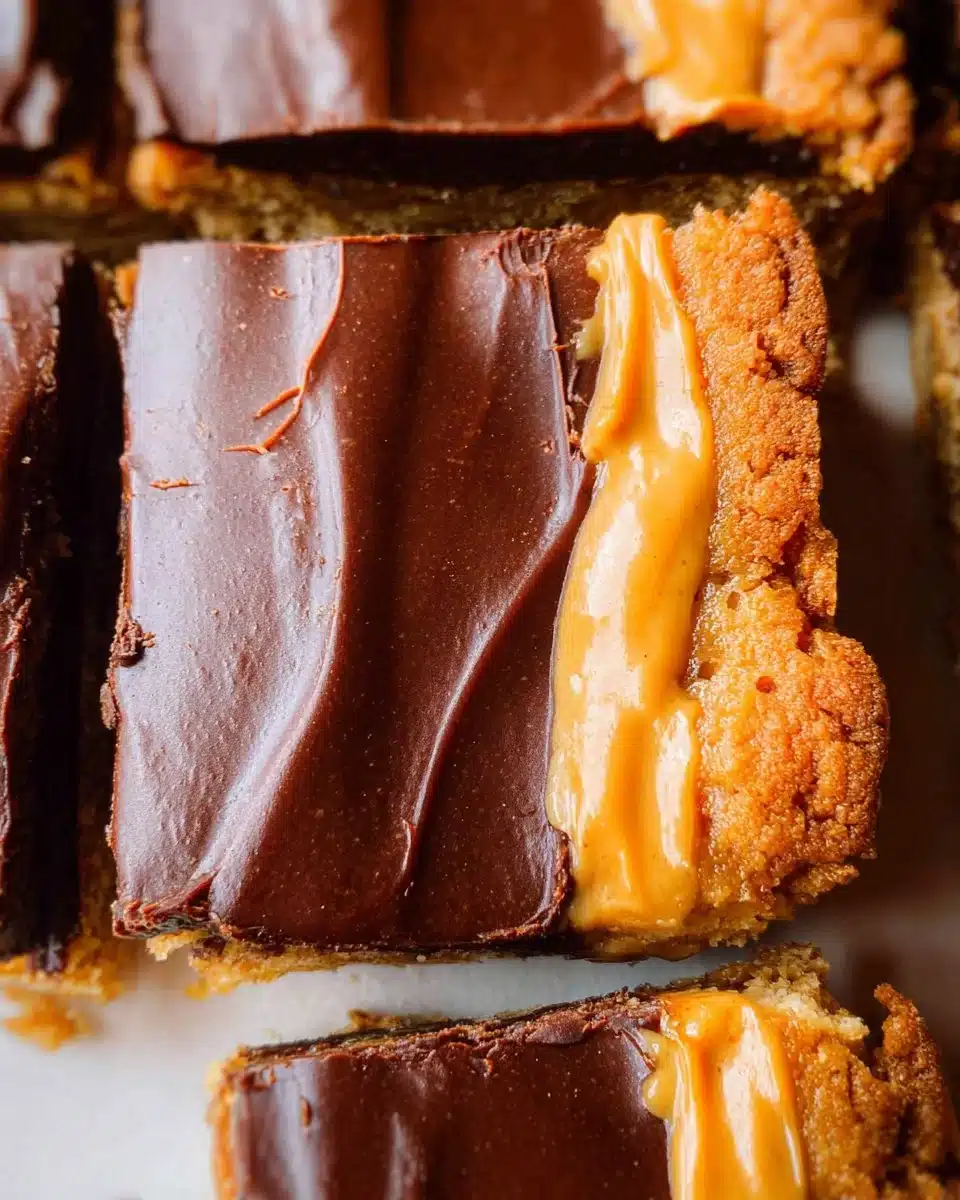
Peanut Butter Lunch Lady Bars
This post may contain affiliate links.
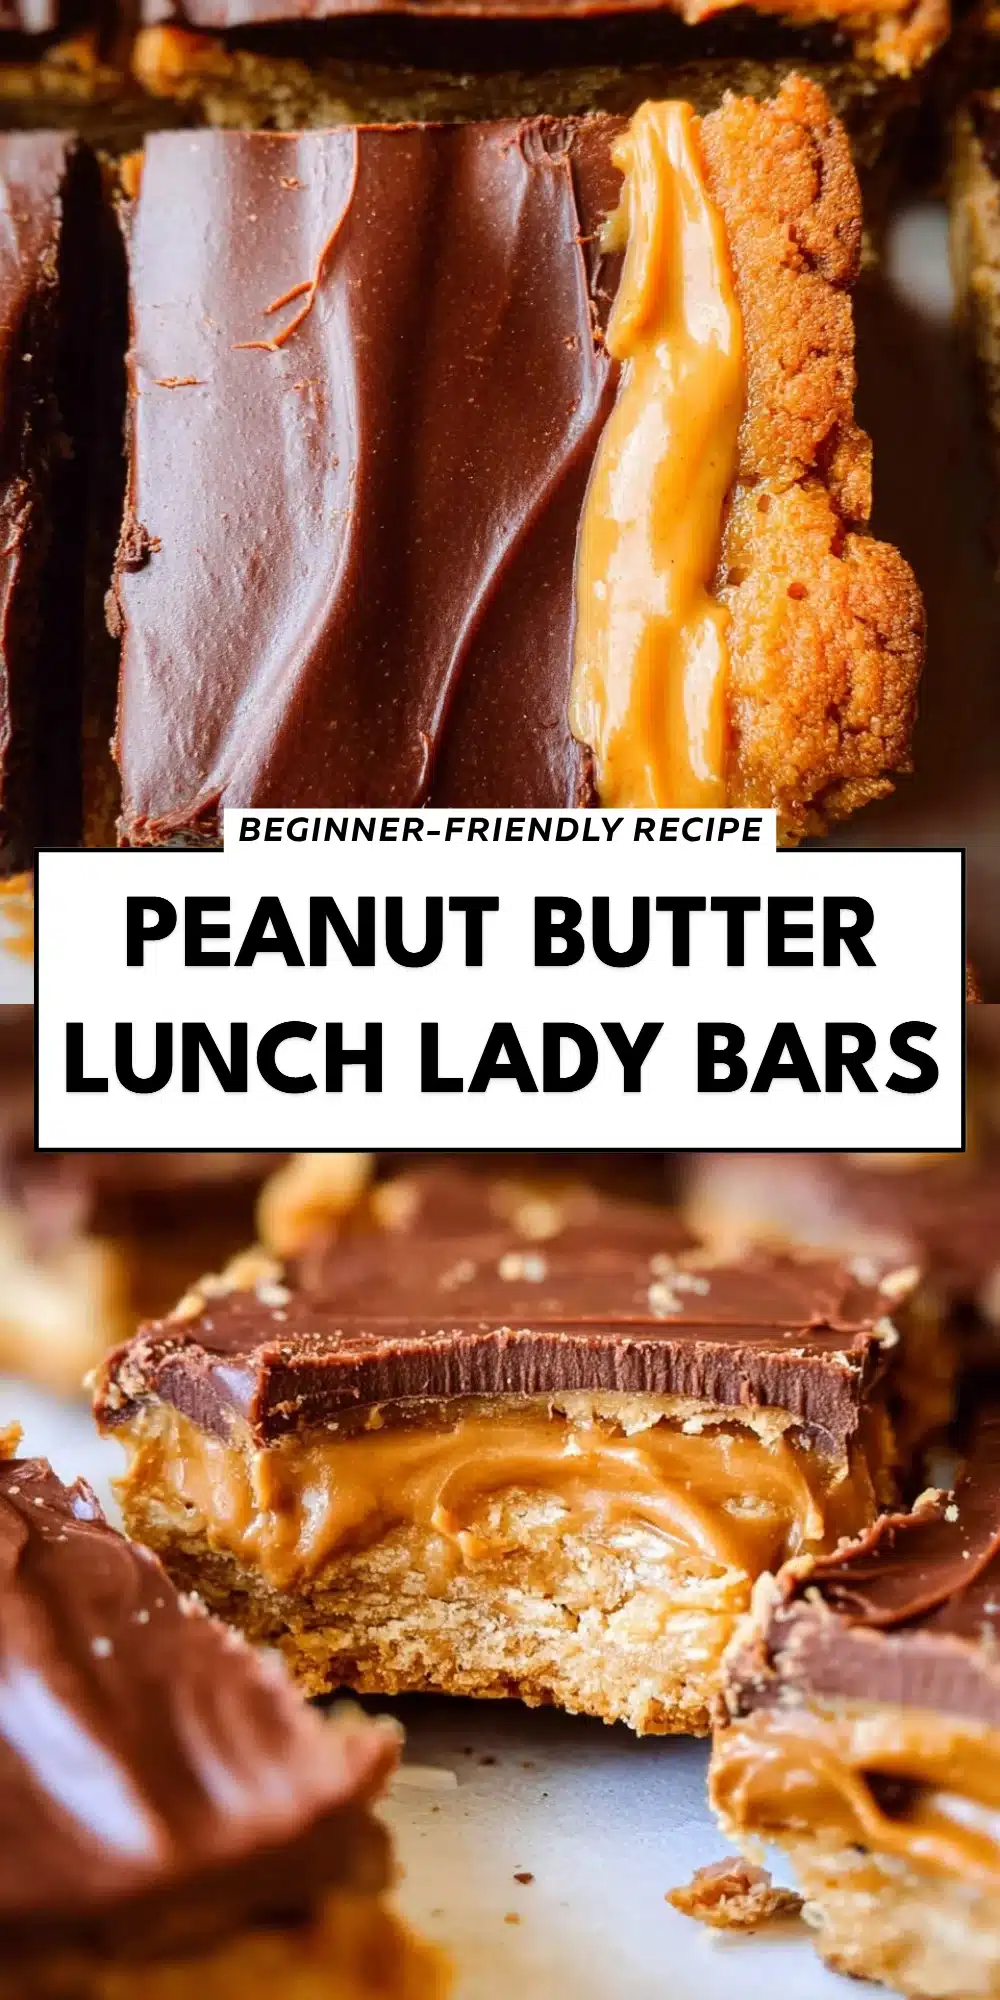
There’s nothing quite like the smell of baked goods wafting through the home, isn’t there? Every time I step into the kitchen to whip up a batch of Peanut Butter Lunch Lady Bars, nostalgia wraps around me like a cozy blanket. These bars are an extension of love, laughter, and cherished memories—the quintessential treat that transports you to a simpler time of school lunches and playground chatter. With their delightful creamy peanut butter flavor and sweet frosting, it’s hard to resist taking just one more bite.
Peanut Butter Lunch Lady Bars evoke childhood happiness with each soft, chewy bite. Their rich, homey flavor is perfect for sharing—bringing everyone together to savor the sweetness of life. In just a little while, you’ll be baking your very own batch and experiencing that comforting feeling for yourself.
Understanding the Magic of Peanut Butter Lunch Lady Bars
Peanut Butter Lunch Lady Bars are a nostalgic dessert, appearing in lunchrooms across America and beloved by both children and adults alike. Reminiscent of school days spent trading treats and sharing laughter, this recipe is a celebration of unpretentious deliciousness. Originating from classic home kitchens and school cafeterias, these bars meld together the rich flavors of peanut butter, oats, and sweet frosting, creating a delightful sweet treat that evokes fond memories.
They’re not just tasty; they have a way of warming your heart, making them a treasured recipe to pass along through generations. In a world that’s constantly changing, it’s comforting to have these familiar flavors rooted in tradition.
Why You’ll Love This Peanut Butter Lunch Lady Bars
- Flavorful Delight: Balancing sweet and creamy peanut butter with a soft, chewy texture, these bars are an unforgettable taste sensation.
- Convenient and Simple: With straightforward ingredients and simple steps, they’re perfect for both beginner and seasoned bakers.
- Family-Friendly: Loved by kids and adults alike, they make for a delightful snack during family gatherings or after school.
- Versatile Treat: Dress them up or enjoy them plain—these bars are perfect for any occasion, from birthdays to cozy nights at home.
Who Will Enjoy This Peanut Butter Lunch Lady Bars Most
- Busy families searching for quick, tasty snacks.
- Kids of all ages looking for a delectable treat.
- Beginners wanting a straightforward baking project.
- Peanut butter lovers who crave something sweet and nostalgic.
Perfect Moments to Enjoy Peanut Butter Lunch Lady Bars
- Weeknight desserts after dinner.
- School celebrations or bake sales.
- Family gatherings and picnics in the park.
- Cozy evenings spent watching movies at home.
How to Make the Perfect Peanut Butter Lunch Lady Bars
Creating Peanut Butter Lunch Lady Bars is a delightful process filled with the aroma of baking and the satisfaction of combining simple ingredients into something extraordinary. Let’s dive into the ingredients needed for this scrumptious treat!
Ingredients
- 1 cup unsalted butter (2 sticks, softened)
- 1 cup creamy peanut butter
- 1 cup granulated sugar
- 1 cup packed light brown sugar
- 2 large eggs
- 1 teaspoon pure vanilla extract
- 2 cups all-purpose flour
- 1 teaspoon baking soda
- 1/2 teaspoon salt
- 2 cups quick oats
- 1/2 cup creamy peanut butter (for frosting)
- 4 tablespoons unsalted butter (softened, for frosting)
- 2 teaspoons vanilla extract (for frosting)
- 3-4 tablespoons milk (as needed, for frosting)
- 2 cups powdered sugar (for frosting)
Step-by-Step Instructions
- Preheat your oven to 350°F and prepare a 10×15-inch jelly roll pan by lining it with parchment paper or greasing it well.
- Cream together 1 cup unsalted butter, 1 cup creamy peanut butter, 1 cup granulated sugar, and 1 cup packed light brown sugar in a large mixing bowl until light and fluffy.
- Add in 2 large eggs one at a time, beating well after each addition, then stir in 1 teaspoon vanilla extract.
- Whisk together 2 cups all-purpose flour, 1 teaspoon baking soda, and 1/2 teaspoon salt in a separate bowl.
- Gradually mix the dry ingredients into the wet mixture just until combined.
- Gently fold in 2 cups quick oats, ensuring even distribution without overmixing.
- Spread the batter evenly into the prepared pan and bake for 30 minutes, or until lightly golden around the edges.
- While baking, prepare the frosting by mixing together 1/2 cup creamy peanut butter, 4 tablespoons softened unsalted butter, and 2 teaspoons vanilla extract.
- Gradually add 2 cups powdered sugar, alternating with 3-4 tablespoons of milk as needed until smooth and spreadable.
- Once the bars are baked and slightly cooled, spread the frosting liberally over the top.
For People with Diabetes: Sugar Substitutes
Suitable sugar-free alternatives for this recipe include stevia, monk fruit, and allulose. Avoid using honey or maple syrup as they contain natural sugars that can spike blood sugar levels.
Must-Have Tools for This Recipe
- Mixing bowls
- Measuring cups and spoons
- Electric mixer (or whisk)
- Jelly roll pan (10×15-inch)
- Parchment paper or cooking spray
Pro Tips to Elevate Your Peanut Butter Lunch Lady Bars
- Don’t overmix the batter after adding the dry ingredients. It can lead to tough bars.
- Let the bars cool completely before frosting to prevent the frosting from melting.
- Experiment with mix-ins like chocolate chips or chopped nuts for added texture and flavor.
- Cut the bars into smaller pieces for easy sharing, especially at gatherings.
Storing and Reheating Tips
- Fridge: Store bars in an airtight container for up to one week.
- Freezer: Freeze individually wrapped bars for up to 3 months; thaw before enjoying.
- Reheating: For a warm treat, microwave for a few seconds before serving.
Common Mistakes to Avoid
- Skipping the parchment paper: It helps prevent sticking and ensures easy removal.
- Not softening the butter: This can lead to a dense texture; always use softened butter for optimal aeration.
- Overbaking: Keep a close eye on the bars to avoid dryness, they should be golden around the edges.
Frequently Asked Questions: Peanut Butter Lunch Lady Bars
Can I use natural peanut butter?
Yes, but it may affect the texture; choose a creamy one for best results.Can I make these bars gluten-free?
It depends. Substitute all-purpose flour with a gluten-free blend; check labels for cross-contamination.Are these bars suitable for kids with nut allergies?
No, due to the presence of peanut butter; always check for allergies before serving.Do these bars need to be refrigerated?
No, they can be stored at room temperature as long as sealed properly.Can I add chocolate chips to the batter?
Yes! Chocolate chips would add a delicious twist to the bars.
Wrapping Up: The Joy of Peanut Butter Lunch Lady Bars
These Peanut Butter Lunch Lady Bars deserve a spot in your recipe repertoire. With their rich flavors and nostalgic charm, they’re more than just a dessert; they’re a slice of memory and happiness for anyone who tries them. I encourage you to bake them, share your thoughts, or tell me your favorite childhood treat in the comments!

Peanut Butter Lunch Lady Bars
- Total Time: 45 minutes
- Yield: 20 servings 1x
- Diet: Vegetarian
Description
A nostalgic treat that combines creamy peanut butter and sweet frosting, reminiscent of school lunches and playground chatter.
Ingredients
- 1 cup unsalted butter (2 sticks, softened)
- 1 cup creamy peanut butter
- 1 cup granulated sugar
- 1 cup packed light brown sugar
- 2 large eggs
- 1 teaspoon pure vanilla extract
- 2 cups all-purpose flour
- 1 teaspoon baking soda
- 1/2 teaspoon salt
- 2 cups quick oats
- 1/2 cup creamy peanut butter (for frosting)
- 4 tablespoons unsalted butter (softened, for frosting)
- 2 teaspoons vanilla extract (for frosting)
- 3-4 tablespoons milk (as needed, for frosting)
- 2 cups powdered sugar (for frosting)
Instructions
- Preheat your oven to 350°F and prepare a 10×15-inch jelly roll pan by lining it with parchment paper or greasing it well.
- Cream together 1 cup unsalted butter, 1 cup creamy peanut butter, 1 cup granulated sugar, and 1 cup packed light brown sugar in a large mixing bowl until light and fluffy.
- Add in 2 large eggs one at a time, beating well after each addition, then stir in 1 teaspoon vanilla extract.
- Whisk together 2 cups all-purpose flour, 1 teaspoon baking soda, and 1/2 teaspoon salt in a separate bowl.
- Gradually mix the dry ingredients into the wet mixture just until combined.
- Fold in 2 cups quick oats, ensuring even distribution without overmixing.
- Spread the batter evenly into the prepared pan and bake for 30 minutes, or until lightly golden around the edges.
- While baking, prepare the frosting by mixing together 1/2 cup creamy peanut butter, 4 tablespoons softened unsalted butter, and 2 teaspoons vanilla extract.
- Gradually add 2 cups powdered sugar, alternating with 3-4 tablespoons of milk as needed until smooth and spreadable.
- Once the bars are baked and slightly cooled, spread the frosting liberally over the top.


Notes
Store bars in an airtight container for up to one week. Freeze individually wrapped bars for up to 3 months; thaw before enjoying. For best results, do not overmix the batter and ensure all ingredients are at room temperature.
- Prep Time: 15 minutes
- Cook Time: 30 minutes
- Category: Dessert
- Method: Baking
- Cuisine: American
Nutrition
- Serving Size: 1 bar
- Calories: 250
- Sugar: 18g
- Sodium: 200mg
- Fat: 12g
- Saturated Fat: 6g
- Unsaturated Fat: 4g
- Trans Fat: 0g
- Carbohydrates: 32g
- Fiber: 2g
- Protein: 4g
- Cholesterol: 30mg