Introduction to Irish Brown Bread
As I stand in my cozy kitchen, the aroma of freshly baked Irish Brown Bread fills the air, wrapping me in a warm embrace of nostalgia. This delightful nutty bread has been a staple in my family for generations, each slice telling a story of hearty meals and laughter shared around the table. The rustic texture and rich flavor of Irish Brown Bread make it the perfect companion for everything from a simple soup to a lavish feast. With just a handful of ingredients, you can create a loaf that not only nourishes the body but also warms the soul. Join me as we uncover the secrets to mastering this beloved recipe!
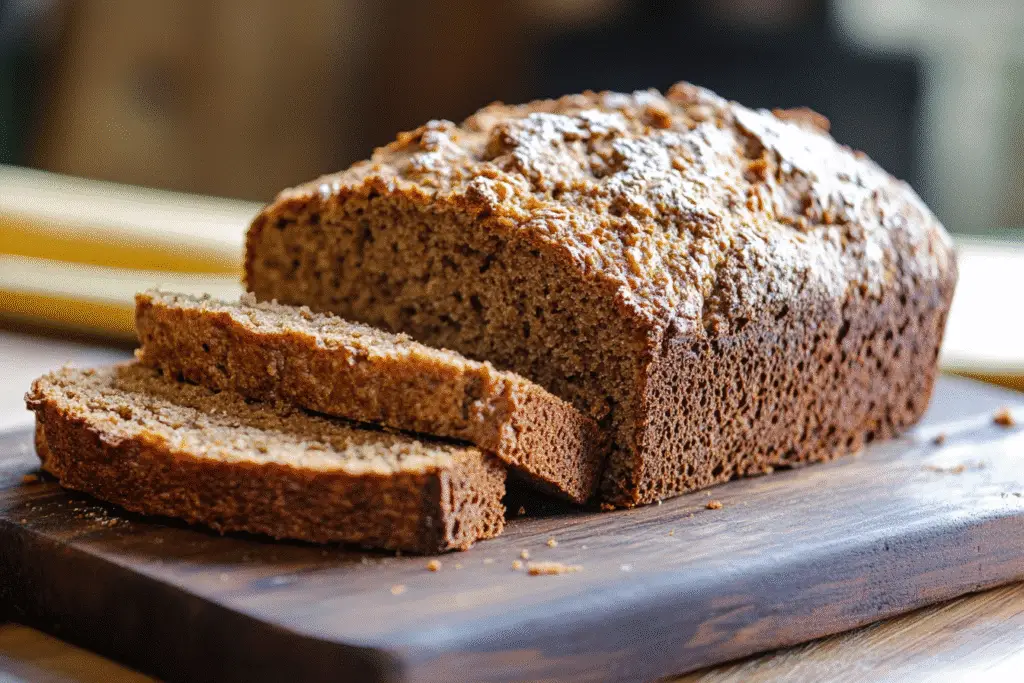
What is Irish Brown Bread?
Irish Brown Bread is more than just a loaf; it’s a symbol of Irish culture and tradition. Originating from the Emerald Isle, this hearty bread has been a staple in Irish households for centuries. Traditionally made with whole wheat flour, it reflects the agricultural practices of the region, where wheat and oats thrive in the lush, green fields.
This rustic bread is often associated with the simple, wholesome meals of rural Ireland, where it was commonly served alongside soups and stews. The nutty flavor and dense texture come from the whole grains, making it not only delicious but also a nutritious choice. In fact, many families have their own cherished recipes, passed down through generations, each with its unique twist.
Globally, Irish Brown Bread has gained popularity for its versatility and health benefits. It’s rich in fiber, which aids digestion, and provides a satisfying, filling option for those looking to maintain a balanced diet. Whether enjoyed with a pat of butter or as the base for a hearty sandwich, this bread brings a taste of Ireland to your table, inviting you to savor every bite.
Why You’ll Love This Irish Brown Bread
- Convenient and Quick: With just 15 minutes of prep time, you can have a warm loaf of Irish Brown Bread ready to enjoy in under an hour.
- Deliciously Nutty Flavor: The combination of whole wheat and all-purpose flour creates a rich, nutty taste that pairs beautifully with both sweet and savory dishes.
- Health Benefits: Packed with fiber, this bread supports digestive health and keeps you feeling full longer, making it a smart choice for any meal.
- Family-Friendly: Kids and adults alike will love the hearty texture and comforting aroma, making it a perfect addition to family meals.
- Versatile: Whether served with butter, used for sandwiches, or enjoyed alongside soups, Irish Brown Bread fits seamlessly into any dining experience.
Who It’s For
This recipe is ideal for busy families looking for a wholesome, homemade bread option. It’s also perfect for health-conscious cooks who want to incorporate more whole grains into their diet. Food lovers will appreciate the authentic taste and the joy of baking something from scratch that connects them to Irish culture.
When to Cook It
Enjoy Irish Brown Bread during weeknight dinners as a comforting side, or serve it at celebrations and gatherings to impress your guests. It’s also a wonderful choice for family meals, providing a hearty base for soups and stews, or simply toasted with a bit of butter for breakfast.
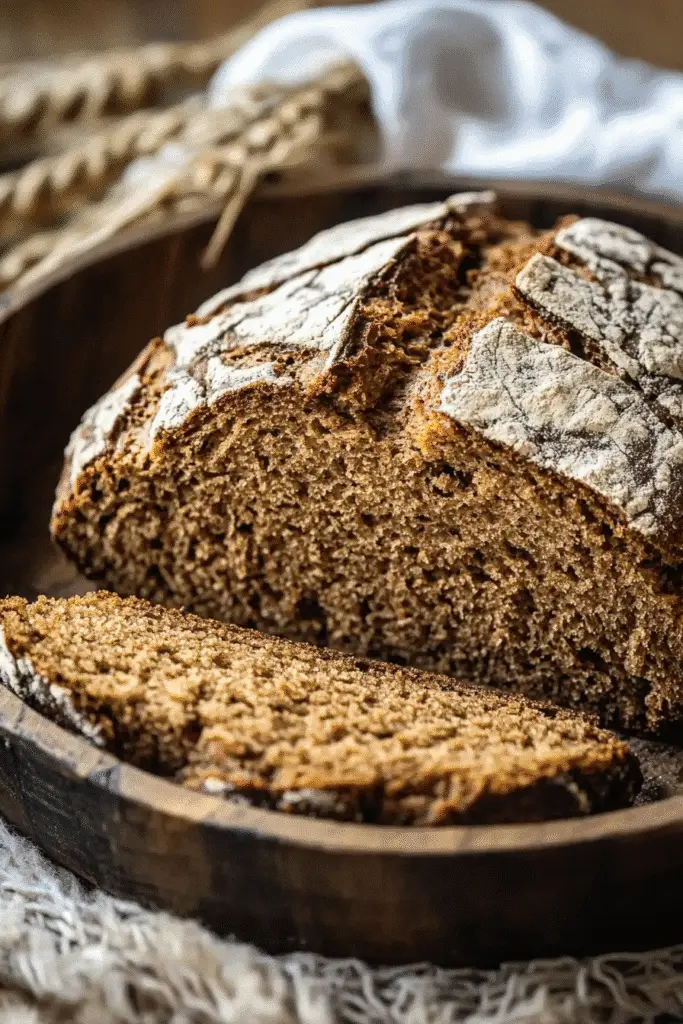
How to Make the Perfect Irish Brown Bread
Ingredients
- 3 cups whole wheat flour: This is the heart of your Irish Brown Bread, providing a nutty flavor and dense texture. You can substitute with spelt flour for a different taste.
- 1 cup all-purpose flour: This adds lightness to the bread. If you prefer a gluten-free option, try using a gluten-free all-purpose blend.
- 1 teaspoon baking soda: This is your leavening agent, helping the bread rise. Make sure it’s fresh for the best results.
- 1 teaspoon salt: Enhances the flavor of the bread. Sea salt or kosher salt works well here.
- 2 tablespoons brown sugar: Adds a hint of sweetness and helps with browning. You can replace it with coconut sugar for a lower glycemic index.
- 2 cups buttermilk: This gives the bread its moist texture and tangy flavor. If you don’t have buttermilk, mix 2 cups of milk with 2 tablespoons of vinegar or lemon juice and let it sit for 5 minutes.
Step-by-Step Instructions
- Preheat your oven: Set it to 425°F (220°C) to ensure a perfect bake.
- Mix the dry ingredients: In a large bowl, combine the whole wheat flour, all-purpose flour, baking soda, salt, and brown sugar. The aroma of the flour will fill your kitchen, making it feel like home.
- Create a well: Make a well in the center of the dry mixture and pour in the buttermilk. The sound of the liquid hitting the flour is music to a baker’s ears!
- Bring it together: Stir until the dough starts to come together. It should feel slightly sticky but manageable.
- Knead gently: On a floured surface, knead the dough gently for about 1-2 minutes. You want to develop the gluten without overworking it.
- Shape the loaf: Form the dough into a round loaf and place it on a baking sheet lined with parchment paper. The shape should be rustic and inviting.
- Score the top: Cut a deep cross into the top of the loaf. This not only looks beautiful but helps the bread cook evenly.
- Bake: Place the loaf in the oven and bake for 30-35 minutes. You’ll know it’s done when it sounds hollow when tapped on the bottom. The golden crust will be irresistible!
- Cool: Let the bread cool on a wire rack before slicing. The aroma will be hard to resist, but patience is key!
For People with Diabetes: Sugar Substitutes
If you’re looking for sugar substitutes, consider using stevia, monk fruit, erythritol, or allulose. These options provide sweetness without the blood sugar spikes associated with traditional sugars. Avoid honey or maple syrup, as they can raise blood sugar levels.
Tools You’ll Need
- Mixing Bowl: A large bowl for combining your ingredients. A glass or stainless steel bowl works well.
- Measuring Cups and Spoons: Accurate measurements are key to baking success. Use dry measuring cups for flour and liquid measuring cups for buttermilk.
- Wooden Spoon or Dough Scraper: A sturdy wooden spoon is perfect for mixing, while a dough scraper helps with kneading and shaping.
- Baking Sheet: A flat baking sheet lined with parchment paper ensures easy transfer and cleanup.
- Oven Mitts: Protect your hands when handling hot pans. A good pair of oven mitts is essential for safety.
- Wire Rack: For cooling your bread after baking, a wire rack allows air to circulate, preventing sogginess.
Tips from Well-Known Chefs
When it comes to baking the perfect Irish Brown Bread, I’ve gathered some invaluable tips from renowned chefs that can elevate your baking game. These insights not only enhance the flavor but also ensure a delightful texture that will impress your family and friends.
- Use Fresh Ingredients: Chef Darina Allen emphasizes the importance of using fresh flour and baking soda. Stale ingredients can lead to a dense loaf, so always check the expiration dates before you start.
- Don’t Over-Knead: According to Chef Paul Hollywood, over-kneading can make your bread tough. Aim for a gentle knead of just 1-2 minutes to keep that lovely, soft texture.
- Experiment with Add-Ins: Chef Rachel Allen suggests adding a handful of seeds or oats to the dough for an extra nutty flavor and added nutrition. This not only enhances the taste but also gives your Irish Brown Bread a unique twist.
- Let It Rest: Chef Richard Bertinet recommends allowing your dough to rest for 10-15 minutes after mixing. This helps the gluten relax, resulting in a lighter loaf.
- Perfect Your Scoring: Chef Edd Kimber advises that scoring the top of your loaf not only looks beautiful but also allows for better expansion during baking. Make sure to cut deep enough to let the bread rise properly.
By incorporating these chef-approved hacks into your baking routine, you’ll be well on your way to mastering Irish Brown Bread that’s not only delicious but also a true reflection of your culinary skills!
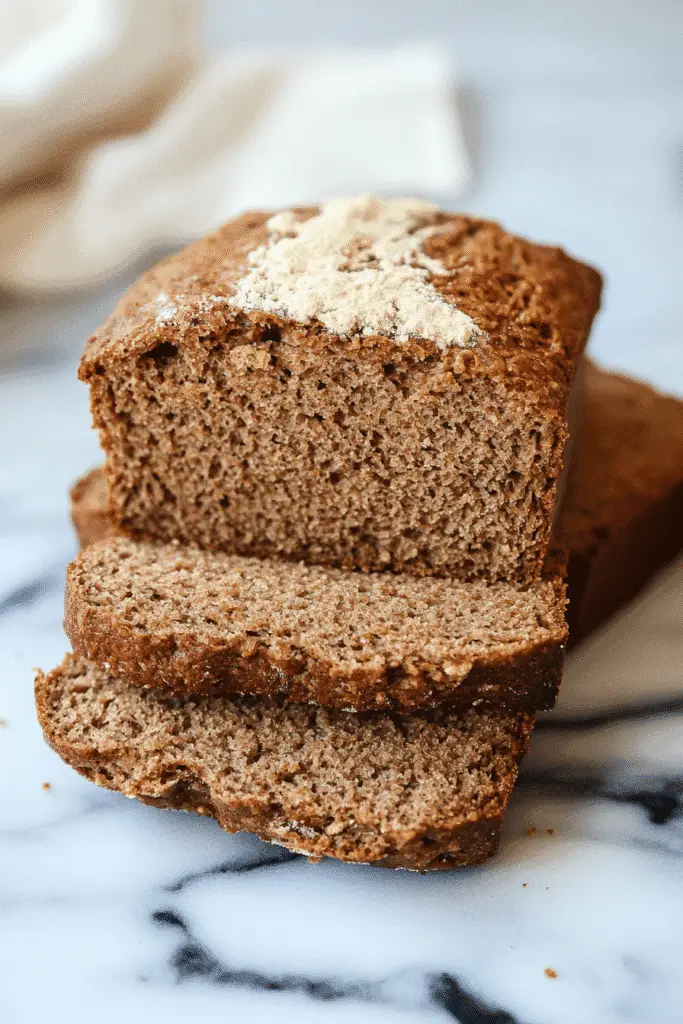
Delicious Variations to Customize Your Bread
One of the joys of baking Irish Brown Bread is the opportunity to make it your own. With a few simple tweaks, you can create variations that cater to different tastes and dietary needs. Here are some delightful ideas to inspire your baking adventure:
- Seeded Delight: Add a mix of sunflower seeds, pumpkin seeds, or sesame seeds to the dough for a crunchy texture and nutty flavor. About 1/2 cup of seeds will do the trick!
- Herb Infusion: Incorporate fresh herbs like rosemary or thyme into the dough for a fragrant twist. Just a tablespoon of finely chopped herbs can elevate the flavor profile beautifully.
- Cheesy Goodness: For a savory option, mix in shredded cheese such as cheddar or feta. About 1 cup of cheese will add a rich, creamy element that pairs wonderfully with soups.
- Fruit and Nut Medley: Add dried fruits like raisins or cranberries along with chopped nuts for a sweet and hearty bread. A combination of 1/2 cup of each will create a delightful contrast in flavors.
- Gluten-Free Version: Substitute the whole wheat and all-purpose flour with a gluten-free flour blend. Ensure you add a binding agent like xanthan gum to help the bread hold its shape.
These variations not only enhance the flavor of your Irish Brown Bread but also allow you to cater to different dietary preferences. Feel free to experiment and find the combination that your family loves the most!
Top Tips for Perfecting Your Irish Brown Bread
Mastering Irish Brown Bread is all about understanding the nuances of the ingredients and techniques involved. Here are some expert tips and cultural secrets that will help you achieve a perfect loaf every time:
- Use Quality Ingredients: The foundation of great bread lies in the quality of your ingredients. Opt for organic whole wheat flour and fresh buttermilk for the best flavor and texture. The difference is palpable!
- Don’t Skip the Buttermilk: Buttermilk not only adds moisture but also contributes to the bread’s unique tangy flavor. If you’re in a pinch, homemade buttermilk (milk + vinegar) works just as well.
- Mix Gently: When combining your ingredients, mix just until they come together. Over-mixing can lead to a dense loaf. Think of it as a gentle hug for your dough!
- Let It Rest: Allowing your dough to rest for about 10 minutes after mixing can help the gluten relax, resulting in a lighter, airier bread. This is a little secret I learned from my grandmother!
- Perfect Your Oven Temperature: Every oven is different, so it’s essential to know your oven’s quirks. If your bread is browning too quickly, consider lowering the temperature slightly. A consistent bake is key to a perfect crust.
- Check for Doneness: To ensure your bread is fully baked, tap the bottom of the loaf. If it sounds hollow, it’s ready! This simple trick has saved me from many undercooked loaves.
- Store Properly: To keep your Irish Brown Bread fresh, store it in a bread box or wrapped in a cloth. Avoid plastic bags, as they can make the crust soggy.
By incorporating these tips into your baking routine, you’ll not only enhance the quality of your Irish Brown Bread but also deepen your connection to this cherished recipe. Happy baking!
Storing and Reheating Tips
Once you’ve baked your delicious Irish Brown Bread, you’ll want to ensure it stays fresh and flavorful for as long as possible. Here are some practical tips for storing and reheating your bread:
Storing Your Irish Brown Bread
- Room Temperature: If you plan to eat your Irish Brown Bread within a few days, store it in a bread box or wrapped in a clean kitchen towel. This keeps the crust crisp while preventing it from drying out.
- Refrigeration: While it’s generally best to avoid refrigerating bread (as it can dry it out), if you live in a very humid climate, you may choose to refrigerate it. Just be sure to wrap it tightly in plastic wrap or a resealable bag to minimize moisture loss.
- Freezing: For longer storage, slice your bread and wrap it tightly in plastic wrap, then place it in a freezer-safe bag. This way, you can take out individual slices as needed. It can be frozen for up to three months without losing its delightful flavor.
Reheating Your Irish Brown Bread
- Toaster: For a quick and easy option, pop a slice of your Irish Brown Bread in the toaster. This will revive its crusty exterior and warm the inside, making it perfect for spreading butter or jam.
- Oven: If you have a whole loaf, preheat your oven to 350°F (175°C). Wrap the loaf in aluminum foil to prevent it from drying out, and heat for about 10-15 minutes. This method restores the bread’s original texture beautifully.
- Microwave: If you’re in a hurry, you can microwave a slice for about 10-15 seconds. However, be cautious not to overdo it, as this can make the bread tough. A damp paper towel can help retain moisture while reheating.
By following these storing and reheating tips, you can enjoy your Irish Brown Bread at its best, whether it’s fresh out of the oven or a few days later. Happy baking and savoring!
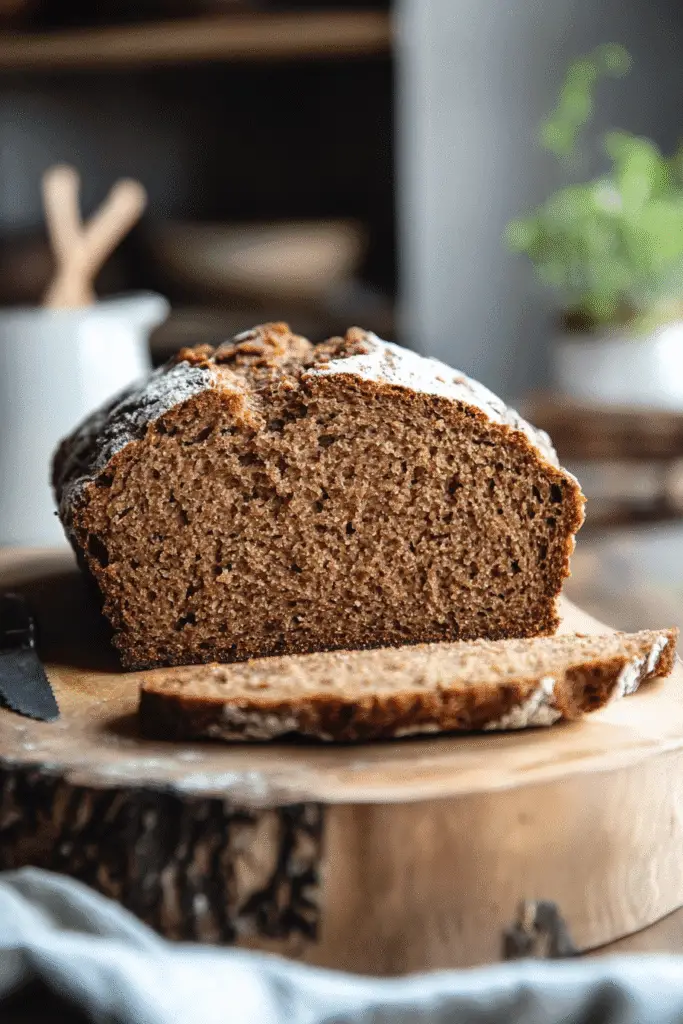
Helpful Notes
As you embark on your journey to bake the perfect Irish Brown Bread, here are some extra clarifications and tips to ensure your experience is as smooth as possible:
- Ingredient Prep: Make sure to sift your flours before measuring. This helps aerate the flour, resulting in a lighter loaf. If you’re using whole wheat flour, consider letting it sit for a few minutes after mixing with the buttermilk to allow the grains to absorb moisture fully.
- Substitutions: If you don’t have buttermilk on hand, a simple homemade version can be made by mixing regular milk with a tablespoon of vinegar or lemon juice. Let it sit for about 5 minutes until it thickens slightly. This will mimic the tangy flavor of buttermilk.
- Flavor Enhancements: For those who enjoy a hint of sweetness, consider adding a tablespoon of molasses or honey to the dough. This not only enhances the flavor but also contributes to a beautiful crust.
- Cultural References: In Ireland, Irish Brown Bread is often served with a traditional Irish breakfast or alongside a hearty bowl of Irish stew. It’s a beloved staple that brings families together, reflecting the warmth and hospitality of Irish culture.
- Experimentation: Don’t hesitate to experiment with different flours, such as rye or spelt, to create your unique version of Irish Brown Bread. Each flour brings its distinct flavor and texture, allowing you to personalize this classic recipe.
By keeping these helpful notes in mind, you’ll be well-equipped to create a delicious loaf of Irish Brown Bread that not only satisfies your taste buds but also connects you to the rich culinary traditions of Ireland. Happy baking!
Common Mistakes to Avoid
- Using Stale Ingredients: Always check the freshness of your baking soda and flours. Stale ingredients can lead to a dense loaf that doesn’t rise properly.
- Over-Kneading the Dough: Knead just until the dough comes together. Over-kneading can make your Irish Brown Bread tough instead of tender.
- Skipping the Scoring: Don’t forget to score the top of your loaf! This allows for proper expansion during baking and adds a beautiful touch to your bread.
- Not Preheating the Oven: Always preheat your oven to the correct temperature before baking. A hot oven is crucial for achieving that perfect crust.
- Ignoring the Cooling Process: Allow your bread to cool on a wire rack before slicing. Cutting too soon can result in a gummy texture, ruining the lovely crumb you’ve worked hard to create.
FAQs About Irish Brown Bread
- Is Irish Brown Bread healthy? Yes, Irish Brown Bread is a nutritious option as it is made with whole wheat flour, which is high in fiber and supports digestive health.
- Can I make Irish Brown Bread without buttermilk? Yes, if you don’t have buttermilk, you can easily substitute it by mixing regular milk with a tablespoon of vinegar or lemon juice and letting it sit for a few minutes.
- Does Irish Brown Bread contain sugar? It depends. Traditional recipes often include a small amount of brown sugar for sweetness, but you can adjust or omit it based on your dietary preferences.
- Can I freeze Irish Brown Bread? Yes, you can freeze Irish Brown Bread. Just slice it, wrap it tightly in plastic wrap, and store it in a freezer-safe bag for up to three months.
- Is Irish Brown Bread suitable for vegetarians? Yes, Irish Brown Bread is a vegetarian-friendly recipe, as it contains no meat or animal-derived ingredients.
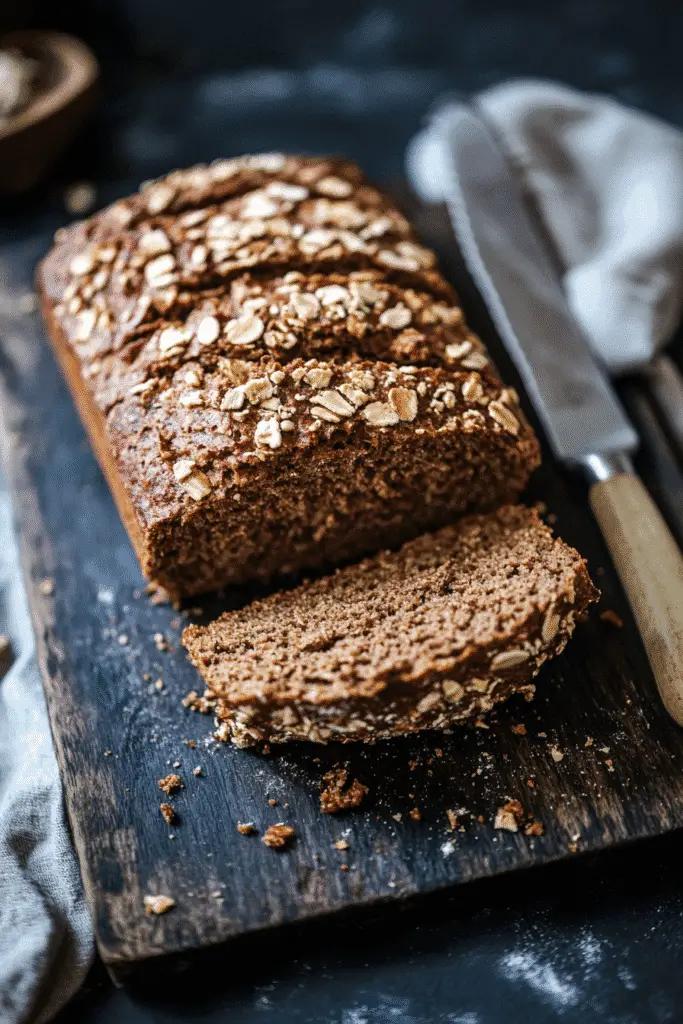
Conclusion: Final Thoughts on Irish Brown Bread
As you embark on your journey to bake Irish Brown Bread, remember that each loaf is a labor of love, infused with warmth and tradition. The nutty aroma and hearty texture will not only nourish your body but also create cherished memories around the table with family and friends. I encourage you to experiment, make it your own, and share your experiences with me! Have you tried this recipe? What variations did you create? I’d love to hear your thoughts in the comments below. Happy baking, and may your kitchen always be filled with the delightful scent of fresh bread!
Print
Irish Brown Bread
- Total Time: 50 minutes
- Yield: 1 loaf 1x
- Diet: Vegetarian
Description
A traditional Irish bread that is hearty, nutty, and perfect for any meal.
Ingredients
- 3 cups whole wheat flour
- 1 cup all-purpose flour
- 1 teaspoon baking soda
- 1 teaspoon salt
- 2 tablespoons brown sugar
- 2 cups buttermilk
Instructions
- Preheat your oven to 425°F (220°C).
- In a large bowl, mix the whole wheat flour, all-purpose flour, baking soda, salt, and brown sugar.
- Make a well in the center and pour in the buttermilk.
- Stir until the dough comes together, then knead gently on a floured surface.
- Shape the dough into a round loaf and place it on a baking sheet.
- Cut a deep cross into the top of the loaf.
- Bake for 30-35 minutes or until the bread sounds hollow when tapped on the bottom.
- Let it cool on a wire rack before slicing.
Notes
- For a nuttier flavor, add a handful of oats or seeds to the dough.
- Store the bread in a bread box or wrapped in a cloth to keep it fresh.
- Prep Time: 15 minutes
- Cook Time: 35 minutes
- Category: Bread
- Method: Baking
- Cuisine: Irish
Nutrition
- Serving Size: 1 slice
- Calories: 120
- Sugar: 1g
- Sodium: 200mg
- Fat: 2g
- Saturated Fat: 0g
- Unsaturated Fat: 1g
- Trans Fat: 0g
- Carbohydrates: 22g
- Fiber: 3g
- Protein: 4g
- Cholesterol: 0mg
Keywords: Irish Brown Bread, traditional Irish bread, nutty bread recipe