Introduction to Hot Chocolate Cookies
As the chill of winter settles in, I find myself craving the warm embrace of comfort food, and nothing captures that feeling quite like Hot Chocolate Cookies. These delightful treats are a nostalgic nod to cozy evenings spent by the fireplace, sipping on rich hot cocoa. The aroma of melted chocolate and sweet marshmallows wafts through my kitchen, instantly transporting me back to my childhood. Each bite of these Hot Chocolate Cookies is a perfect blend of chewy goodness and chocolatey bliss, making them an irresistible indulgence for both kids and adults alike. Whether you’re baking for a family gathering or simply treating yourself, these cookies are sure to warm your heart and soul.
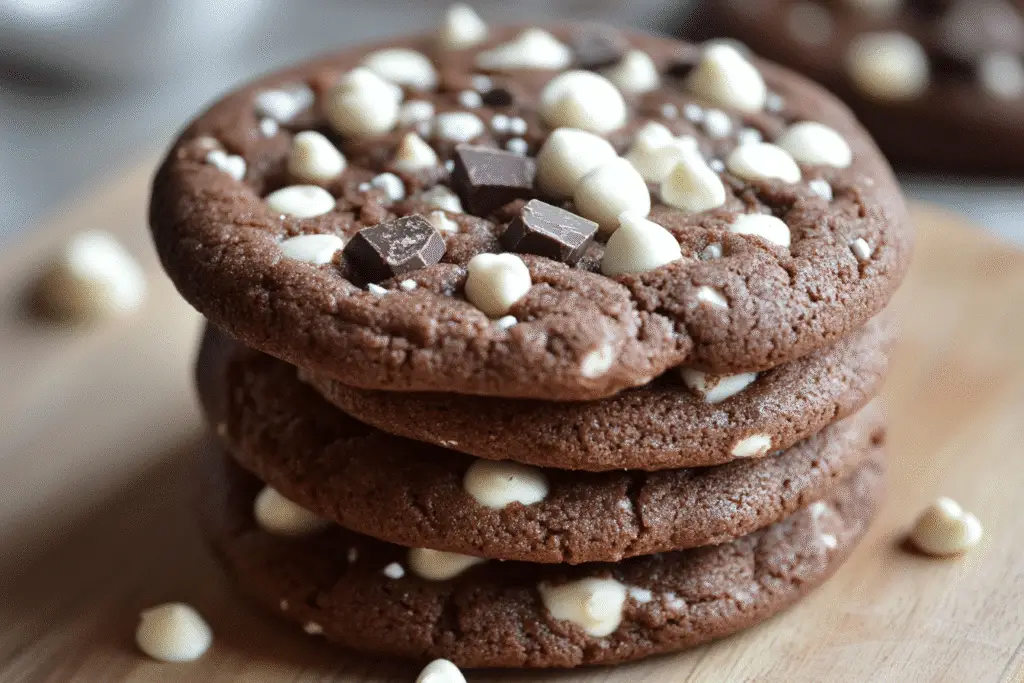
What is Hot Chocolate Cookies?
The delightful Hot Chocolate Cookies are a sweet fusion of two beloved treats: cookies and hot chocolate. This recipe draws inspiration from the classic winter beverage that has warmed hearts for centuries. Originating in Mesoamerica, hot chocolate was once a luxurious drink enjoyed by the elite, made from cacao beans and often spiced with chili. Over time, it evolved into the sweet, creamy concoction we know today, enjoyed by families around the world.
These cookies embody the essence of that rich, chocolatey drink, combining the comforting flavors of cocoa and marshmallows into a chewy, decadent treat. The cultural influence of hot chocolate can be seen in various forms, from the French “chocolat chaud” to the Mexican “champurrado,” each with its unique twist. By transforming this classic beverage into a cookie, we celebrate the global love for chocolate while creating a new tradition for our families.
As you bake these Hot Chocolate Cookies, you’re not just making a dessert; you’re crafting a piece of culinary history that brings warmth and joy to your home. The combination of rich cocoa, gooey chocolate chips, and fluffy marshmallows creates a symphony of flavors that resonates with the spirit of togetherness, making them perfect for sharing during the holiday season or any cozy gathering.
Why You’ll Love This Hot Chocolate Cookies
- Convenience: With just 15 minutes of prep time, these Hot Chocolate Cookies fit perfectly into your busy schedule, making them an easy go-to treat.
- Irresistible Taste: Each bite is a delightful explosion of chocolatey goodness, reminiscent of your favorite hot cocoa, complete with gooey marshmallows.
- Family Appeal: Kids and adults alike will adore these cookies, making them a hit for family gatherings or cozy movie nights.
- Customizable: You can easily adapt the recipe to suit dietary preferences, whether you want to add nuts, swap in gluten-free flour, or use sugar substitutes.
- Health Benefits: With the option to use dark chocolate and reduce sugar, you can enjoy a treat that feels indulgent yet mindful.
Who It’s For
This recipe is perfect for busy families looking for a quick and delicious dessert, health-conscious cooks who want to indulge without guilt, and food lovers eager to explore globally inspired flavors. Whether you’re baking with kids or surprising a loved one, these Hot Chocolate Cookies are sure to please everyone at the table.
When to Cook It
These delightful cookies are ideal for a variety of occasions. Bake them for weeknight dinners when you need a sweet finish, or whip them up for celebrations like birthdays and holidays. They also make a wonderful treat for cozy family meals or as a surprise for friends during a casual get-together. No matter the moment, Hot Chocolate Cookies are sure to bring warmth and joy to your table.
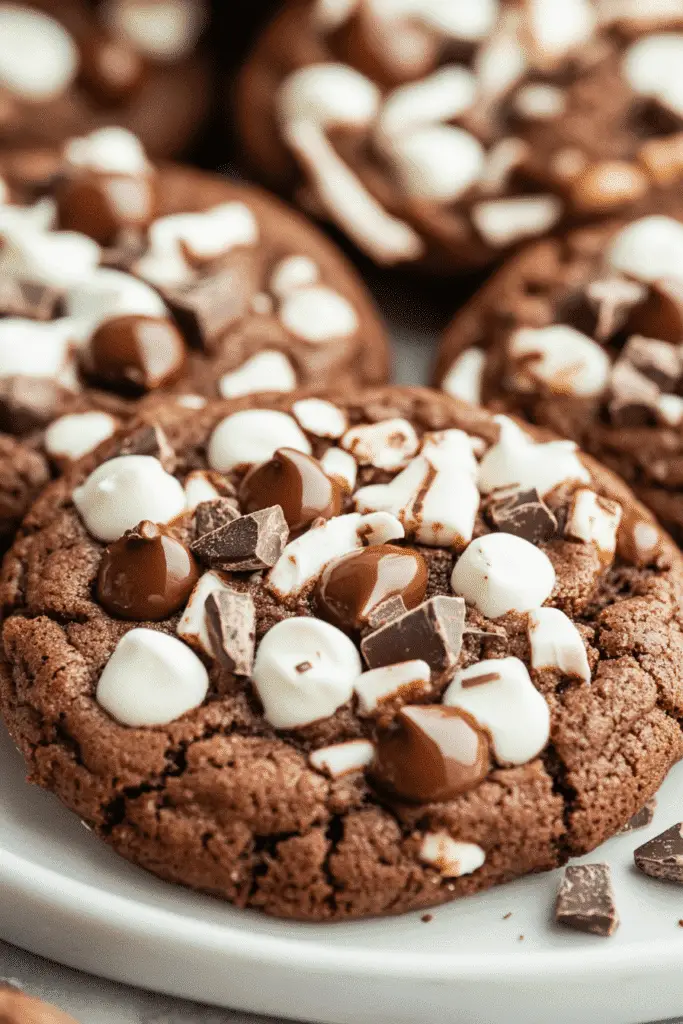
How to Make the Perfect Hot Chocolate Cookies
Ingredients
- 1 cup unsalted butter, softened: This adds richness and moisture to your cookies. You can substitute with coconut oil for a dairy-free option.
- 1 cup granulated sugar: Sweetens the cookies and helps achieve a nice texture. Consider using coconut sugar for a lower glycemic index.
- 1 cup brown sugar, packed: Adds depth of flavor and chewiness. If you’re out, you can use an equal amount of white sugar mixed with a tablespoon of molasses.
- 2 large eggs: Binds the ingredients together. For a vegan alternative, use flax eggs (1 tablespoon ground flaxseed mixed with 2.5 tablespoons water per egg).
- 1 teaspoon vanilla extract: Enhances the overall flavor. You can swap it with almond extract for a different twist.
- 3 cups all-purpose flour: Provides structure. For a gluten-free version, use a 1:1 gluten-free flour blend.
- 1 cup cocoa powder: The star ingredient that gives these cookies their chocolatey essence. Dutch-processed cocoa can be used for a richer flavor.
- 1 teaspoon baking soda: Helps the cookies rise. Baking powder can be used as a substitute, but adjust the amount to 1.5 teaspoons.
- 1/2 teaspoon salt: Balances the sweetness. You can use sea salt for a gourmet touch.
- 1 cup chocolate chips: Adds melty chocolate goodness. Feel free to use dark chocolate or dairy-free chips for a healthier option.
- 1 cup mini marshmallows: Brings that classic hot chocolate flavor. You can omit them if you prefer a more traditional cookie.
Step-by-Step Instructions
- Preheat your oven: Set it to 350°F (175°C) to ensure even baking.
- Cream the butter and sugars: In a large bowl, beat together the softened butter, granulated sugar, and brown sugar until the mixture is smooth and creamy, about 2-3 minutes. The aroma will be heavenly!
- Add the eggs and vanilla: Incorporate the eggs one at a time, mixing well after each addition. Stir in the vanilla extract, letting the sweet scent fill your kitchen.
- Mix the dry ingredients: In another bowl, whisk together the flour, cocoa powder, baking soda, and salt until well combined.
- Combine wet and dry ingredients: Gradually add the dry mixture to the wet ingredients, mixing until just combined. Be careful not to overmix; you want a soft dough.
- Fold in the chocolate chips and marshmallows: Gently stir in the chocolate chips and mini marshmallows, ensuring they are evenly distributed throughout the dough.
- Shape the cookies: Drop rounded tablespoons of dough onto a baking sheet lined with parchment paper, leaving space between each cookie for spreading.
- Bake: Place the baking sheet in the oven and bake for 10-12 minutes. The edges should be set, but the centers will remain soft and gooey.
- Cool: Allow the cookies to cool on the baking sheet for a few minutes before transferring them to a wire rack to cool completely. The smell will be irresistible!
For People with Diabetes: Sugar Substitutes
If you’re looking to reduce sugar, consider using stevia, monk fruit, erythritol, or allulose as alternatives. These options provide sweetness without the calories of traditional sugar. However, avoid using honey or maple syrup, as they can spike blood sugar levels.
Tools You’ll Need
- Mixing Bowls: A set of various sizes will help you combine ingredients easily. If you don’t have a large bowl, a deep plate can work in a pinch.
- Electric Mixer: A hand mixer or stand mixer makes creaming the butter and sugars a breeze. If you prefer a workout, a whisk will do just fine!
- Measuring Cups and Spoons: Accurate measurements are key to baking success. If you’re in a hurry, a kitchen scale can also provide precise measurements.
- Baking Sheet: A standard baking sheet is perfect for these cookies. If you don’t have one, a large oven-safe dish can serve as an alternative.
- Parchment Paper: This helps prevent sticking and makes cleanup easier. If you’re out, greasing the baking sheet with butter or oil will work too.
- Wire Rack: Ideal for cooling your cookies evenly. If you don’t have one, a plate or cutting board can serve as a temporary cooling surface.
Tips from Well-Known Chefs
When it comes to baking the perfect Hot Chocolate Cookies, I’ve gathered some invaluable tips from renowned chefs that can elevate your cookie game. These expert-approved hacks will ensure your cookies are not only delicious but also visually appealing!
- Use Quality Chocolate: Chef Jacques Torres emphasizes the importance of using high-quality chocolate. Opt for premium chocolate chips or chunks to enhance the flavor of your cookies. The better the chocolate, the richer the taste!
- Chill the Dough: According to pastry chef Christina Tosi, chilling your cookie dough for at least 30 minutes before baking can improve the texture. This allows the flavors to meld and results in a thicker, chewier cookie.
- Don’t Overbake: Renowned baker Dorie Greenspan advises keeping a close eye on your cookies as they bake. Remove them from the oven when the edges are set but the centers are still soft. They will continue to cook on the baking sheet, ensuring a gooey center.
- Experiment with Spices: Chef Yotam Ottolenghi suggests adding a pinch of cinnamon or nutmeg to your cookie dough for an unexpected twist. These warm spices complement the chocolate beautifully and add depth to the flavor profile.
- Finish with Sea Salt: Chef Thomas Keller recommends sprinkling a touch of flaky sea salt on top of your cookies right before baking. This contrast of sweet and salty will take your Hot Chocolate Cookies to the next level!
By incorporating these tips from culinary experts, you’ll not only impress your family and friends but also create Hot Chocolate Cookies that are truly unforgettable. Happy baking!
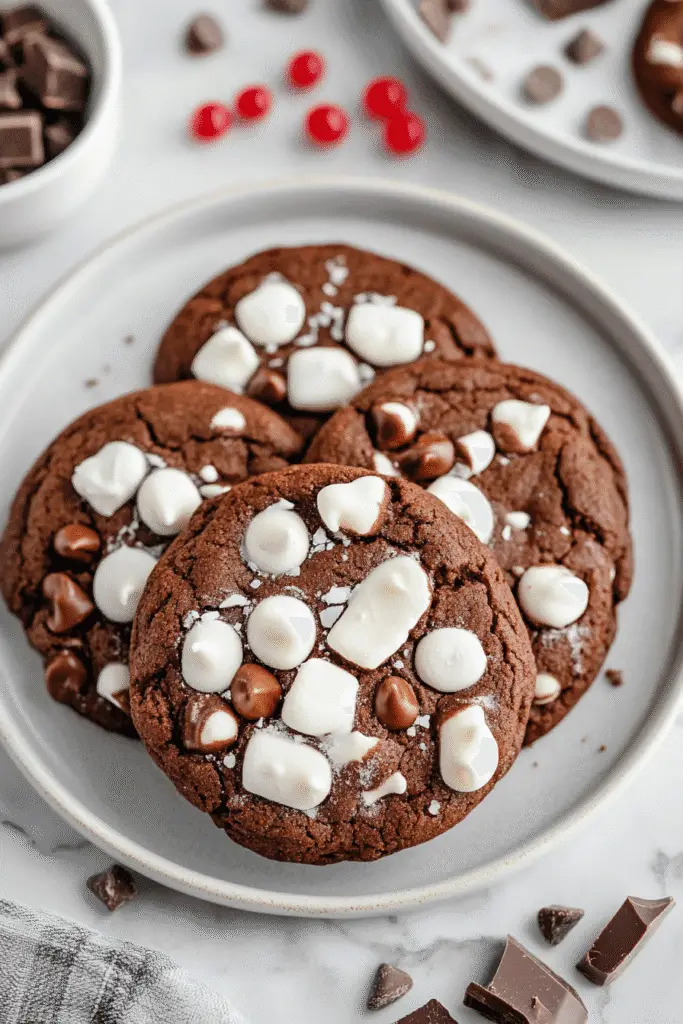
Delicious Variations to Customize Your Cookies
One of the best things about baking Hot Chocolate Cookies is the endless possibilities for customization. Whether you want to cater to dietary preferences or simply experiment with flavors, here are some delightful variations to consider:
- Nutty Delight: Add 1 cup of chopped nuts, such as walnuts or pecans, to the dough for a crunchy texture that complements the soft, chewy cookie.
- Minty Fresh: Incorporate 1 teaspoon of peppermint extract into the dough for a refreshing twist. You can also add crushed peppermint candies on top before baking for a festive touch.
- Spicy Kick: For those who enjoy a bit of heat, mix in 1/2 teaspoon of cayenne pepper or chili powder. This unexpected addition will create a warm, spicy flavor that pairs beautifully with chocolate.
- Fruit Fusion: Fold in 1 cup of dried fruits like cranberries or cherries for a tart contrast to the sweetness of the cookies. This adds a chewy texture and a pop of color!
- Gluten-Free Option: Substitute the all-purpose flour with a 1:1 gluten-free flour blend to make these cookies suitable for those with gluten sensitivities. Just ensure that your chocolate chips are also gluten-free.
- Vegan Version: Replace the eggs with flax eggs and use dairy-free chocolate chips to create a delicious vegan-friendly cookie that everyone can enjoy.
These variations not only enhance the flavor profile of your Hot Chocolate Cookies but also allow you to tailor them to your family’s preferences. Feel free to mix and match these ideas to create your own signature cookie that will delight everyone at the table!
Top Tips for Perfecting Your Hot Chocolate Cookies
To ensure your Hot Chocolate Cookies turn out perfectly every time, I’ve gathered some expert techniques and cooking hacks that will elevate your baking game. These tips are not only practical but also rooted in culinary traditions that celebrate the art of cookie-making.
- Measure Accurately: Baking is a science, so precise measurements are crucial. Use a kitchen scale for the most accurate results, especially for flour and cocoa powder. This will help you achieve the perfect cookie texture.
- Room Temperature Ingredients: Make sure your butter and eggs are at room temperature before you start. This allows for better incorporation and a smoother dough, resulting in cookies that are soft and chewy.
- Don’t Overmix: When combining the wet and dry ingredients, mix until just combined. Overmixing can lead to tough cookies, so be gentle and stop as soon as you see no dry flour.
- Chill the Dough: For thicker cookies with a chewy center, chill your dough for at least 30 minutes before baking. This helps the flavors meld and prevents the cookies from spreading too much in the oven.
- Use Parchment Paper: Line your baking sheets with parchment paper to prevent sticking and ensure even baking. This also makes cleanup a breeze!
- Rotate the Baking Sheet: Halfway through baking, rotate your baking sheet to ensure even cooking. Ovens can have hot spots, and this simple step can make a big difference in the final result.
- Experiment with Toppings: Before baking, sprinkle a few extra chocolate chips or mini marshmallows on top of each cookie for a beautiful presentation and an extra burst of flavor.
- Let Them Cool: Allow your cookies to cool on the baking sheet for a few minutes before transferring them to a wire rack. This helps them set and prevents breakage.
By incorporating these tips into your baking routine, you’ll be well on your way to creating Hot Chocolate Cookies that are not only delicious but also visually stunning. Happy baking!
Storing and Reheating Tips
To keep your Hot Chocolate Cookies fresh and delicious, proper storage is key. Here are some clear and practical tips for storing and reheating your cookies:
- Room Temperature Storage: If you plan to enjoy your cookies within a week, store them in an airtight container at room temperature. This will keep them soft and chewy. Just make sure to separate layers with parchment paper to prevent sticking.
- Refrigeration: For longer storage, you can refrigerate your cookies. Place them in an airtight container, and they will stay fresh for up to two weeks. However, be aware that refrigeration may slightly alter their texture, making them a bit firmer.
- Freezing: To enjoy your Hot Chocolate Cookies later, freeze them! Place the cooled cookies in a single layer on a baking sheet and freeze until solid. Then, transfer them to a freezer-safe bag or container. They can be frozen for up to three months. Just remember to label the container with the date!
- Reheating: When you’re ready to indulge in your frozen cookies, simply preheat your oven to 350°F (175°C). Place the cookies on a baking sheet and warm them for about 5-7 minutes. This will revive their soft, gooey texture. If you prefer a microwave, heat them for about 10-15 seconds, but be cautious not to overdo it, as they can become tough.
By following these storing and reheating tips, you can ensure that your Hot Chocolate Cookies remain a delightful treat, ready to warm your heart and soul whenever the craving strikes!
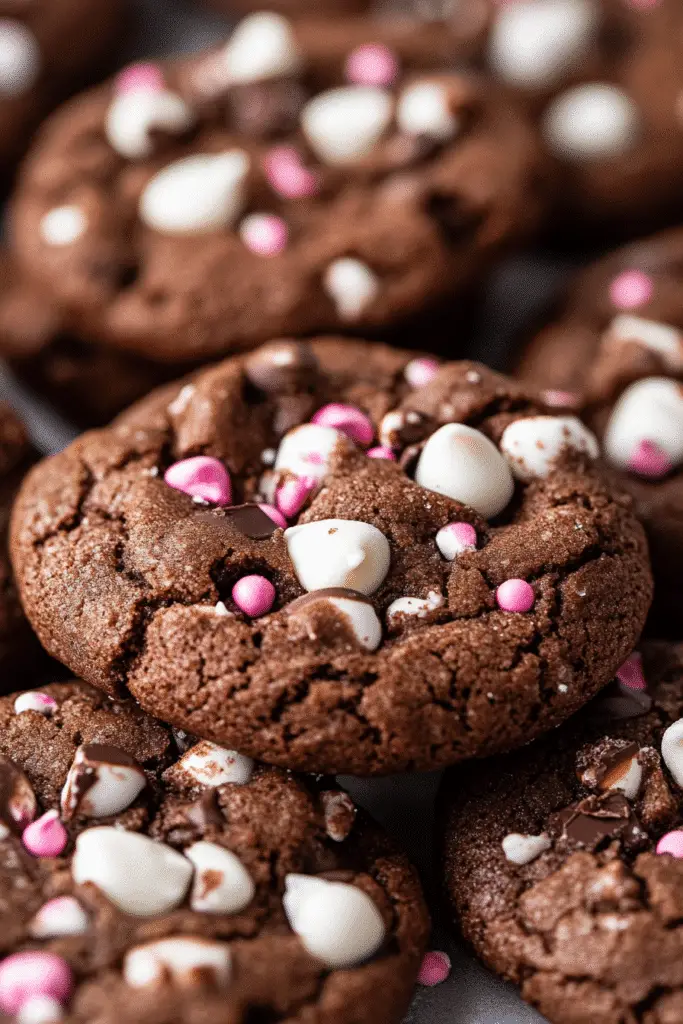
Helpful Notes
As you embark on your journey to bake the perfect Hot Chocolate Cookies, here are some extra clarifications and tips to enhance your experience:
- Ingredient Prep: Make sure to soften your butter before starting. This can be done by leaving it out at room temperature for about an hour or microwaving it for 10-15 seconds. Just be careful not to melt it!
- Measuring Flour: When measuring flour, use the spoon-and-level method. Spoon the flour into your measuring cup and level it off with a knife. This prevents packing, which can lead to dry cookies.
- Chocolate Choices: Feel free to experiment with different types of chocolate. Dark chocolate chips provide a rich flavor, while milk chocolate offers a sweeter taste. You can even mix them for a delightful contrast!
- Marshmallow Variations: If you can’t find mini marshmallows, you can cut regular marshmallows into smaller pieces. Alternatively, consider using flavored marshmallows for a fun twist!
- Cultural References: The concept of combining chocolate and cookies is celebrated in various cultures. For instance, in Italy, you might find “biscotti al cioccolato,” which are chocolate cookies often enjoyed with coffee. Embracing these global influences can inspire your baking!
- Allergy Considerations: If you’re baking for someone with allergies, be sure to check the labels on your chocolate chips and marshmallows. Many brands offer allergen-free options that are just as delicious!
By keeping these helpful notes in mind, you’ll not only enhance your baking skills but also create Hot Chocolate Cookies that are truly special and tailored to your taste. Enjoy the process and the delightful results!
Common Mistakes to Avoid
- Overmixing the Dough: One of the most common pitfalls is overmixing the cookie dough. This can lead to tough cookies instead of the soft, chewy texture we desire. Mix until just combined for the best results.
- Not Measuring Ingredients Accurately: Baking is a science, and precise measurements are crucial. Using too much flour or sugar can drastically alter the texture and flavor of your Hot Chocolate Cookies. Always use the spoon-and-level method for measuring flour.
- Baking at the Wrong Temperature: Ensure your oven is preheated to the correct temperature before baking. An oven that’s too hot can cause the cookies to spread too much, while one that’s too cool can result in undercooked centers.
- Skipping the Cooling Time: Allowing your cookies to cool on the baking sheet for a few minutes before transferring them to a wire rack is essential. This helps them set properly and prevents breakage.
- Using Cold Ingredients: Make sure your butter and eggs are at room temperature before starting. Cold ingredients can lead to uneven mixing and affect the final texture of your cookies.
FAQs About Hot Chocolate Cookies
Q: Can I use different types of chocolate in my Hot Chocolate Cookies?
Yes, you can absolutely use different types of chocolate! Dark chocolate, milk chocolate, or even white chocolate chips can all be used to create delicious Hot Chocolate Cookies. Each type will bring its unique flavor profile to the cookies.
Q: Are Hot Chocolate Cookies suitable for freezing?
Yes, Hot Chocolate Cookies freeze beautifully! Just make sure to store them in an airtight container or freezer bag. They can be frozen for up to three months, allowing you to enjoy them whenever the craving strikes.
Q: Can I make Hot Chocolate Cookies without eggs?
It depends. You can substitute eggs with flax eggs or applesauce for a vegan version of Hot Chocolate Cookies. This will help bind the ingredients together while keeping the cookies deliciously chewy.
Q: Do Hot Chocolate Cookies need to be refrigerated?
No, Hot Chocolate Cookies do not need to be refrigerated if you plan to eat them within a week. Simply store them in an airtight container at room temperature to keep them soft and fresh.
Q: Can I add nuts to my Hot Chocolate Cookies?
Yes, adding nuts is a great way to customize your Hot Chocolate Cookies. Chopped walnuts or pecans can add a delightful crunch and enhance the overall flavor of the cookies.
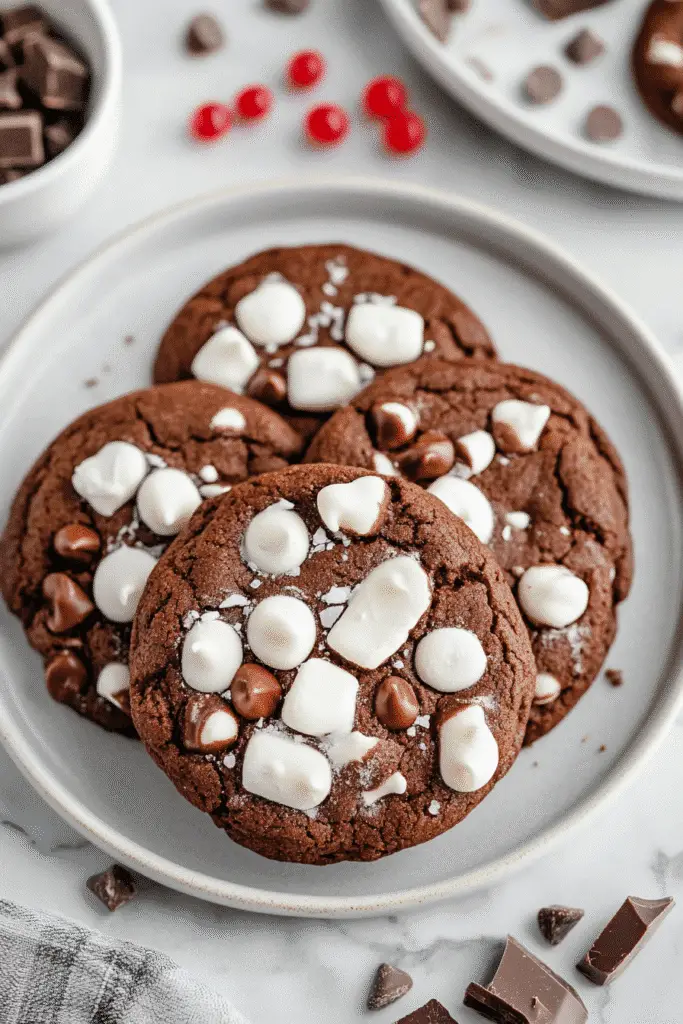
Conclusion: Final Thoughts on Hot Chocolate Cookies
As you savor each bite of your freshly baked Hot Chocolate Cookies, I hope you feel the warmth and love that goes into every batch. These cookies are more than just a treat; they are a celebration of togetherness, comfort, and the joy of sharing delicious moments with family and friends. I encourage you to experiment with the recipe, make it your own, and create lasting memories in your kitchen. If you enjoyed this recipe, please share your thoughts in the comments below or share it with fellow food lovers. Happy baking!
Print
Hot Chocolate Cookies
- Total Time: 27 minutes
- Yield: 24 cookies 1x
- Diet: Vegetarian
Description
Deliciously rich and chewy cookies that capture the essence of hot chocolate in every bite.
Ingredients
- 1 cup unsalted butter, softened
- 1 cup granulated sugar
- 1 cup brown sugar, packed
- 2 large eggs
- 1 teaspoon vanilla extract
- 3 cups all-purpose flour
- 1 cup cocoa powder
- 1 teaspoon baking soda
- 1/2 teaspoon salt
- 1 cup chocolate chips
- 1 cup mini marshmallows
Instructions
- Preheat your oven to 350°F (175°C).
- In a large bowl, cream together the softened butter, granulated sugar, and brown sugar until smooth.
- Add the eggs one at a time, mixing well after each addition, then stir in the vanilla extract.
- In another bowl, whisk together the flour, cocoa powder, baking soda, and salt.
- Gradually add the dry ingredients to the wet ingredients, mixing until just combined.
- Fold in the chocolate chips and mini marshmallows.
- Drop rounded tablespoons of dough onto a baking sheet lined with parchment paper.
- Bake for 10-12 minutes, or until the edges are set but the centers are still soft.
- Allow to cool on the baking sheet for a few minutes before transferring to a wire rack to cool completely.
Notes
- For an extra chocolatey flavor, add more chocolate chips.
- Store cookies in an airtight container for up to a week.
- These cookies can be frozen for up to three months.
- Prep Time: 15 minutes
- Cook Time: 12 minutes
- Category: Dessert
- Method: Baking
- Cuisine: American
Nutrition
- Serving Size: 1 cookie
- Calories: 150
- Sugar: 10g
- Sodium: 100mg
- Fat: 7g
- Saturated Fat: 4g
- Unsaturated Fat: 2g
- Trans Fat: 0g
- Carbohydrates: 20g
- Fiber: 1g
- Protein: 2g
- Cholesterol: 20mg
Keywords: Hot Chocolate Cookies