Introduction to Grandma’s Thanksgiving Stuffing
As the leaves turn golden and the air fills with the scent of cinnamon and nutmeg, I can’t help but think of my childhood Thanksgiving dinners. The star of the table was always Grandma’s Thanksgiving Stuffing, a recipe passed down through generations, each bite a warm hug from the past. The aroma of sautéed onions and celery mingling with savory herbs would waft through the house, drawing family and friends together. This stuffing isn’t just a side dish; it’s a cherished tradition that brings us closer, reminding us of the love and laughter shared around the table. Join me as we explore the heartwarming details of Grandma’s Thanksgiving Stuffing and create your own memories this holiday season.
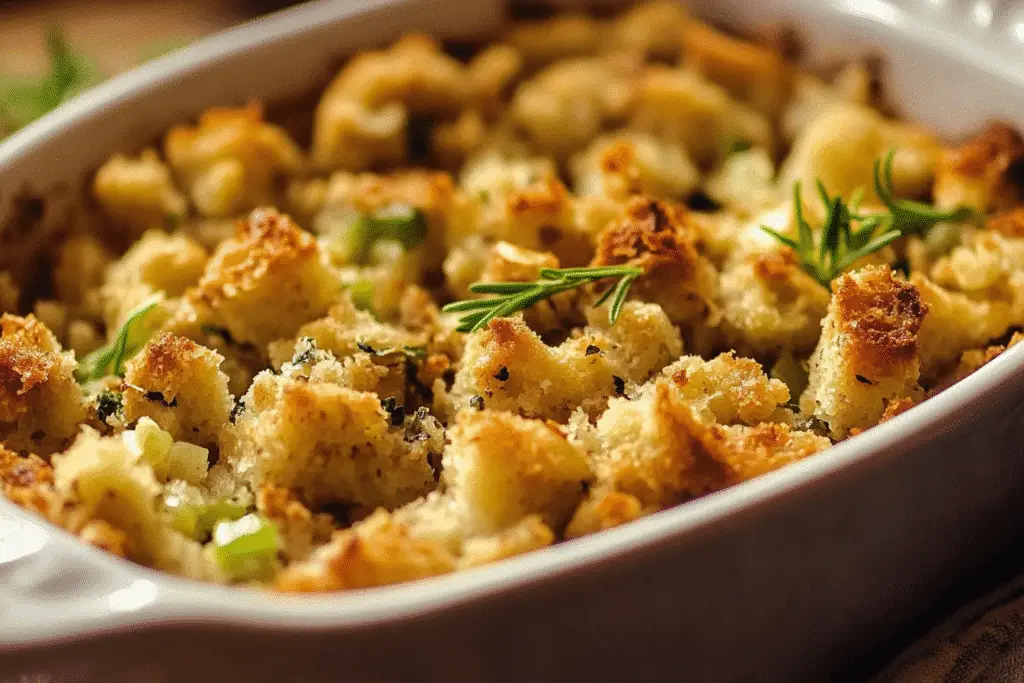
What is Grandma’s Thanksgiving Stuffing?
Grandma’s Thanksgiving Stuffing is more than just a recipe; it’s a heartfelt tradition that embodies the spirit of Thanksgiving. Originating from humble beginnings, stuffing has been a staple in American kitchens for centuries, often made with leftover bread and seasonal vegetables. This dish reflects the resourcefulness of our ancestors, who created something delicious from what they had on hand.
In many cultures, stuffing is a way to celebrate the harvest, showcasing the bounty of the season. From the herbed bread stuffing of the French to the spiced rice stuffing found in Middle Eastern cuisines, the concept of filling a carbohydrate base with flavorful ingredients is universal. However, my grandma’s version stands out with its simple yet profound flavors, combining the earthy notes of sage and thyme with the sweetness of sautéed onions and celery.
As I prepare Grandma’s Thanksgiving Stuffing, I’m reminded of the warmth of family gatherings, where stories are shared, and laughter fills the air. This stuffing is a bridge between generations, connecting us to our roots while allowing us to create new memories. Whether you’re a seasoned cook or a novice in the kitchen, this recipe invites you to embrace the joy of cooking and the love that comes with it.
Why You’ll Love This Grandma’s Thanksgiving Stuffing
- Convenience: This recipe is straightforward and quick to prepare, making it perfect for busy cooks during the holiday rush.
- Delicious Flavor: The combination of sautéed onions, celery, and aromatic herbs creates a mouthwatering stuffing that complements any main dish.
- Health Benefits: With wholesome ingredients like whole grain bread and fresh vegetables, this stuffing is a nutritious addition to your Thanksgiving feast.
- Family Appeal: Loved by both kids and adults, Grandma’s Thanksgiving Stuffing is a dish that brings everyone together around the table.
- Customizable: Feel free to add your favorite ingredients, such as nuts or dried fruits, to make it uniquely yours!
Who It’s For
This recipe is ideal for busy families looking to create a comforting meal without spending hours in the kitchen. It’s also perfect for health-conscious cooks who want to serve a delicious yet nutritious side dish. Food lovers will appreciate the rich flavors and the opportunity to connect with culinary traditions, making it a must-try for anyone who enjoys cooking.
When to Cook It
While Grandma’s Thanksgiving Stuffing shines during the Thanksgiving feast, it’s also a fantastic choice for weeknight dinners, holiday celebrations, or family gatherings. Whether you’re hosting a cozy dinner or a festive holiday party, this stuffing will elevate your meal and create lasting memories.
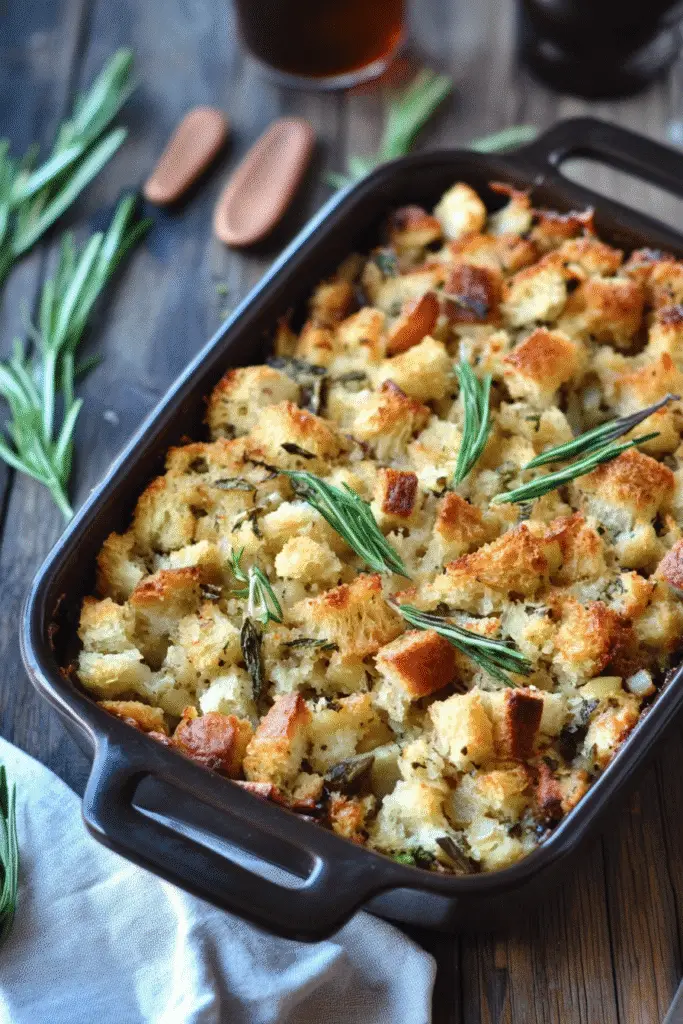
How to Make the Perfect Grandma’s Thanksgiving Stuffing
Ingredients
- 1 loaf of bread, cubed: Use day-old bread for the best texture. Whole grain or sourdough adds a delightful flavor.
- 1 cup of celery, chopped: This adds a crunchy texture and fresh taste. You can substitute with leeks for a milder flavor.
- 1 cup of onion, chopped: Onions provide sweetness and depth. Shallots can be used for a more delicate flavor.
- 1/2 cup of butter: For richness and moisture. You can swap with olive oil for a lighter option.
- 2 cups of chicken broth: This enhances the savory flavor. For a vegetarian version, use vegetable broth instead.
- 1 tablespoon of sage: A classic herb for stuffing, offering an earthy aroma. Thyme can be used as a substitute.
- 1 tablespoon of thyme: This herb complements the sage beautifully. Oregano can be a good alternative.
- Salt and pepper to taste: Essential for balancing flavors. Adjust according to your preference.
Step-by-Step Instructions
- Preheat the oven: Set your oven to 350°F (175°C) to prepare for baking.
- Melt the butter: In a large skillet, melt the butter over medium heat, letting its rich aroma fill your kitchen.
- Sauté the vegetables: Add the chopped celery and onion, cooking until they are soft and translucent, about 5-7 minutes.
- Combine ingredients: In a large bowl, mix the cubed bread, sautéed vegetables, sage, thyme, salt, and pepper until well combined.
- Add broth: Pour the chicken broth over the bread mixture, stirring gently until everything is moistened and cohesive.
- Transfer to baking dish: Spoon the stuffing into a greased baking dish, spreading it evenly.
- Bake: Place in the oven and bake for 30-40 minutes, or until the top is golden brown and crispy, filling your home with a mouthwatering aroma.
For People with Diabetes: Sugar Substitutes
If you’re looking for sugar substitutes, consider using stevia, monk fruit, erythritol, or allulose. These options provide sweetness without the calories. Avoid honey or maple syrup, as they can spike blood sugar levels.
Tools You’ll Need
- Large Skillet: A non-stick skillet works best for sautéing vegetables. If you don’t have one, any large frying pan will do.
- Mixing Bowl: A large mixing bowl is essential for combining your ingredients. A glass or stainless steel bowl is ideal.
- Baking Dish: Use a 9×13 inch baking dish for the stuffing. If you don’t have one, any oven-safe dish will suffice.
- Spatula or Wooden Spoon: A spatula is great for mixing and transferring the stuffing. A wooden spoon is a classic alternative.
- Measuring Cups and Spoons: Accurate measurements are key to achieving the perfect flavor. If you don’t have these, you can use any standard cup or spoon for rough estimates.
- Knife and Cutting Board: A sharp knife and a sturdy cutting board are necessary for chopping your vegetables. A simple paring knife will work in a pinch.
Tips from Well-Known Chefs
When it comes to perfecting Grandma’s Thanksgiving Stuffing, I’ve gathered some invaluable tips from renowned chefs that can elevate your dish to new heights. These expert-approved hacks will not only enhance the flavor but also make your cooking experience smoother and more enjoyable.
- Use Fresh Herbs: Chef Ina Garten emphasizes the importance of using fresh herbs for a vibrant flavor. Instead of dried sage and thyme, try using fresh sprigs for a more aromatic stuffing.
- Toast the Bread: Chef Thomas Keller suggests lightly toasting the bread cubes before mixing them with the other ingredients. This adds a delightful crunch and helps the stuffing hold its shape better.
- Incorporate Broth Gradually: According to Chef Alton Brown, adding the broth gradually allows you to control the moisture level. This prevents the stuffing from becoming too soggy, ensuring a perfect texture.
- Experiment with Add-Ins: Chef Jamie Oliver encourages creativity! Consider adding sautéed mushrooms, dried cranberries, or even sausage for a unique twist on Grandma’s Thanksgiving Stuffing.
- Let It Rest: Chef Martha Stewart recommends letting the stuffing rest for a few minutes after baking. This allows the flavors to meld together beautifully, making each bite even more delicious.
By incorporating these chef-approved tips, you’ll not only honor the tradition of Grandma’s Thanksgiving Stuffing but also create a dish that’s bursting with flavor and love. Happy cooking!
Delicious Variations to Customize Your Stuffing
One of the beautiful aspects of Grandma’s Thanksgiving Stuffing is its versatility. While the classic recipe is a beloved favorite, there are countless ways to add your personal touch and create variations that cater to different tastes and dietary needs. Here are some delightful ideas to inspire your creativity:
- Herbed Mushroom Stuffing: Sauté a cup of chopped mushrooms along with the onions and celery for an earthy flavor. The mushrooms add a rich umami taste that elevates the stuffing.
- Dried Fruit and Nut Medley: Incorporate 1/2 cup of dried cranberries or apricots and 1/2 cup of chopped walnuts or pecans. This adds a sweet and crunchy element, perfect for those who enjoy a hint of sweetness in their stuffing.
- Spicy Sausage Stuffing: For a heartier option, brown 1 pound of your favorite sausage (pork, turkey, or plant-based) before adding it to the mixture. The spices in the sausage will infuse the stuffing with a robust flavor.
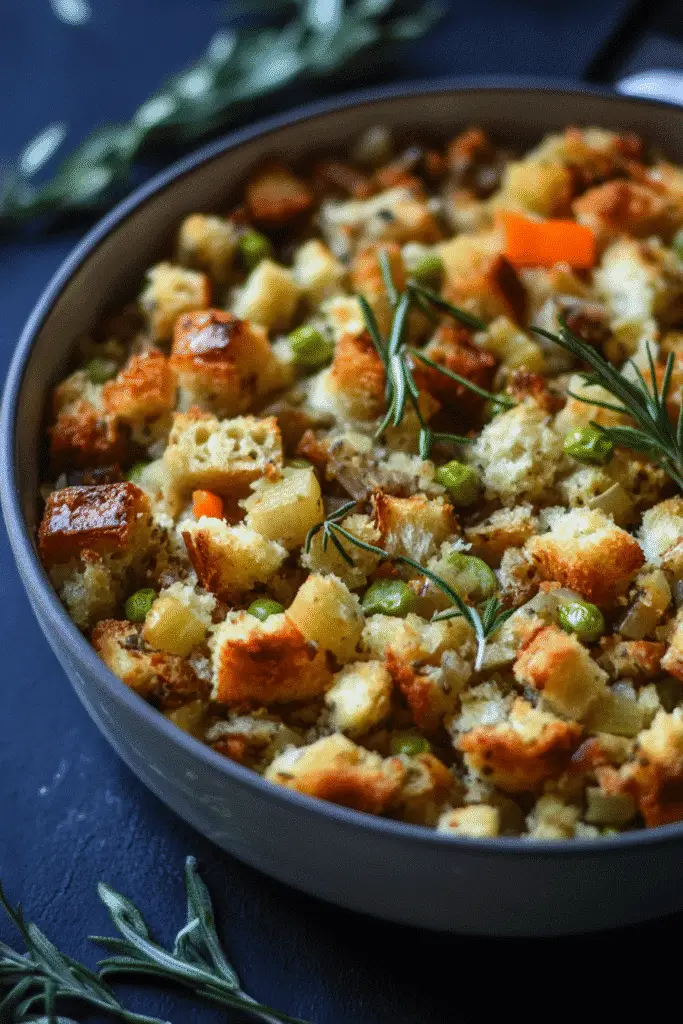
- Vegetable Medley: Add a variety of vegetables such as carrots, bell peppers, or zucchini to the sautéed mixture. This not only enhances the nutritional value but also adds vibrant colors to your dish.
- Gluten-Free Stuffing: Substitute the bread with gluten-free bread or cornbread. Ensure that your broth is also gluten-free to accommodate those with dietary restrictions.
- Italian-Inspired Stuffing: Mix in Italian herbs like oregano and basil, along with sun-dried tomatoes and mozzarella cheese. This variation brings a Mediterranean flair to your Thanksgiving table.
Feel free to mix and match these ideas to create a stuffing that reflects your family’s preferences. Each variation offers a unique twist, ensuring that your Grandma’s Thanksgiving Stuffing remains a cherished tradition while also evolving with your culinary journey. Happy experimenting!
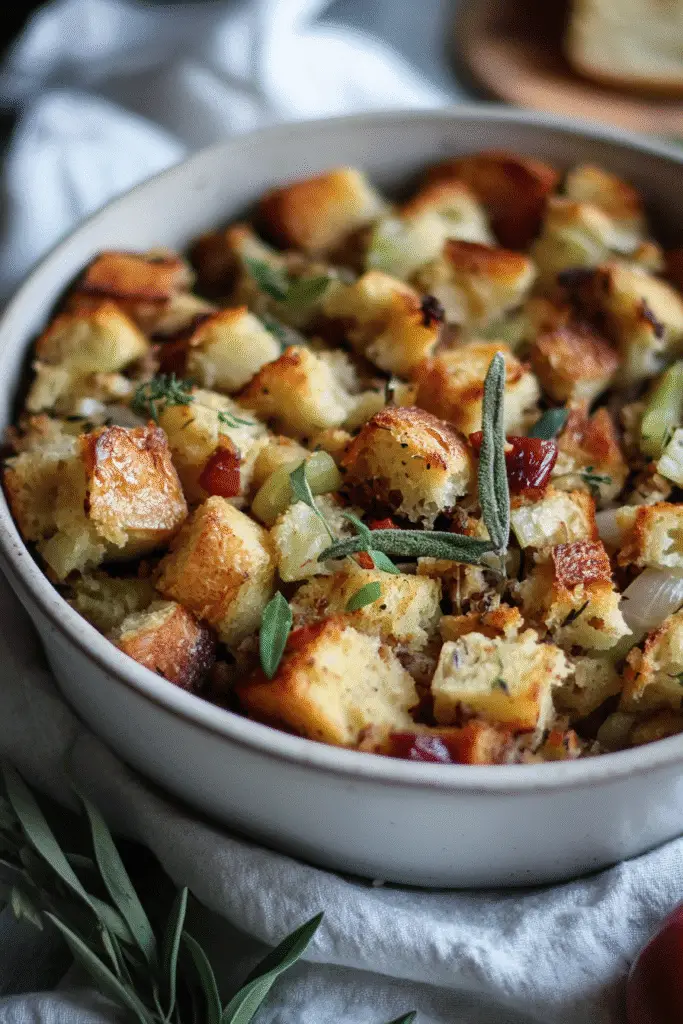
Top Tips for Perfecting Your Grandma’s Thanksgiving Stuffing
As I’ve learned from years of cooking and experimenting in the kitchen, there are a few expert techniques and cooking hacks that can elevate Grandma’s Thanksgiving Stuffing to new heights. Here are my top tips to ensure your stuffing is not only delicious but also a standout dish at your holiday table:
- Choose the Right Bread: The type of bread you use can significantly affect the texture and flavor of your stuffing. Opt for a sturdy bread like sourdough or a hearty whole grain. Day-old bread works best as it absorbs the broth without becoming mushy.
- Don’t Skimp on the Herbs: Fresh herbs can make a world of difference. If possible, use fresh sage and thyme instead of dried. Their vibrant flavors will infuse your stuffing with a delightful aroma that will have everyone asking for seconds.
- Let It Sit: After baking, allow your stuffing to rest for about 10 minutes before serving. This resting period helps the flavors meld together and makes for a more cohesive dish.
- Experiment with Broth: While chicken broth is traditional, don’t hesitate to try different broths for unique flavors. A rich vegetable broth or even a homemade turkey stock can add depth to your stuffing.
- Incorporate Texture: For added crunch, consider mixing in toasted nuts or crispy bacon bits. These elements provide a delightful contrast to the soft bread and vegetables.
- Use a Mix of Vegetables: While celery and onion are classic, feel free to add other vegetables like carrots, leeks, or even roasted garlic. This not only enhances the flavor but also adds color and nutrition.
- Don’t Overmix: When combining the ingredients, be gentle. Overmixing can lead to a dense stuffing. Aim for a light hand to keep the texture fluffy and airy.
By incorporating these tips into your cooking process, you’ll not only honor the tradition of Grandma’s Thanksgiving Stuffing but also create a dish that’s bursting with flavor and love. Happy cooking!
Storing and Reheating Tips
Once you’ve made Grandma’s Thanksgiving Stuffing, you might find yourself with leftovers that are just as delicious the next day! Here’s how to store and reheat your stuffing to maintain its delightful flavors and textures:
Storing in the Fridge
- Cool Down: Allow the stuffing to cool completely at room temperature before storing. This prevents condensation, which can make the stuffing soggy.
- Use an Airtight Container: Transfer the cooled stuffing to an airtight container. This helps keep it fresh and prevents it from absorbing other odors in the fridge.
- Refrigerate: Store in the refrigerator for up to 3-4 days. Make sure to label the container with the date for easy tracking.
Freezing for Later
- Portion It Out: If you have a large batch, consider dividing the stuffing into smaller portions. This makes it easier to thaw only what you need.
- Use Freezer Bags: Place the stuffing in freezer-safe bags, removing as much air as possible before sealing. This helps prevent freezer burn.
- Label and Freeze: Label the bags with the date and contents, then freeze for up to 2-3 months. When you’re ready to enjoy it again, simply thaw in the fridge overnight.
Reheating Tips
- Oven Method: Preheat your oven to 350°F (175°C). Place the stuffing in a greased baking dish, cover with foil, and heat for about 20-25 minutes, or until warmed through. Remove the foil for the last 5 minutes to crisp up the top.
- Microwave Method: For a quicker option, place a portion of stuffing in a microwave-safe dish. Cover with a damp paper towel and heat in 30-second intervals, stirring in between, until heated through.
- Stovetop Method: If you prefer, you can reheat the stuffing in a skillet over medium heat. Add a splash of broth or water to keep it moist, stirring occasionally until warmed through.
By following these storing and reheating tips, you can enjoy Grandma’s Thanksgiving Stuffing long after the holiday feast, savoring the comforting flavors that bring back cherished memories.
Helpful Notes
As you embark on your journey to create Grandma’s Thanksgiving Stuffing, here are some extra clarifications and tips to ensure your dish turns out perfectly:
- Ingredient Prep: For the best flavor, chop your vegetables (celery and onion) uniformly. This ensures even cooking and a consistent texture throughout the stuffing.
- Day-Old Bread: Using day-old bread is key to achieving the right texture. Fresh bread can become too soggy when mixed with broth. If you only have fresh bread, consider toasting the cubes lightly before using them.
- Broth Choices: While chicken broth is traditional, feel free to experiment with homemade turkey stock or a rich vegetable broth for a vegetarian version. Each option brings its unique flavor profile to the stuffing.
- Herb Variations: If you don’t have sage or thyme on hand, consider using other herbs like rosemary or parsley. Each herb will impart a different flavor, allowing you to customize the stuffing to your liking.
- Cultural References: Stuffing has various interpretations around the world. In Italy, for example, you might find stuffing made with rice and herbs, while in the Middle East, spiced rice with nuts and dried fruits is common. Embracing these global influences can inspire your own unique twist on Grandma’s Thanksgiving Stuffing.
- Make-Ahead Option: If you’re short on time, consider preparing the stuffing a day in advance. Assemble it up to the baking step, cover it tightly, and refrigerate. On Thanksgiving day, simply pop it in the oven when you’re ready!
These helpful notes will guide you through the process, ensuring that your Grandma’s Thanksgiving Stuffing is not only delicious but also a reflection of your personal touch and culinary creativity. Happy cooking!
Common Mistakes to Avoid
- Using Fresh Bread: One of the biggest pitfalls is using fresh bread instead of day-old bread. Fresh bread can become too soggy when mixed with broth, leading to a mushy stuffing. Always opt for day-old or lightly toasted bread for the best texture.
- Overmixing the Ingredients: Mixing the stuffing too vigorously can lead to a dense and gummy texture. Gently fold the ingredients together to maintain a light and fluffy stuffing.
- Neglecting Seasoning: Failing to season adequately can result in bland stuffing. Don’t forget to taste and adjust the salt and pepper to enhance the flavors of your Grandma’s Thanksgiving Stuffing.
- Skipping the Resting Time: Serving the stuffing immediately after baking can prevent the flavors from melding. Allow it to rest for about 10 minutes before serving to let the flavors develop fully.
- Not Using Enough Broth: Underestimating the amount of broth needed can lead to dry stuffing. Ensure that the bread is well-moistened, but not overly soggy, for the perfect balance.
FAQs About Grandma’s Thanksgiving Stuffing
Q: Can I make Grandma’s Thanksgiving Stuffing ahead of time?
Yes, you can prepare Grandma’s Thanksgiving Stuffing a day in advance. Simply assemble the stuffing up to the baking step, cover it tightly, and refrigerate. On Thanksgiving day, bake it when you’re ready!
Q: Is Grandma’s Thanksgiving Stuffing suitable for vegetarians?
Yes, by using vegetable broth instead of chicken broth, Grandma’s Thanksgiving Stuffing can easily be made vegetarian-friendly, allowing everyone to enjoy this delicious dish.
Q: Can I add my own ingredients to Grandma’s Thanksgiving Stuffing?
It depends! Feel free to customize Grandma’s Thanksgiving Stuffing with your favorite ingredients, such as nuts, dried fruits, or different herbs, to make it uniquely yours.
Q: How long can I store leftovers of Grandma’s Thanksgiving Stuffing?
Yes, you can store leftovers of Grandma’s Thanksgiving Stuffing in the refrigerator for up to 3-4 days. Just make sure to keep it in an airtight container to maintain freshness.
Q: Can I freeze Grandma’s Thanksgiving Stuffing?
Yes, Grandma’s Thanksgiving Stuffing can be frozen for up to 2-3 months. Portion it out in freezer-safe bags, and label them with the date for easy tracking.
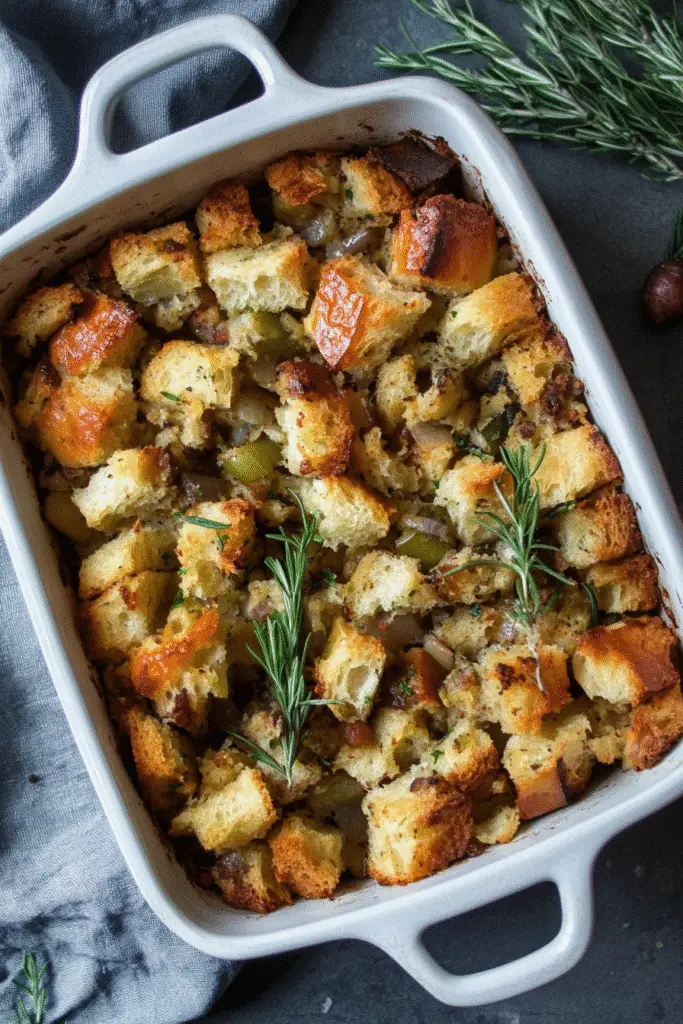
Conclusion: Final Thoughts on Grandma’s Thanksgiving Stuffing
As we gather around the table this Thanksgiving, Grandma’s Thanksgiving Stuffing serves as a delicious reminder of the love and traditions that bind us together. Each bite is a celebration of family, warmth, and cherished memories, inviting us to share stories and laughter. I encourage you to embrace this recipe, make it your own, and create new memories with your loved ones. If you try Grandma’s Thanksgiving Stuffing, I’d love to hear your thoughts! Share your experiences in the comments below, and let’s keep the spirit of togetherness alive through our kitchens. Happy cooking!
Print
Grandma’s Thanksgiving Stuffing
- Total Time: 1 hour
- Yield: 8 servings 1x
- Diet: Vegetarian
Description
A heartwarming recipe for Thanksgiving stuffing that brings back cherished memories.
Ingredients
- 1 loaf of bread, cubed
- 1 cup of celery, chopped
- 1 cup of onion, chopped
- 1/2 cup of butter
- 2 cups of chicken broth
- 1 tablespoon of sage
- 1 tablespoon of thyme
- Salt and pepper to taste
Instructions
- Preheat the oven to 350°F (175°C).
- In a large skillet, melt the butter over medium heat.
- Add the chopped celery and onion, and sauté until soft.
- In a large bowl, combine the cubed bread, sautéed vegetables, sage, thyme, salt, and pepper.
- Pour the chicken broth over the bread mixture and stir until well combined.
- Transfer the stuffing to a greased baking dish.
- Bake for 30-40 minutes, or until the top is golden brown.
Notes
- For a vegetarian option, use vegetable broth instead of chicken broth.
- Feel free to add nuts or dried fruits for extra flavor.
- Prep Time: 20 minutes
- Cook Time: 40 minutes
- Category: Side Dish
- Method: Baking
- Cuisine: American
Nutrition
- Serving Size: 1 cup
- Calories: 250
- Sugar: 2g
- Sodium: 500mg
- Fat: 12g
- Saturated Fat: 7g
- Unsaturated Fat: 3g
- Trans Fat: 0g
- Carbohydrates: 30g
- Fiber: 2g
- Protein: 5g
- Cholesterol: 30mg
Keywords: Grandma’s Thanksgiving Stuffing, Thanksgiving recipe, stuffing recipe