This post may contain affiliate links.
I’ve long held the belief that some desserts carry with them an unexplainable magic, a blend of nostalgia and comfort that transcends mere ingredients. Carmelite Bars are one such delightful treat that never fails to evoke warmth and joy in my heart. When I bite into these chewy, gooey gems, I am transported back to my childhood kitchen, surrounded by aromas of melted chocolate and caramel, with my family laughing and enjoying every moment together.
From the first caramel drip to the final sprinkle of oats, making Carmelite Bars is like crafting little pieces of happiness. It’s more than just a recipe; it’s a tradition, a moment of love and shared experiences. Let’s delve into the world of Carmelite Bars and explore what makes them so special.
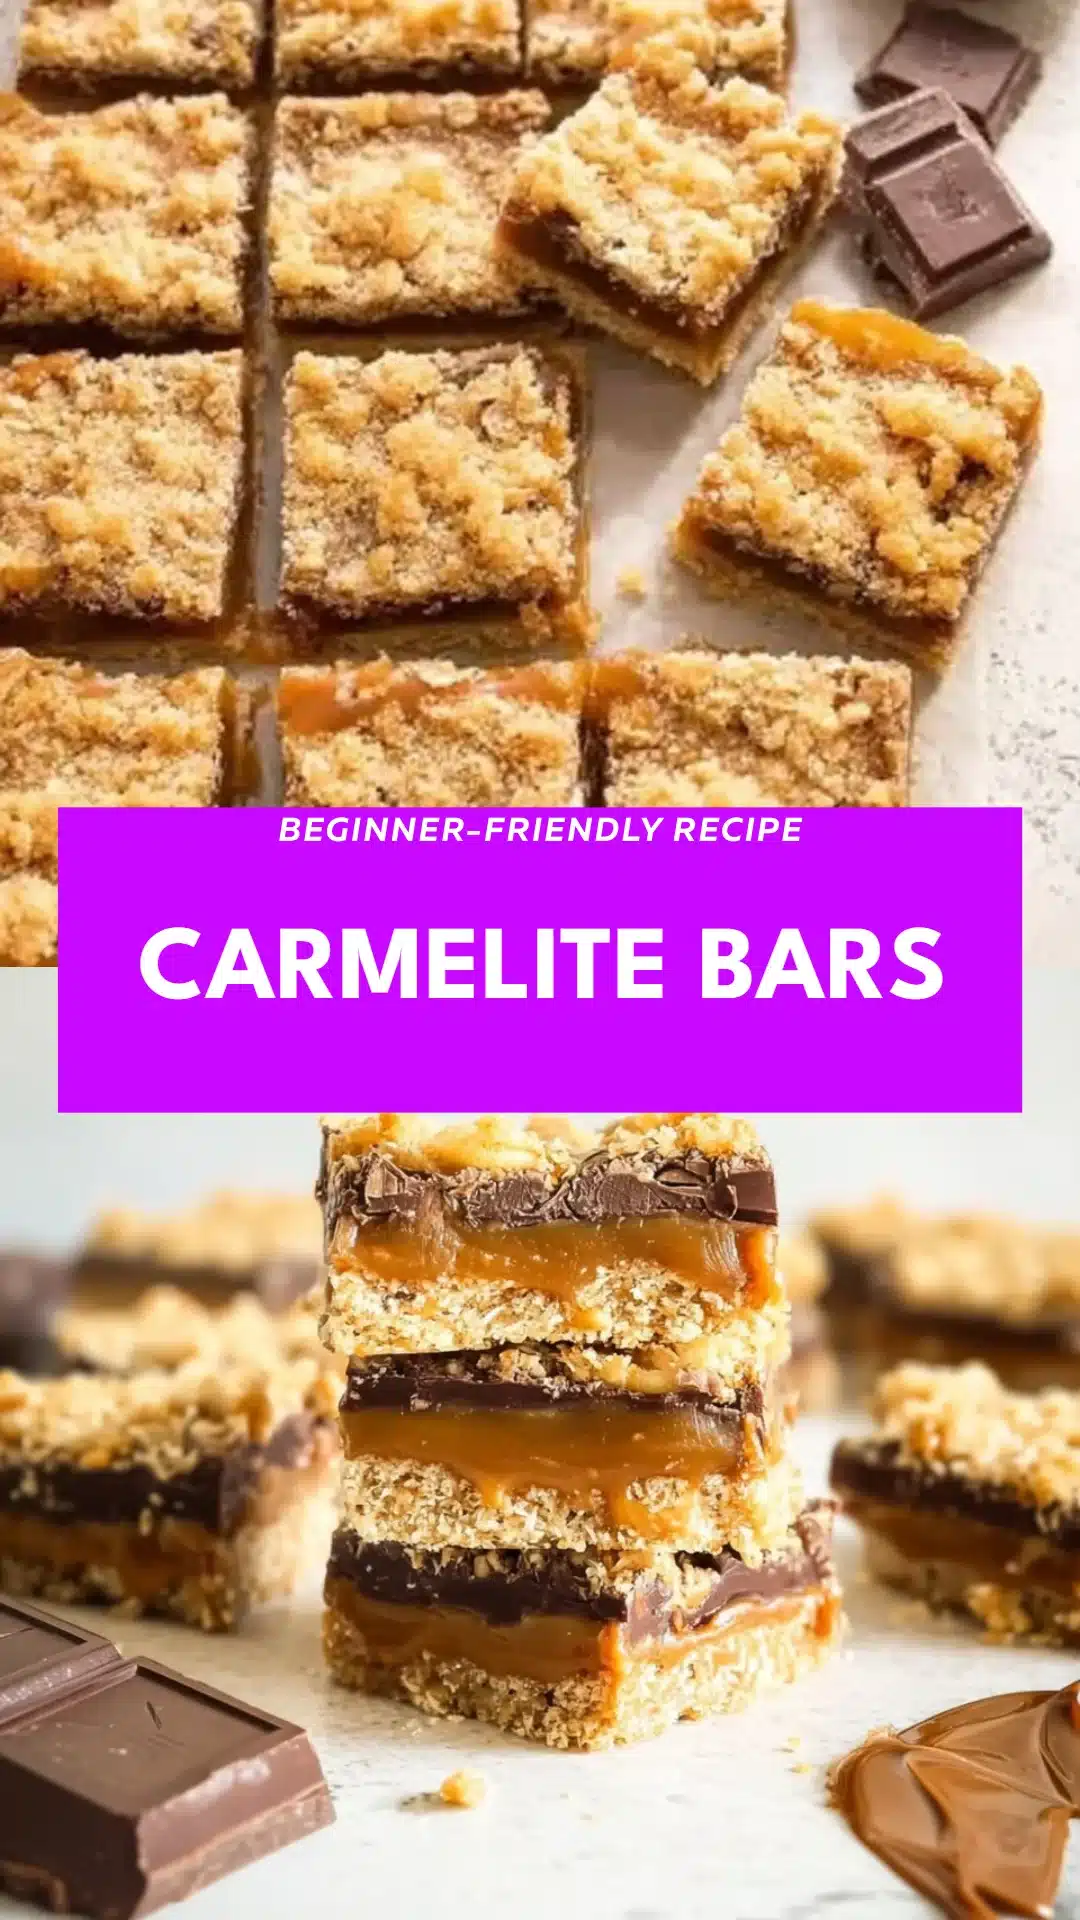
A Closer Look at Carmelite Bars
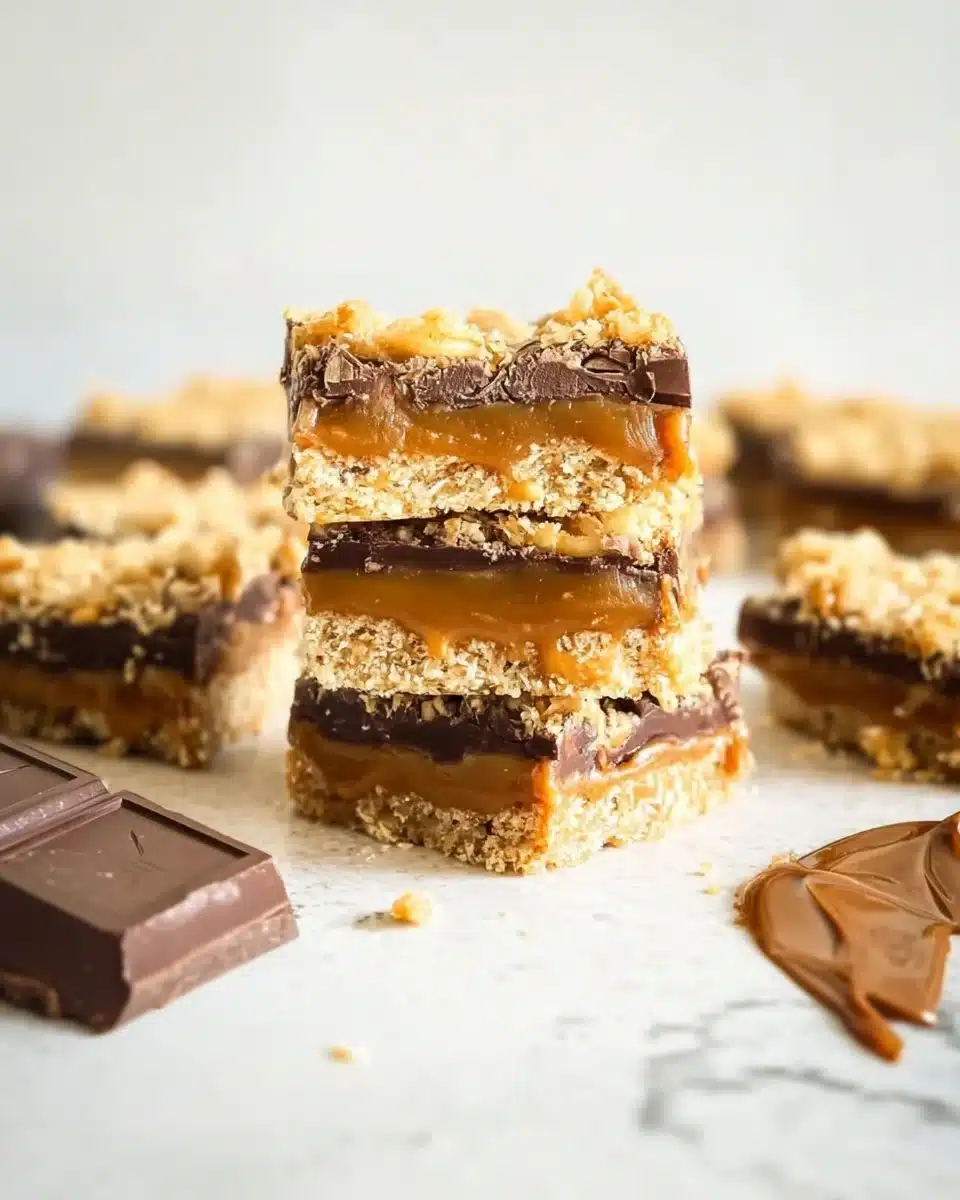
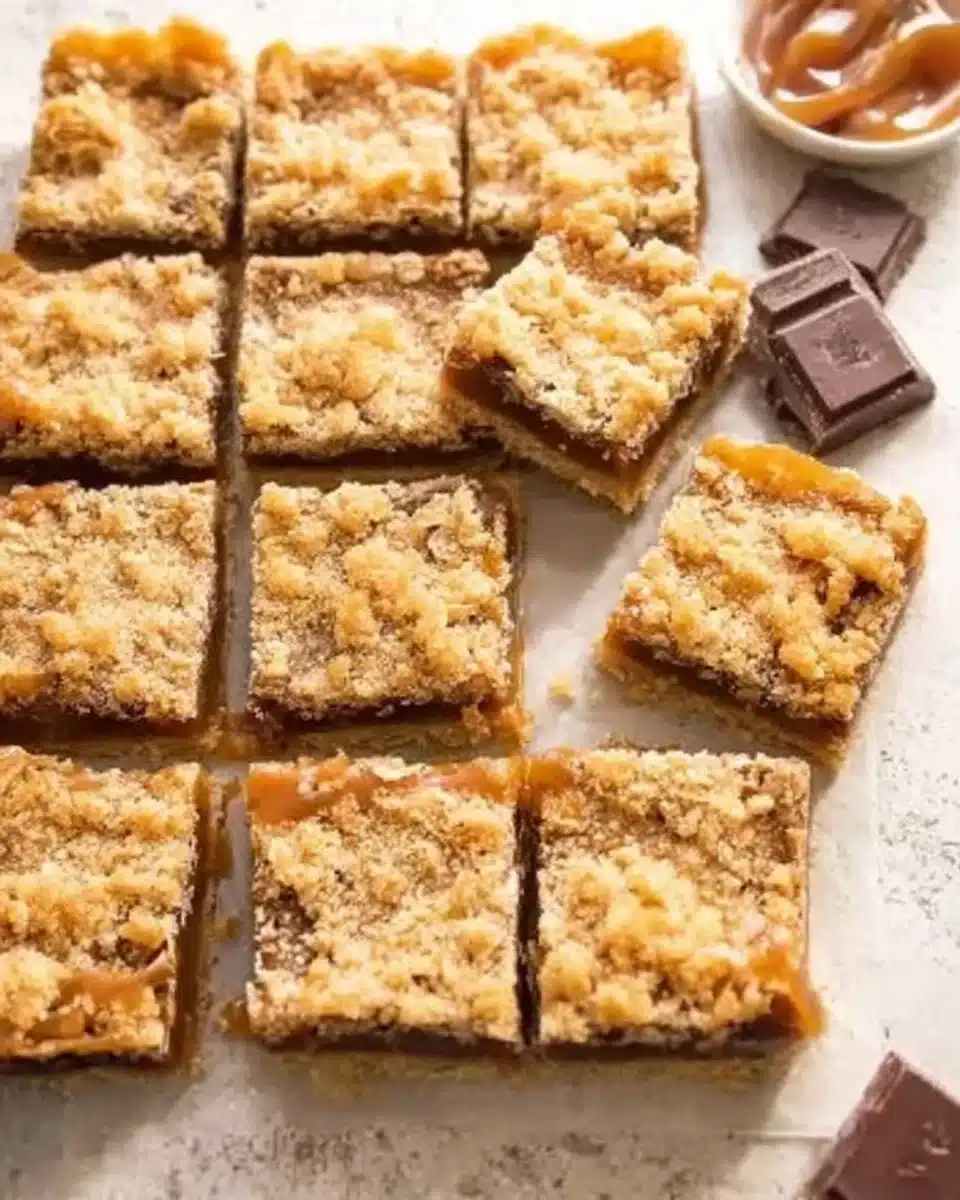
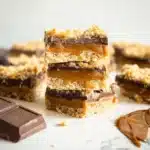
Carmelite Bars are a delicious combination of buttery oats, chocolate chips, and luscious caramel—a dessert that is deeply rooted in classic American baking. While the origins of Carmelite Bars are somewhat cloudy, it’s clear that they have been a beloved fixture in many families’ dessert repertoires for generations. These treats blend that comforting rustic feel we associate with homemade desserts and the sweet indulgence that speaks to our inner child. The layers of flavor and textures—from the chewy oat base to the rich chocolate and creamy caramel—make every bite a memorable experience.
Why This Carmelite Bars Stands Out
- Flavor Bomb: The combination of rich chocolate and sweet caramel with a hint of salt creates a flavor profile that dances in your mouth.
- Quick & Easy: With a handful of pantry staples, you can whip these bars up in no time, making them perfect for inviting friends over or curbing sweet cravings.
- Loved by All: These bars appeal to both kids and adults alike—who can resist that gooey, chocolatey goodness?
- Customizable: Feel free to experiment with nuts or different types of chocolate to make it your own!
Who Will Enjoy This Carmelite Bars Most
- Busy Families: Quick to prepare and always a crowd-pleaser!
- Dessert Lovers: If you have a sweet tooth, these bars are for you.
- New Cooks: Perfect for those just starting their baking journey.
- Gathering Hosts: A great dessert for parties, potlucks, or gatherings.
Perfect Moments to Enjoy Carmelite Bars
- Weeknight Treats: After a long day, indulge in some homemade sweetness.
- Family Gatherings: These bars add a touch of nostalgia to any family occasion.
- Holidays: Perfect for holiday celebrations, bringing friends and family together.
- Cozy Nights: Enjoy them with a cup of coffee or hot cocoa on chilly evenings.
How to Make the Perfect Carmelite Bars
Creating Carmelite Bars is a straightforward process that involves melting, mixing, and baking. The satisfaction of making these treats is matched only by the joy they bring when shared with loved ones.
Ingredients
- 1 cup all-purpose flour
- 1 cup old-fashioned rolled oats
- ¾ cup packed light brown sugar
- ½ teaspoon baking soda
- ½ teaspoon salt
- 12 tablespoons unsalted butter (melted)
- 1 teaspoon vanilla extract
- 1 cup semi-sweet chocolate chips
- 36 caramels (unwrapped)
- ½ cup heavy cream
Step-by-Step Instructions
- Preheat your oven to 350°F and line an 8×8 inch baking pan with parchment paper or aluminum foil.
- Mix flour, oats, brown sugar, baking soda, and salt in a medium bowl.
- Add melted butter and vanilla; combine well.
- Press more than half of the mixture into the prepared pan.
- Bake for about 10 minutes until lightly golden.
- Melt unwrapped caramels with heavy cream in a microwave-safe bowl in intervals until smooth.
- Remove the base layer from the oven and sprinkle chocolate chips evenly over it.
- Pour the caramel sauce on top of the chocolate chips.
- Sprinkle the remaining oat mixture over the caramel layer.
- Bake for another 15-20 minutes until golden brown.
- Allow to cool completely before cutting into squares.
For People with Diabetes: Sugar Substitutes
If you’re looking for sugar-free alternatives, consider using stevia, monk fruit, or allulose. Be cautious about using honey or maple syrup, as these still contain sugar.
Essential Tools for Carmelite Bars
- Mixing bowls
- Measuring cups and spoons
- Rubber spatula
- Baking pan (8×8 inch)
- Microwave-safe bowl
Pro Tips to Elevate Your Carmelite Bars
- Soften Caramels: Microwave your caramels for a few seconds if they are too hard to melt easily.
- Don’t Rush the Cooling: Allow the bars to cool completely for clean cuts and a better texture.
- Add Nuts: If you like some crunch, mix in some chopped nuts into the caramel layer.
Storing and Reheating Tips
- Fridge: Store in an airtight container for up to a week.
- Freezer: Freeze for up to three months. Just thaw them before enjoying.
- Reheat: Microwave for a few seconds to soften before serving if you prefer them warm.
Common Mistakes to Avoid
- Overmixing: Be gentle when mixing; overmixing can lead to tough bars.
- Underbaking: Make sure to bake until golden brown for the perfect texture.
- Skipping Cooling: Cutting into warm bars can make them fall apart. Let them cool completely!
FAQs About Carmelite Bars
- Can I make Carmelite Bars ahead of time? Yes, these bars can be made a day ahead and stored.
- Are Carmelite Bars gluten-free? No, but you can use a gluten-free flour mix.
- Can I substitute the chocolate chips? It depends on your preference; you can use milk or dark chocolate.
- Do these bars need to be refrigerated? No, but storing them in a cool place helps maintain texture.
- What can I use instead of caramels? You can use store-bought caramel sauce, although the melting process may differ.
Conclusion: Final Thoughts on Carmelite Bars
There’s something incredibly heartwarming about baking and sharing these delightful Carmelite Bars with friends and family. They bring smiles and create memories, making every occasion sweeter. I encourage you to try this recipe and feel the joy it brings. If you’ve made them or plan to, please share your thoughts in the comments below!
Carmelite Bars
- Total Time: 40 minutes
- Yield: 16 servings 1x
- Diet: Vegetarian
Description
Delicious buttery bars with chocolate chips and caramel, perfect for sharing with family and friends.
Ingredients
- 1 cup all-purpose flour
- 1 cup old-fashioned rolled oats
- ¾ cup packed light brown sugar
- ½ teaspoon baking soda
- ½ teaspoon salt
- 12 tablespoons unsalted butter (melted)
- 1 teaspoon vanilla extract
- 1 cup semi-sweet chocolate chips
- 36 caramels (unwrapped)
- ½ cup heavy cream
Instructions
- Preheat your oven to 350°F and line an 8×8 inch baking pan with parchment paper or aluminum foil.
- Mix flour, oats, brown sugar, baking soda, and salt in a medium bowl.
- Add melted butter and vanilla; combine well.
- Press more than half of the mixture into the prepared pan.
- Bake for about 10 minutes until lightly golden.
- Melt unwrapped caramels with heavy cream in a microwave-safe bowl in intervals until smooth.
- Remove the base layer from the oven and sprinkle chocolate chips evenly over it.
- Pour the caramel sauce on top of the chocolate chips.
- Sprinkle the remaining oat mixture over the caramel layer.
- Bake for another 15-20 minutes until golden brown.
- Allow to cool completely before cutting into squares.
Notes
For sugar substitutes, consider using stevia or monk fruit. For added crunch, mix in chopped nuts.
- Prep Time: 15 minutes
- Cook Time: 25 minutes
- Category: Dessert
- Method: Baking
- Cuisine: American
Nutrition
- Serving Size: 1 square
- Calories: 250
- Sugar: 15g
- Sodium: 150mg
- Fat: 12g
- Saturated Fat: 7g
- Unsaturated Fat: 5g
- Trans Fat: 0g
- Carbohydrates: 35g
- Fiber: 2g
- Protein: 3g
- Cholesterol: 30mg