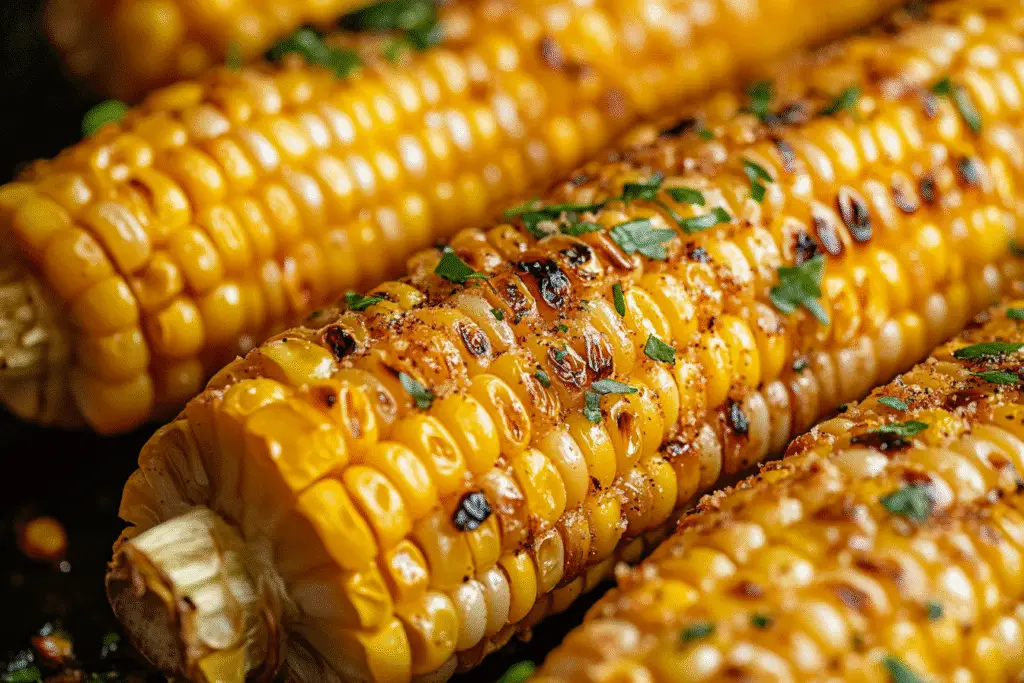
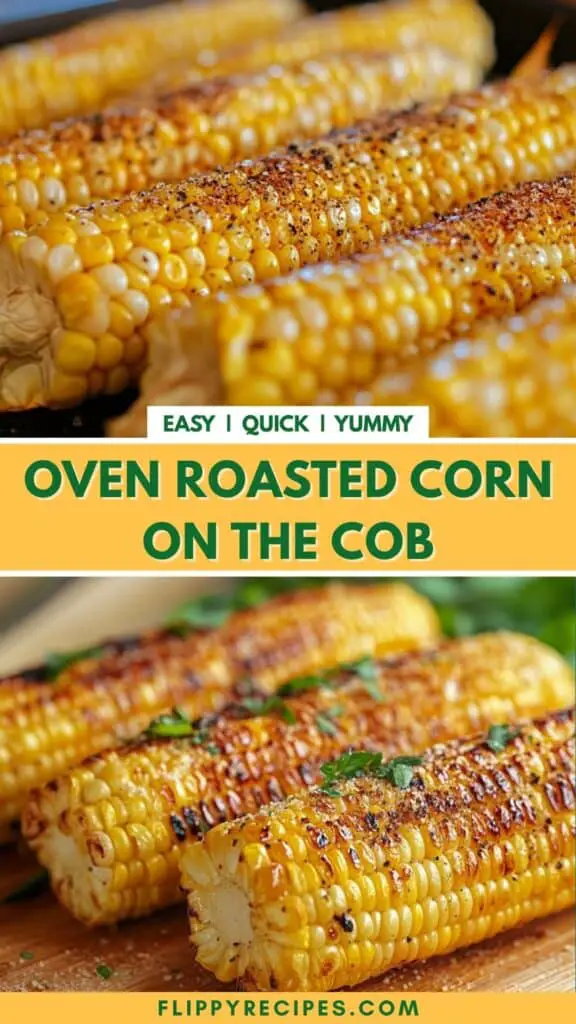
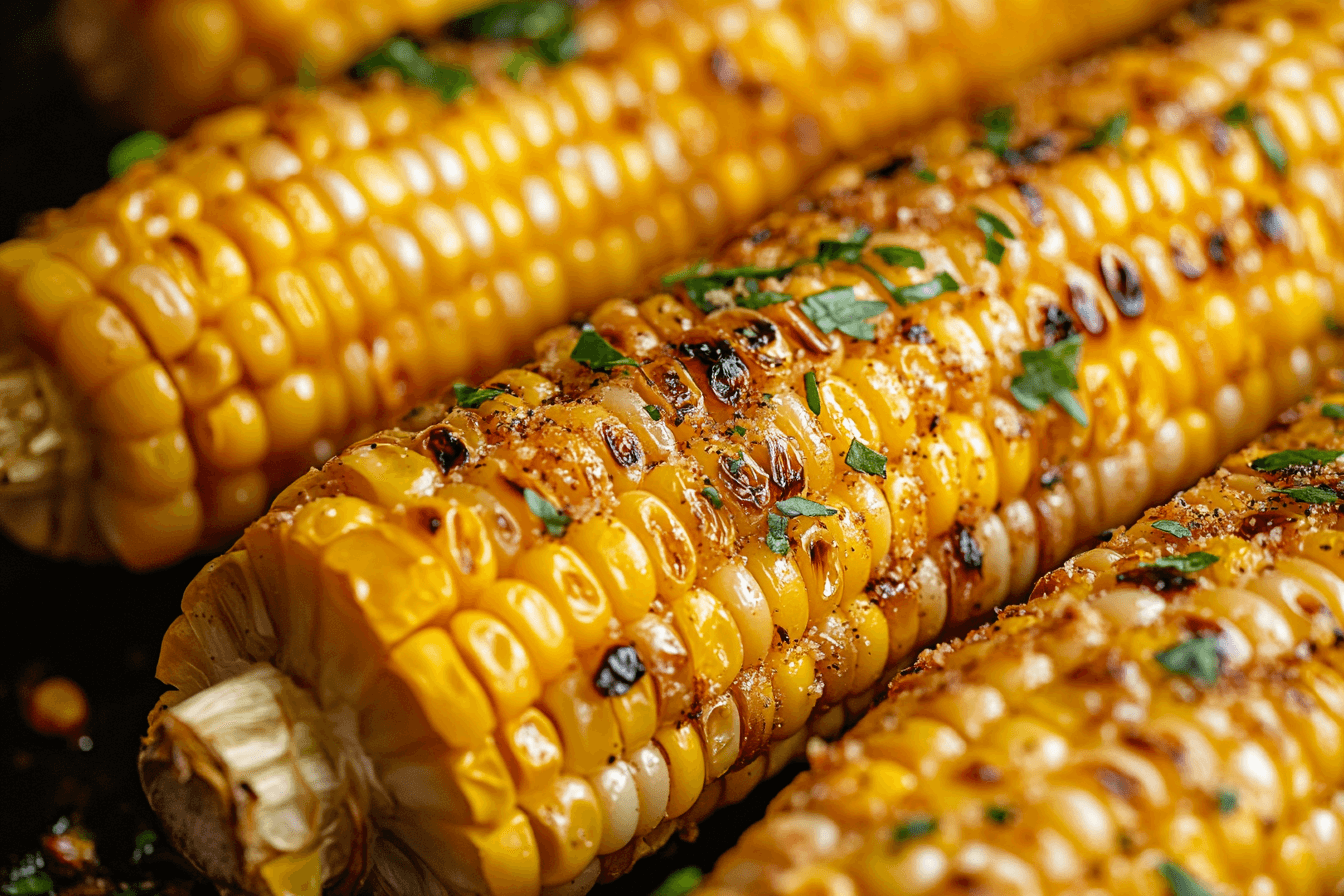
Introduction to Oven Roasted Corn on the Cob
As summer rolls in, the sweet aroma of oven roasted corn on the cob fills my kitchen, transporting me back to sun-soaked family barbecues. I can still hear the laughter and chatter as we gathered around the grill, eagerly awaiting that first bite of tender, juicy corn. This simple yet delightful dish is a staple in my home, and I’m excited to share my secrets for achieving perfectly sweet and tender corn every time.

With just a few ingredients and minimal effort, you can create a side dish that will have your family asking for seconds!
What is Oven Roasted Corn on the Cob?
The origins of oven roasted corn on the cob can be traced back to the heart of American cuisine, where corn has long been a beloved staple. Native Americans were among the first to cultivate this versatile grain, using it in various forms, from cornbread to polenta. Today, corn on the cob is celebrated across the globe, with each culture adding its unique twist. In Mexico, for instance, you might find elote, where grilled corn is slathered in creamy sauces and sprinkled with cheese, while in the Southern United States, it’s often boiled and served with butter and salt.
Roasting corn in the oven is a modern adaptation that allows for a sweet, caramelized flavor that enhances its natural sugars. This method is not only convenient but also brings out the corn’s delightful texture, making it tender and juicy. The beauty of oven roasted corn on the cob lies in its simplicity; it’s a dish that can be enjoyed year-round, whether you’re hosting a summer cookout or preparing a cozy family dinner in the winter months. With just a few ingredients, you can create a dish that resonates with the warmth of home and the joy of shared meals.
Why You’ll Love This Oven Roasted Corn on the Cob
- Convenience: With minimal prep and just 30 minutes in the oven, this dish fits perfectly into any busy schedule.
- Delicious Flavor: The roasting process caramelizes the natural sugars, resulting in sweet, tender corn that bursts with flavor.
- Health Benefits: Corn is a great source of fiber and essential nutrients, making it a wholesome addition to your meals.
- Family Appeal: Kids and adults alike love the fun of eating corn on the cob, making it a hit at family gatherings.
- Versatile Side Dish: Pair it with grilled meats, salads, or enjoy it on its own; it complements a variety of cuisines.
Who It’s For
This recipe is perfect for busy families looking for quick, nutritious meals, health-conscious cooks wanting to incorporate more vegetables, and food lovers eager to explore simple yet flavorful dishes. Whether you’re a novice in the kitchen or a seasoned chef, oven roasted corn on the cob is a delightful addition to your culinary repertoire.
When to Cook It
Oven roasted corn on the cob is ideal for a variety of occasions. It shines at weeknight dinners when you need a quick side, during summer barbecues with friends, or as a comforting addition to family meals throughout the year. No matter the season, this dish brings a touch of warmth and joy to your table.
How to Make the Perfect Oven Roasted Corn on the Cob
Ingredients
- 4 ears of corn: Fresh corn is key for the best flavor. If fresh isn’t available, frozen corn can work in a pinch, but the texture may differ.
- 2 tablespoons of olive oil: This adds richness and helps the seasonings stick. You can substitute with melted butter or avocado oil for a different flavor.
- Salt and pepper: Essential for enhancing the natural sweetness of the corn. Feel free to adjust to your taste.
- Optional: butter for serving: A classic addition that elevates the dish. Try flavored butters, like garlic or herb, for a gourmet touch.
Step-by-Step Instructions
- Preheat your oven: Set it to 400°F (200°C) to create the perfect roasting environment.
- Husk the corn: Remove the outer leaves and silk, revealing the bright yellow kernels. The fresh scent of corn is simply irresistible!
- Brush with olive oil: Use a pastry brush to coat each ear evenly. This step ensures a golden, caramelized finish.
- Season: Sprinkle salt and pepper generously over the corn. You can also add garlic powder or paprika for an extra kick!
- Wrap in foil: Tightly wrap each ear of corn in aluminum foil to lock in moisture and flavor.
- Roast: Place the wrapped corn directly on the oven rack. Roast for 25-30 minutes, turning halfway through for even cooking.
- Unwrap and serve: Carefully remove the foil (watch out for steam!) and enjoy your delicious corn on the cob. Add a pat of butter if desired, and savor the sweet, tender bites!
For People with Diabetes: Sugar Substitutes
If you’re looking for sugar substitutes, consider using stevia, monk fruit, erythritol, or allulose. These options provide sweetness without the calories. Avoid using honey or maple syrup, as they can spike blood sugar levels.

Tools You’ll Need
- Oven: A standard kitchen oven is perfect for roasting corn. If you have a convection oven, it can help cook the corn more evenly.
- Aluminum foil: Essential for wrapping the corn to retain moisture. If you prefer, you can use parchment paper, but it may not seal as tightly.
- Pastry brush: Ideal for applying olive oil evenly. A clean kitchen towel or your hands can work in a pinch!
- Sharp knife: Useful for husking the corn and cutting it if you prefer smaller pieces.
- Oven mitts: Don’t forget these to protect your hands when handling hot corn!
- Serving platter: A beautiful way to present your oven roasted corn on the cob to your family and guests.
Tips from Well-Known Chefs
When it comes to perfecting oven roasted corn on the cob, I’ve gathered some invaluable tips from renowned chefs that can elevate your dish to new heights. Here are their top hacks:
- Use Fresh Corn: Chef Thomas Keller emphasizes the importance of using the freshest corn possible. The flavor and sweetness are unparalleled, making all the difference in your dish.
- Season Generously: Chef Ina Garten suggests not skimping on salt and pepper. A good seasoning enhances the natural sweetness of the corn, so don’t be afraid to sprinkle a little extra!
- Experiment with Flavors: Chef José Andrés loves to add a twist by incorporating spices like smoked paprika or chili powder. This adds depth and a hint of smokiness that complements the corn beautifully.
- Finish with a Zest: Chef Giada De Laurentiis recommends a squeeze of fresh lime or lemon juice just before serving. This brightens the flavors and adds a refreshing touch.
- Try Different Oils: Chef Alton Brown suggests experimenting with flavored oils, such as garlic-infused olive oil or chili oil, to give your corn a unique flair.
By incorporating these chef-approved tips, you’ll not only enhance the flavor of your oven roasted corn on the cob but also impress your family and friends with your culinary skills!
Delicious Variations to Customize Your Corn Dish
One of the joys of making oven roasted corn on the cob is how easily it can be customized to suit your taste preferences or dietary needs. Here are some delightful variations that can transform this simple dish into something extraordinary:
- Mexican Street Corn Style: After roasting, slather the corn with a mixture of mayonnaise, sour cream, lime juice, and crumbled cotija cheese. Sprinkle with chili powder and fresh cilantro for a vibrant, zesty flavor that will transport you to the streets of Mexico.
- Herb-Infused Corn: Mix chopped fresh herbs like basil, parsley, or dill into your olive oil before brushing it onto the corn. This adds a fragrant, garden-fresh taste that pairs beautifully with the sweetness of the corn.
- Spicy Sriracha Corn: For those who love a kick, drizzle sriracha sauce over the corn after roasting. You can also mix sriracha with melted butter for a creamy, spicy topping that will tantalize your taste buds.
- Cheesy Garlic Corn: Before wrapping the corn in foil, sprinkle grated Parmesan or cheddar cheese over the oil-coated corn. The cheese will melt and create a deliciously cheesy crust that elevates the dish.
- Sweet and Savory Maple Glaze: Brush the corn with a mixture of maple syrup and a pinch of salt before roasting. This sweet glaze caramelizes beautifully, creating a delightful contrast to the corn’s natural flavor.
These variations not only add exciting flavors but also allow you to cater to different dietary preferences. Whether you’re looking for something spicy, cheesy, or sweet, there’s a way to make oven roasted corn on the cob uniquely yours!
Top Tips for Perfecting Your Oven Roasted Corn on the Cob
To truly master the art of oven roasted corn on the cob, I’ve gathered some expert techniques and cooking hacks that will elevate your dish to perfection. These tips come from my own kitchen experiences and insights from culinary traditions around the world.
- Choose the Right Corn: Always opt for fresh, in-season corn. Look for ears with bright green husks and plump kernels. The fresher the corn, the sweeter and more flavorful your dish will be.
- Don’t Skip the Soaking: For an extra juicy result, soak the corn (still in the husk) in water for about 30 minutes before roasting. This helps steam the corn as it cooks, resulting in tender kernels.
- Experiment with Seasonings: While salt and pepper are classic, don’t hesitate to get creative! Try adding smoked paprika, chili powder, or even a sprinkle of cheese before wrapping the corn in foil for a flavor boost.
- Use a Meat Thermometer: To ensure your corn is perfectly cooked, use a meat thermometer. The ideal internal temperature for tender corn is around 165°F (74°C). This ensures you achieve that delightful texture every time.
- Let It Rest: After removing the corn from the oven, let it rest for a few minutes before unwrapping. This allows the steam to continue cooking the corn and enhances its flavor.
- Serve with a Twist: Elevate your serving game by offering a variety of toppings. Consider flavored butters, fresh herbs, or zesty sauces to let everyone customize their corn to their liking.
By incorporating these tips into your cooking routine, you’ll not only perfect your oven roasted corn on the cob but also impress your family and friends with your culinary prowess. Happy roasting!
Storing and Reheating Tips
Once you’ve enjoyed your delicious oven roasted corn on the cob, you might find yourself with some leftovers. Don’t worry! With the right storage and reheating methods, you can savor that sweet, tender corn again. Here’s how to do it:
Storing Leftover Corn
- Refrigerator: Allow the corn to cool completely before storing. Wrap each ear in plastic wrap or place it in an airtight container. It will stay fresh in the fridge for up to 3 days.
- Freezer: For longer storage, you can freeze the corn. Husk and cut the kernels off the cob, then place them in a freezer-safe bag or container. Frozen corn can last for up to 6 months. Just remember to label the bag with the date!
Reheating Corn on the Cob
- Oven: Preheat your oven to 350°F (175°C). Wrap the corn in aluminum foil and place it on a baking sheet. Heat for about 10-15 minutes, or until warmed through.
- Microwave: For a quick option, place the corn on a microwave-safe plate and cover it with a damp paper towel. Heat on high for 1-2 minutes, checking for warmth. Be careful, as it can get hot quickly!
- Stovetop: Bring a pot of water to a boil, then add the corn (husked or cut off the cob). Boil for about 3-5 minutes until heated through. This method helps retain moisture and flavor.
By following these simple storing and reheating tips, you can enjoy your oven roasted corn on the cob even after the initial meal, ensuring that every bite remains as delightful as the first!
Helpful Notes
As you embark on your journey to create the perfect oven roasted corn on the cob, here are some extra clarifications and tips to ensure your success:
- Ingredient Prep: When husking the corn, make sure to remove all the silk strands. This can be a bit tedious, but it’s essential for a clean bite. A simple trick is to use a vegetable brush to help remove any stubborn silk.
- Substitutions: If you don’t have olive oil on hand, feel free to use melted butter, avocado oil, or even coconut oil for a unique flavor twist. Each oil brings its own character to the dish, enhancing the corn’s natural sweetness.
- Fresh vs. Frozen: While fresh corn is ideal, frozen corn can be a great alternative, especially in off-seasons. Just be sure to thaw it completely before roasting to achieve the best texture.
- Cultural References: Corn is a staple in many cultures around the world. In addition to the Mexican elote, you might find variations in South America where corn is used in dishes like arepas or in Italy where it’s featured in polenta. Exploring these cultural dishes can inspire your own flavor combinations!
- Cooking for Dietary Needs: If you’re cooking for someone with dietary restrictions, consider using gluten-free seasonings or dairy-free butter alternatives. This way, everyone can enjoy the deliciousness of oven roasted corn on the cob.
These helpful notes will guide you in preparing and customizing your corn dish, ensuring that every bite is as delightful as the last. Enjoy the process and the delicious results!
Common Mistakes to Avoid
- Skipping the Husk Removal: Leaving the husk on during roasting can lead to uneven cooking and a tough texture. Always husk the corn completely to ensure even roasting and maximum flavor.
- Not Seasoning Enough: A common mistake is under-seasoning the corn. Don’t be shy with salt and pepper! Proper seasoning enhances the natural sweetness of the corn, making each bite more delicious.
- Overcooking the Corn: Cooking the corn for too long can result in mushy kernels. Aim for 25-30 minutes, turning halfway through, and check for doneness by piercing with a fork. The corn should be tender but not falling apart.
- Using Dull Foil: If your aluminum foil is too thin or damaged, it may not hold in moisture effectively. Use heavy-duty foil to ensure the corn steams properly, resulting in juicy, tender kernels.
- Neglecting to Let It Rest: After roasting, it’s tempting to dive right in. However, letting the corn rest for a few minutes allows the steam to continue cooking it, enhancing the flavor and texture.
FAQs About Oven Roasted Corn on the Cob
Q: Can I use frozen corn for oven roasted corn on the cob?
Yes, you can use frozen corn, but it’s best to thaw it completely before roasting. Fresh corn will yield the best flavor and texture, but frozen can work in a pinch.
Q: Is oven roasted corn on the cob healthy?
Yes, oven roasted corn on the cob is a healthy side dish! It’s low in calories and high in fiber, making it a nutritious addition to your meals.
Q: Can I make oven roasted corn on the cob ahead of time?
It depends. While it’s best enjoyed fresh, you can prepare the corn and store it in the fridge for a day before roasting. Just remember to reheat it properly to maintain its tenderness.
Q: Should I soak the corn before roasting?
Yes, soaking the corn in water for about 30 minutes before roasting can help keep it juicy and enhance its flavor. This step is optional but recommended for extra moisture.
Q: Can I add different seasonings to my oven roasted corn on the cob?
Yes! Feel free to experiment with various seasonings like garlic powder, chili powder, or even cheese. Customizing your oven roasted corn on the cob can elevate its flavor profile to suit your taste.
Conclusion: Final Thoughts on Oven Roasted Corn on the Cob
As you gather around the table to enjoy your oven roasted corn on the cob, I hope you feel the warmth and joy that this simple dish brings. It’s more than just a side; it’s a celebration of flavors, memories, and togetherness. Whether you’re sharing it with family during a cozy dinner or at a lively summer barbecue, this corn is sure to create lasting moments. I encourage you to try different variations and make it your own. If you loved this recipe, please share your thoughts in the comments below or share it with friends who would enjoy it too!
Print
Oven Roasted Corn on the Cob
- Total Time: 40 minutes
- Yield: 4 servings 1x
- Diet: Vegetarian
Description
Discover the secret to perfectly sweet and tender corn every time!
Ingredients
- 4 ears of corn, husked
- 2 tablespoons of olive oil
- Salt, to taste
- Pepper, to taste
- Optional: butter, for serving
Instructions
- Preheat your oven to 400°F (200°C).
- Husk the corn and remove all silk.
- Brush the corn with olive oil and season with salt and pepper.
- Wrap each ear of corn in aluminum foil.
- Place the wrapped corn directly on the oven rack.
- Roast for 25-30 minutes, turning halfway through.
- Remove from the oven, unwrap, and serve with butter if desired.
Notes
- For extra flavor, try adding garlic powder or paprika to the seasoning.
- Make sure to check the corn for doneness; it should be tender when pierced with a fork.
- Prep Time: 10 minutes
- Cook Time: 30 minutes
- Category: Side Dish
- Method: Roasting
- Cuisine: American
Nutrition
- Serving Size: 1 ear
- Calories: 90
- Sugar: 6g
- Sodium: 5mg
- Fat: 4g
- Saturated Fat: 0.5g
- Unsaturated Fat: 3.5g
- Trans Fat: 0g
- Carbohydrates: 19g
- Fiber: 2g
- Protein: 3g
- Cholesterol: 0mg
Keywords: Oven Roasted Corn on the Cob
