Introduction to Homemade Grape Jelly
As a child, I remember the sweet aroma of homemade grape jelly wafting through my grandmother’s kitchen, a place where love and flavor intertwined. Crafting homemade grape jelly is not just about preserving fruit; it’s about creating memories that spread joy on every slice of toast. The vibrant purple hue and glossy texture of the jelly remind me of sunlit afternoons spent picking grapes in the backyard. With just a few simple ingredients, you can transform grape juice into a delightful spread that brings a taste of nostalgia to your breakfast table. Join me in discovering the joy of making homemade grape jelly that your family will cherish for years to come!
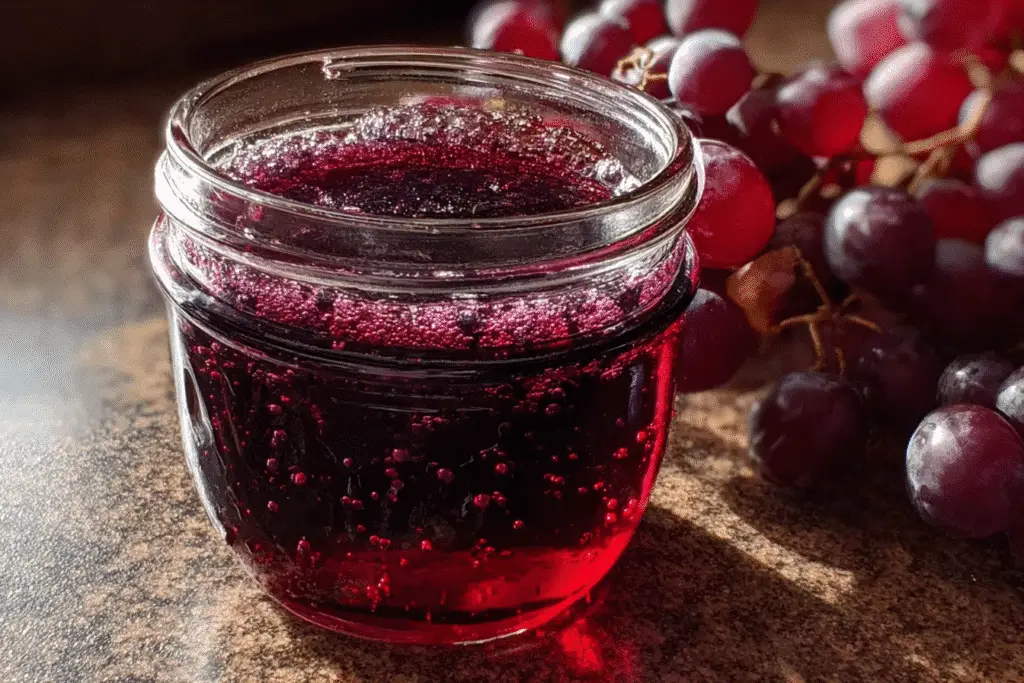
What is Homemade Grape Jelly?
Homemade grape jelly has a rich history that dates back to the early days of American cooking, where preserving fruits was essential for survival during harsh winters. This delightful spread is a staple in many households, often passed down through generations, each family adding their unique twist. The process of making homemade grape jelly not only preserves the sweet essence of grapes but also captures the spirit of togetherness in the kitchen.
Globally, fruit preserves like grape jelly can be found in various cultures, each with its own methods and flavors. In France, for instance, you might encounter confiture de raisin, a luxurious version that often includes spices and citrus zest. The beauty of homemade grape jelly lies in its versatility; it can be enjoyed on toast, as a filling for pastries, or even as a glaze for meats, showcasing its adaptability across different cuisines.
As you embark on your jelly-making journey, you’ll discover that the process is not just about the end product but also about the joy of crafting something delicious from scratch. The vibrant color and sweet aroma of your homemade creation will transport you to sun-drenched vineyards, making every bite a celebration of nature’s bounty.
Why You’ll Love This Homemade Grape Jelly
- Convenience: Making homemade grape jelly is a quick process, taking just about 35 minutes from start to finish, making it perfect for busy schedules.
- Delicious Taste: The rich, sweet flavor of homemade grape jelly is unmatched, bringing a burst of fruity goodness to your breakfast or snacks.
- Health Benefits: By using 100% pure grape juice, you can enjoy the antioxidants found in grapes, promoting heart health and overall wellness.
- Family Appeal: Kids and adults alike love the sweet spread, making it a delightful addition to family breakfasts, sandwiches, and desserts.
Who It’s For
This recipe is ideal for busy families looking to add a homemade touch to their meals, health-conscious cooks who appreciate the benefits of fresh ingredients, and food lovers eager to explore the art of canning. Whether you’re a novice or a seasoned chef, homemade grape jelly is a rewarding project that everyone can enjoy.
When to Cook It
Consider making homemade grape jelly for weeknight breakfasts to elevate your toast or pancakes. It’s also a fantastic addition to holiday gatherings, where it can be served alongside cheese platters or as a unique gift for friends and family. The joy of crafting this sweet spread makes it a perfect activity for a cozy weekend afternoon!
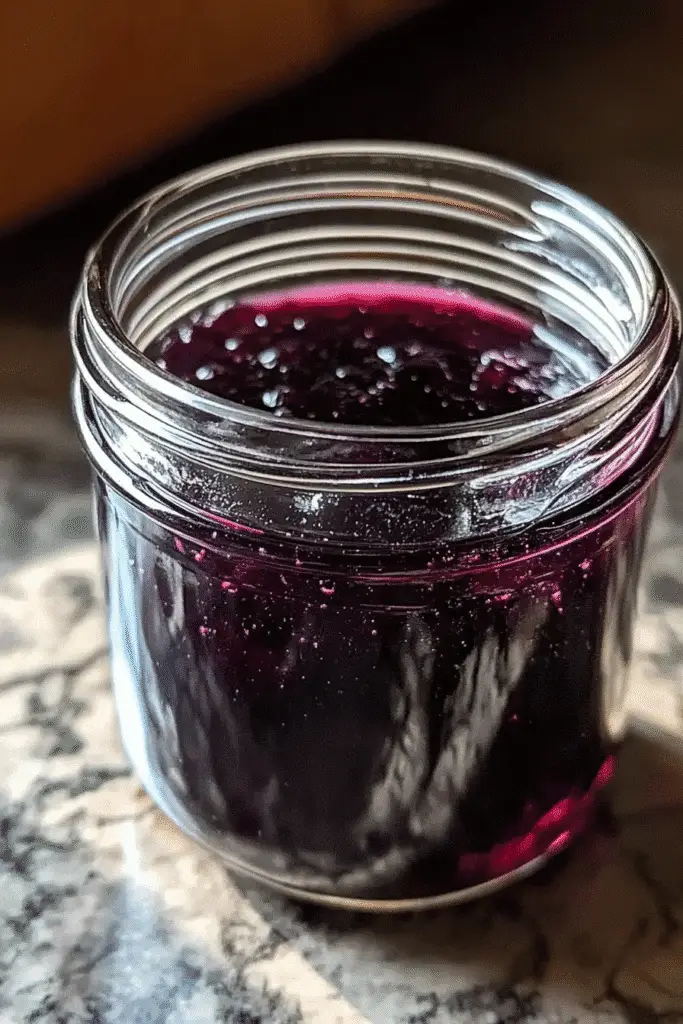
How to Make the Perfect Homemade Grape Jelly
Ingredients
- 4 cups of grape juice: Use 100% pure grape juice for the best flavor. You can also substitute with homemade grape juice if you have fresh grapes on hand.
- 1 package (1.75 oz) fruit pectin: This is essential for achieving that perfect jelly consistency. Look for low-sugar or no-sugar pectin if you prefer a healthier option.
- 5 cups of granulated sugar: This sweetener balances the tartness of the grapes. If you want to reduce sugar, consider using less or substituting with a sugar alternative.
- 1/4 cup of lemon juice: Freshly squeezed lemon juice enhances the flavor and helps with the gelling process. You can use bottled lemon juice in a pinch.
Step-by-Step Instructions
- Sterilize your jars: Begin by preparing your jars and lids. Place them in boiling water for about 10 minutes to ensure they are clean and ready for your jelly.
- Combine ingredients: In a large pot, mix together the grape juice, lemon juice, and fruit pectin. Stir well to combine.
- Bring to a boil: Heat the mixture over medium heat, stirring constantly until it reaches a rolling boil. The aroma of sweet grapes will fill your kitchen!
- Add sugar: Once boiling, add the granulated sugar all at once. Stir continuously until the sugar is completely dissolved.
- Boil again: Bring the mixture back to a rolling boil and let it boil for exactly 1 minute. This step is crucial for achieving the right texture.
- Skim foam: Remove the pot from heat and skim off any foam that forms on the surface. This will help keep your jelly clear and beautiful.
- Jar it up: Carefully pour the hot jelly into your prepared jars, leaving about 1/4 inch of space at the top.
- Seal and process: Seal the jars with lids and process them in a boiling water bath for 5-10 minutes to ensure they are properly preserved.
- Cool and store: Let the jars cool completely before storing them in a cool, dark place. Your homemade grape jelly is now ready to enjoy!
For People with Diabetes: Sugar Substitutes
If you’re looking for sugar alternatives, consider using stevia, monk fruit, erythritol, or allulose. These options can provide sweetness without the calories. However, avoid using honey or maple syrup, as they can affect blood sugar levels more significantly.
Tools You’ll Need
- Large pot: A heavy-bottomed pot is ideal for even heating. If you don’t have one, any large saucepan will work.
- Measuring cups and spoons: Accurate measurements are crucial for the perfect jelly. Use standard measuring tools for best results.
- Wooden spoon or spatula: A sturdy spoon is perfect for stirring your mixture. Silicone spatulas are great for scraping down the sides of the pot.
- Jar lifter: This handy tool makes it easy to lift hot jars from boiling water. If you don’t have one, tongs can serve as a substitute.
- Canning jars with lids: Use half-pint jars for this recipe. If you’re short on jars, any glass container with a tight seal can work temporarily.
- Funnel: A canning funnel helps pour the jelly into jars without spills. If you don’t have one, a clean, wide-mouth bottle can do the trick.
- Boiling water bath canner: If you’re serious about canning, consider investing in a canner. However, a large pot with a rack or a dish towel at the bottom can also work for processing your jars.
Tips from Well-Known Chefs
When it comes to making homemade grape jelly, even the pros have some invaluable tips to share. Here are a few chef-approved hacks that can elevate your jelly-making experience:
- Use Fresh Ingredients: Renowned chef and canning expert, Preserving with Purpose, emphasizes the importance of using the freshest grapes or grape juice. The quality of your ingredients directly impacts the flavor of your jelly.
- Experiment with Flavors: Chef Anna Jones suggests adding a splash of vanilla extract or a hint of cinnamon to your grape jelly for a unique twist. These subtle additions can transform your jelly into a gourmet delight.
- Test for Doneness: Chef Michael Symon recommends the “plate test” to check if your jelly has set properly. Simply place a spoonful of the mixture on a cold plate, let it sit for a minute, and then run your finger through it. If it holds its shape, you’re good to go!
- Don’t Skip the Foam Skimming: Chef Julia Child always stressed the importance of skimming off foam. This not only improves the appearance of your jelly but also enhances its flavor by removing impurities.
- Label and Date Your Jars: Chef Alton Brown advises labeling your jars with the date and contents. This simple step helps you keep track of your homemade preserves and ensures you use them while they’re at their best.
By incorporating these tips from culinary experts, you’ll not only make a delicious homemade grape jelly but also gain confidence in your canning skills. Happy jarring!
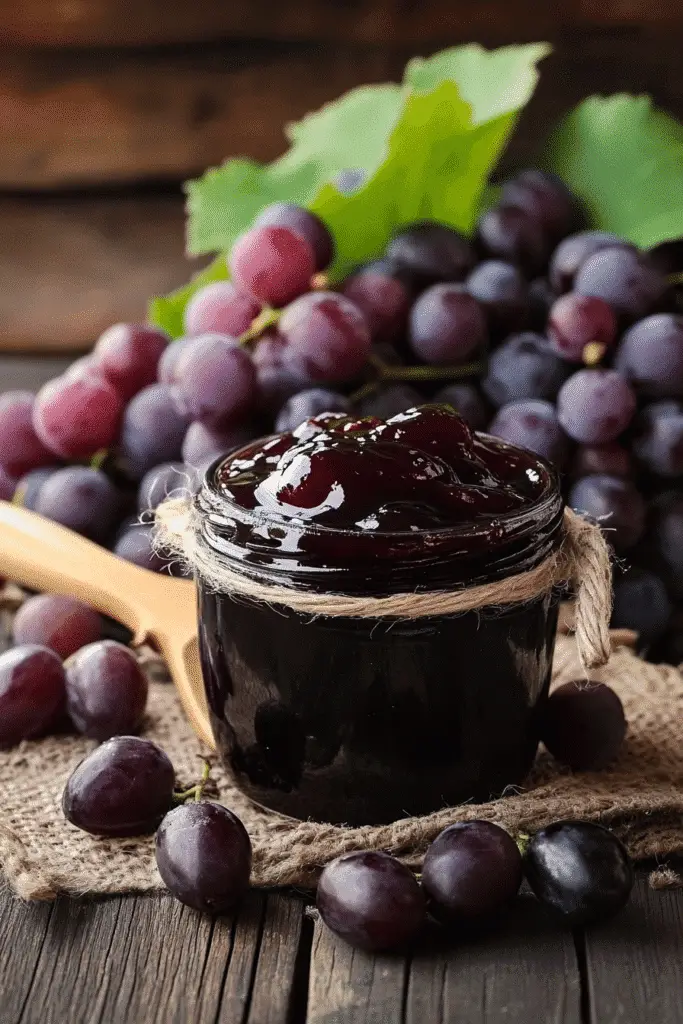
Delicious Variations to Customize Your Grape Jelly
While the classic flavor of grape jelly is undeniably delightful, there’s a whole world of variations waiting to be explored! Here are some creative twists to elevate your homemade grape jelly experience:
- Spiced Grape Jelly: Add a pinch of ground cinnamon or a few whole cloves to your grape juice mixture. This will infuse your jelly with warm, aromatic spices, perfect for cozy breakfasts or holiday gatherings.
- Berry Blend Jelly: Combine grape juice with other fruit juices, such as raspberry or blackberry, for a vibrant and tangy jelly. This mix not only enhances the flavor but also adds a beautiful color to your jars.
- Herbal Infusion: For a unique twist, steep fresh herbs like rosemary or thyme in your grape juice before straining. This will impart a subtle herbal note that pairs wonderfully with cheese platters or roasted meats.
- Chili Pepper Jelly: If you enjoy a bit of heat, consider adding finely chopped jalapeños or a dash of red pepper flakes to your grape jelly. This spicy variation is fantastic as a glaze for grilled chicken or as a dip for cream cheese.
- Low-Sugar Option: For those watching their sugar intake, use a sugar substitute like erythritol or monk fruit sweetener. Just be sure to follow the package instructions for proper ratios to achieve the right consistency.
These variations not only allow you to personalize your homemade grape jelly but also make it a fun project to share with family and friends. Experimenting with flavors can lead to delightful surprises, so don’t hesitate to get creative in your kitchen!
Top Tips for Perfecting Your Homemade Grape Jelly
Creating the perfect homemade grape jelly is an art that combines technique, timing, and a touch of love. Here are some expert tips and cooking hacks that will help you achieve jelly perfection:
- Choose Quality Ingredients: The flavor of your jelly starts with the grape juice. Opt for 100% pure grape juice without additives. If you can, use freshly pressed juice from ripe grapes for a richer taste.
- Measure Accurately: Precision is key in jelly-making. Use a kitchen scale for measuring sugar and pectin to ensure the right balance for proper gelling. Even a slight variation can affect the final texture.
- Temperature Matters: Make sure your grape juice is at room temperature before adding pectin. This helps the pectin dissolve more effectively, leading to a smoother jelly.
- Don’t Rush the Boil: When bringing your mixture to a boil, be patient. A rolling boil is essential for activating the pectin. Stir constantly to prevent scorching and ensure even cooking.
- Test for Doneness: Use the “spoon test” to check if your jelly has set. Dip a spoon into the mixture; if it coats the back and holds its shape, it’s ready for jarring. If not, continue boiling for another minute and test again.
- Skim Foam for Clarity: Skimming off the foam not only improves the appearance of your jelly but also enhances its flavor. This step is crucial for achieving that beautiful, clear finish.
- Seal Properly: Ensure your jars are sealed tightly after processing. This prevents air from entering and helps maintain freshness. Check the seals by pressing down in the center of the lid; it should not pop back.
- Label and Date: Don’t forget to label your jars with the date and contents. This simple step helps you keep track of your homemade grape jelly and ensures you enjoy it at its best.
By following these tips, you’ll not only enhance your jelly-making skills but also create a homemade grape jelly that your family will love. Each jar will be a testament to your dedication and passion for crafting delicious preserves!
Storing and Reheating Tips
Once you’ve crafted your delicious homemade grape jelly, proper storage is essential to maintain its flavor and quality. Here are some clear and practical tips for storing and reheating your jelly:
Storing Your Homemade Grape Jelly
- Refrigeration: After opening a jar, store it in the refrigerator. Homemade grape jelly can last for up to 3 weeks when kept chilled. Make sure the lid is tightly sealed to prevent air from spoiling the flavor.
- Freezing: If you want to extend the shelf life of your jelly, consider freezing it. Pour the jelly into freezer-safe containers, leaving about an inch of space at the top for expansion. Frozen jelly can last for up to a year, but for the best flavor, try to use it within 6 months.
- Labeling: Always label your jars with the date and contents. This simple step helps you keep track of how long your jelly has been stored, ensuring you enjoy it at its freshest.
Reheating Your Jelly
- Gentle Heating: If your jelly has thickened in the fridge, you can gently reheat it. Place the desired amount in a small saucepan over low heat, stirring occasionally until it reaches a spreadable consistency.
- Microwave Method: For a quick fix, you can microwave your jelly. Place it in a microwave-safe bowl and heat in 10-15 second intervals, stirring in between, until it’s warm and smooth.
- Use Caution: Be careful not to overheat your jelly, as this can alter its texture and flavor. Aim for just warm enough to spread easily.
By following these storing and reheating tips, you can ensure that your homemade grape jelly remains a delightful addition to your meals, ready to spread joy on your favorite breads and pastries!
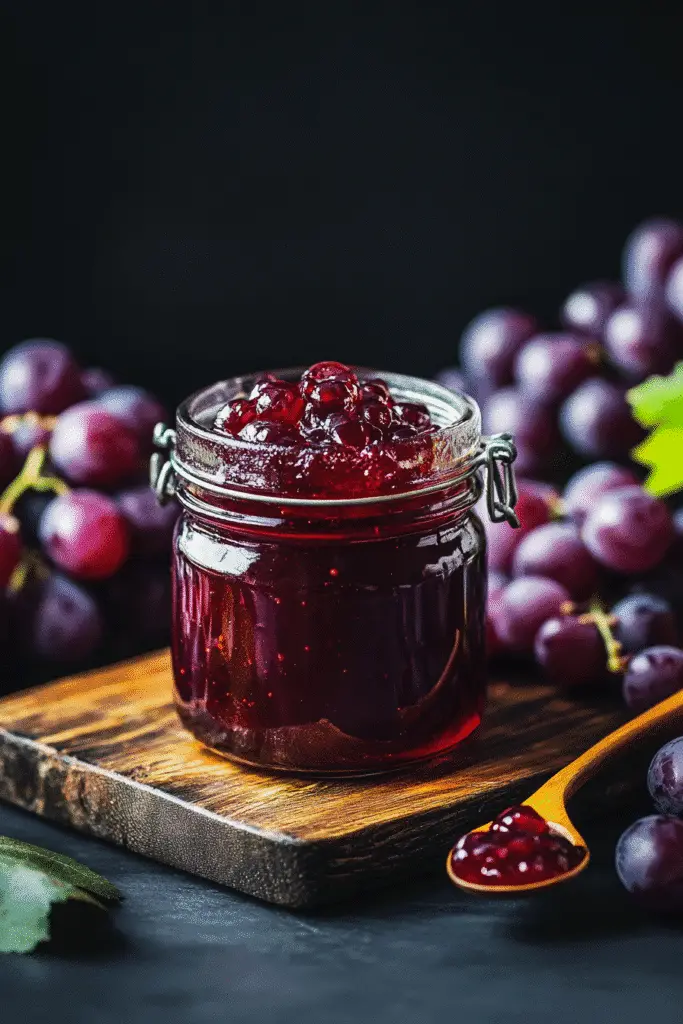
Helpful Notes
As you embark on your journey to create homemade grape jelly, here are some extra clarifications and tips to ensure your experience is smooth and enjoyable:
- Ingredient Prep: When selecting your grape juice, always opt for 100% pure juice without added sugars or preservatives. This will enhance the natural flavor of your jelly. If you’re using fresh grapes, make sure to wash them thoroughly and remove any stems before juicing.
- Substitutions: If you don’t have lemon juice on hand, you can use white vinegar as a substitute, though it may slightly alter the flavor. For those looking to reduce sugar, consider using a sugar substitute that is suitable for canning, such as erythritol or monk fruit, but be sure to follow the specific instructions on the packaging for best results.
- Cultural References: In many cultures, grape jelly is not just a breakfast spread; it’s also used in various traditional dishes. For example, in some Southern U.S. households, grape jelly is combined with barbecue sauce to create a sweet glaze for meats. Exploring these cultural uses can inspire you to experiment with your own recipes!
- Jelly Consistency: If you find that your jelly hasn’t set as expected, don’t worry! You can reprocess it by adding a bit more pectin and boiling it again. Just remember to follow the same steps for sterilizing your jars and processing them in a boiling water bath.
- Sharing the Joy: Homemade grape jelly makes a wonderful gift! Consider packaging your jars with a decorative ribbon and a handwritten label. It’s a heartfelt way to share your culinary creation with friends and family.
With these helpful notes, you’ll be well-equipped to create a delicious batch of homemade grape jelly that not only tastes great but also carries the warmth of your kitchen into every jar!
Common Mistakes to Avoid
- Using Low-Quality Juice: One of the biggest mistakes is opting for grape juice with additives or artificial flavors. Always choose 100% pure grape juice to ensure the best flavor in your homemade grape jelly.
- Skipping the Sterilization: Failing to properly sterilize your jars and lids can lead to spoilage. Always boil your jars for at least 10 minutes before filling them with jelly to ensure they are clean and safe.
- Not Measuring Ingredients Accurately: Jelly-making is a science, and precise measurements are crucial. Use measuring cups and spoons to ensure you have the right balance of juice, sugar, and pectin for the perfect consistency.
- Rushing the Boil: It’s tempting to speed through the boiling process, but this can prevent the pectin from activating properly. Allow your mixture to reach a rolling boil and maintain it for the full minute to achieve the desired texture.
- Ignoring Foam Skimming: Skipping the step of skimming off foam can result in a cloudy jelly. Take the time to remove any foam that forms on the surface for a clearer, more appealing final product.
FAQs About Homemade Grape Jelly
- Q: Can I use store-bought grape juice for homemade grape jelly?
Yes, using store-bought 100% pure grape juice is perfectly fine for making homemade grape jelly. Just ensure it has no added sugars or preservatives for the best flavor. - Q: Is homemade grape jelly healthier than store-bought?
It depends. Homemade grape jelly allows you to control the ingredients, reducing added sugars and avoiding preservatives, making it a healthier option overall. - Q: Can I make homemade grape jelly without pectin?
No, pectin is essential for achieving the right consistency in homemade grape jelly. However, you can use natural sources of pectin, like apples or citrus peels, if you prefer a more traditional method. - Q: How long does homemade grape jelly last?
Yes, when properly sealed and stored, homemade grape jelly can last for up to a year in a cool, dark place. Once opened, it should be refrigerated and consumed within three weeks. - Q: Can I use sugar substitutes in homemade grape jelly?
Yes, you can use sugar substitutes like erythritol or monk fruit in homemade grape jelly, but be sure to follow the specific instructions on the packaging for best results.
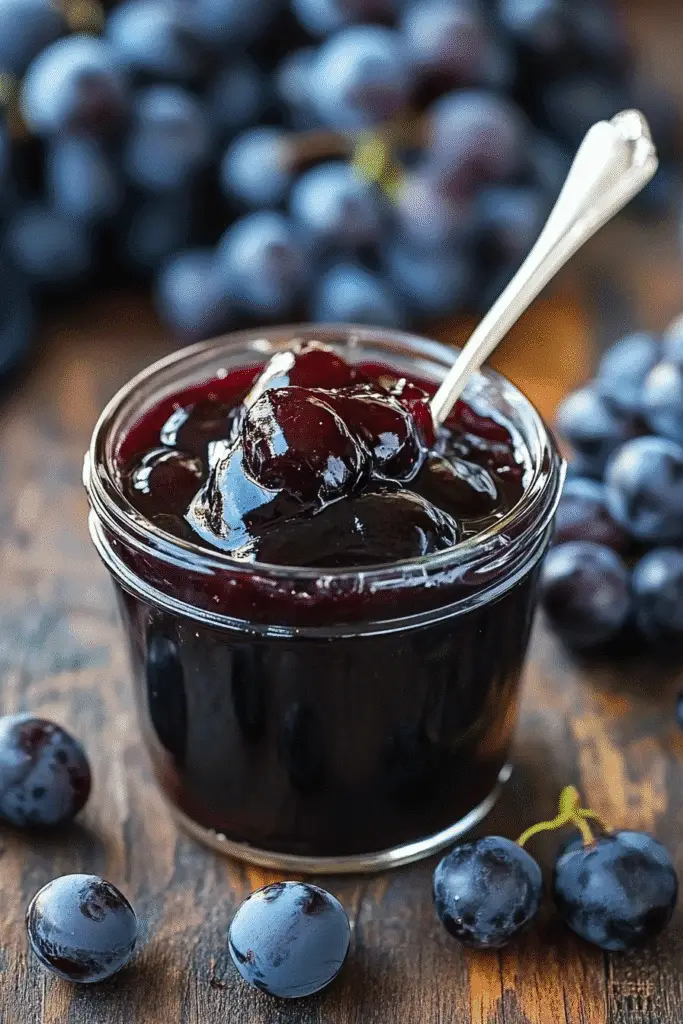
Conclusion: Final Thoughts on Homemade Grape Jelly
As you embark on your journey to create homemade grape jelly, remember that each jar is more than just a sweet spread; it’s a vessel of memories, love, and creativity. The joy of crafting something from scratch is a beautiful experience that can be shared with family and friends. I encourage you to dive into this delightful project, experiment with flavors, and make it your own. If you enjoyed this recipe or have your own tips to share, please leave a comment below! Let’s spread the joy of homemade grape jelly together!
Print
Homemade Grape Jelly
- Total Time: 35 minutes
- Yield: 6–8 half-pint jars 1x
- Diet: Vegetarian
Description
Discover the joy of crafting your own sweet spread with this homemade grape jelly recipe.
Ingredients
- 4 cups of grape juice
- 1 package (1.75 oz) fruit pectin
- 5 cups of granulated sugar
- 1/4 cup of lemon juice
Instructions
- Prepare your jars and lids by sterilizing them in boiling water.
- In a large pot, combine grape juice, lemon juice, and fruit pectin. Stir well.
- Bring the mixture to a boil over medium heat, stirring constantly.
- Add the granulated sugar all at once and stir until dissolved.
- Bring the mixture back to a rolling boil and boil for 1 minute.
- Remove from heat and skim off any foam.
- Pour the hot jelly into the prepared jars, leaving a little space at the top.
- Seal the jars with the lids and process in a boiling water bath for 5-10 minutes.
- Let the jars cool completely before storing them in a cool, dark place.
Notes
- Ensure that the grape juice is 100% pure for the best flavor.
- Adjust the sugar according to your taste preference.
- Store opened jars in the refrigerator.
- Prep Time: 15 minutes
- Cook Time: 20 minutes
- Category: Preserves
- Method: Canning
- Cuisine: American
Nutrition
- Serving Size: 1 tablespoon
- Calories: 50
- Sugar: 12g
- Sodium: 0mg
- Fat: 0g
- Saturated Fat: 0g
- Unsaturated Fat: 0g
- Trans Fat: 0g
- Carbohydrates: 13g
- Fiber: 0g
- Protein: 0g
- Cholesterol: 0mg
Keywords: Homemade Grape Jelly