Introduction to Honey Butter Fried Chicken
As I stood in my kitchen, the aroma of sizzling chicken filled the air, instantly transporting me back to my childhood. My grandmother would whip up her famous Honey Butter Fried Chicken on special occasions, and the sweet, buttery glaze was always the star of the show. This dish is more than just a meal; it’s a celebration of flavors that dance on your palate. The crispy exterior gives way to juicy, tender chicken, all enveloped in a luscious honey butter sauce that makes every bite a delightful experience. Join me as we explore the secrets behind this mouthwatering delight!
What is Honey Butter Fried Chicken?
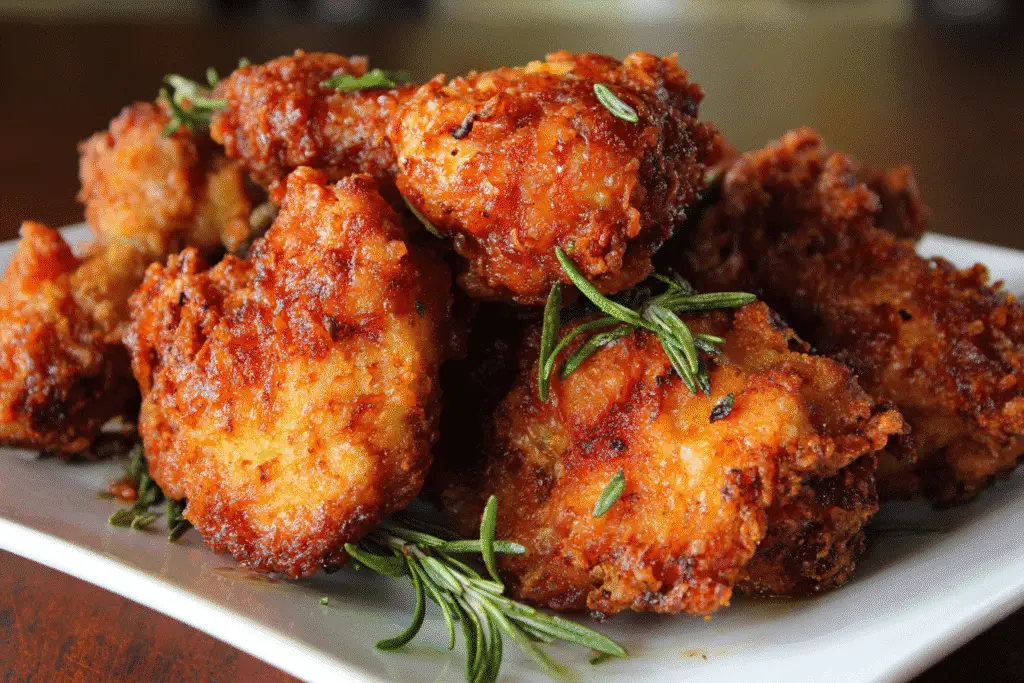
Honey Butter Fried Chicken is a delightful fusion of Southern comfort food and sweet indulgence. This dish has its roots deeply embedded in American culinary traditions, particularly in the Southern states where fried chicken reigns supreme. The combination of crispy fried chicken and a rich honey butter glaze creates a flavor profile that is both savory and sweet, making it a beloved choice for many.
The origins of this dish can be traced back to the classic Southern fried chicken, which has been a staple in American households for generations. The addition of honey butter elevates the dish, adding a touch of sweetness that perfectly complements the savory spices used in the frying process. This sweet-savory balance is what makes Honey Butter Fried Chicken so irresistible.
Globally, the concept of sweet glazes on fried foods is not unique to America. Many cultures have their own versions, such as Korean fried chicken, which often features sweet sauces. However, the American take on Honey Butter Fried Chicken stands out for its simplicity and heartwarming flavors, making it a favorite for family gatherings and celebrations.
As you prepare this dish, you’ll not only be creating a meal but also embracing a piece of culinary history that brings people together around the table. The crispy texture, combined with the luscious honey butter sauce, creates a comforting experience that resonates with food lovers everywhere.
Why You’ll Love This Honey Butter Fried Chicken
- Convenience: This recipe is straightforward, making it perfect for busy weeknights or last-minute gatherings.
- Irresistible Taste: The combination of crispy chicken and sweet honey butter creates a flavor explosion that will have everyone asking for seconds.
- Health Benefits: Using buttermilk not only tenderizes the chicken but also adds probiotics, making it a healthier choice compared to traditional fried options.
- Family Appeal: Kids and adults alike will love this dish, making it a surefire hit at the dinner table.
- Customizable: You can easily adjust the spices or add your favorite herbs to make it your own!
Who It’s For
This Honey Butter Fried Chicken is ideal for busy families looking for a quick yet delicious meal. It’s also perfect for health-conscious cooks who want to indulge without compromising on flavor. Food lovers will appreciate the rich, comforting taste that brings a touch of Southern charm to any table.
When to Cook It
Whether it’s a cozy weeknight dinner, a festive family gathering, or a casual celebration with friends, this dish fits perfectly into any occasion. Serve it alongside your favorite sides for a complete meal that everyone will enjoy!
How to Make the Perfect Honey Butter Fried Chicken
Ingredients
- 4 pieces of chicken (legs or thighs): These cuts are juicy and flavorful, perfect for frying.
- 1 cup buttermilk: This tenderizes the chicken and adds a tangy flavor. You can substitute with plain yogurt mixed with a little water.
- 1 cup all-purpose flour: This creates the crispy coating. For a gluten-free option, use a gluten-free flour blend.
- 1 teaspoon paprika: Adds a subtle smokiness. You can swap it with smoked paprika for a bolder flavor.
- 1 teaspoon garlic powder: Enhances the savory notes. Fresh minced garlic can be used for a more intense flavor.
- 1 teaspoon onion powder: Complements the garlic and adds depth. Fresh onions can be sautéed and added for a different texture.
- Salt and pepper to taste: Essential for seasoning. Adjust according to your preference.
- Vegetable oil for frying: Choose a high smoke point oil like canola or peanut oil for the best results.
- 1/2 cup unsalted butter: This is the base for the honey butter sauce, providing richness.
- 1/2 cup honey: The star of the sauce, adding sweetness. For a lower-calorie option, consider agave syrup.
Step-by-Step Instructions
- Marinate the chicken: Place the chicken pieces in a bowl and cover them with buttermilk. Let them soak for at least 2 hours or overnight in the fridge. This step ensures juicy, tender chicken.
- Prepare the flour mixture: In a separate bowl, combine the flour, paprika, garlic powder, onion powder, salt, and pepper. This blend will create a flavorful crust.
- Coat the chicken: Remove the chicken from the buttermilk, allowing excess to drip off. Dredge each piece in the flour mixture, ensuring an even coating. Shake off any excess flour.
- Heat the oil: In a deep pan, heat vegetable oil over medium heat until it reaches 350°F (175°C). You can test the oil by dropping a small piece of flour into it; if it sizzles, it’s ready.
- Fry the chicken: Carefully place the coated chicken in the hot oil. Fry for about 15-20 minutes, turning occasionally, until golden brown and cooked through. The internal temperature should reach 165°F (75°C).
- Make the honey butter sauce: In a separate saucepan, melt the butter over low heat. Stir in the honey until well combined, creating a luscious sauce.
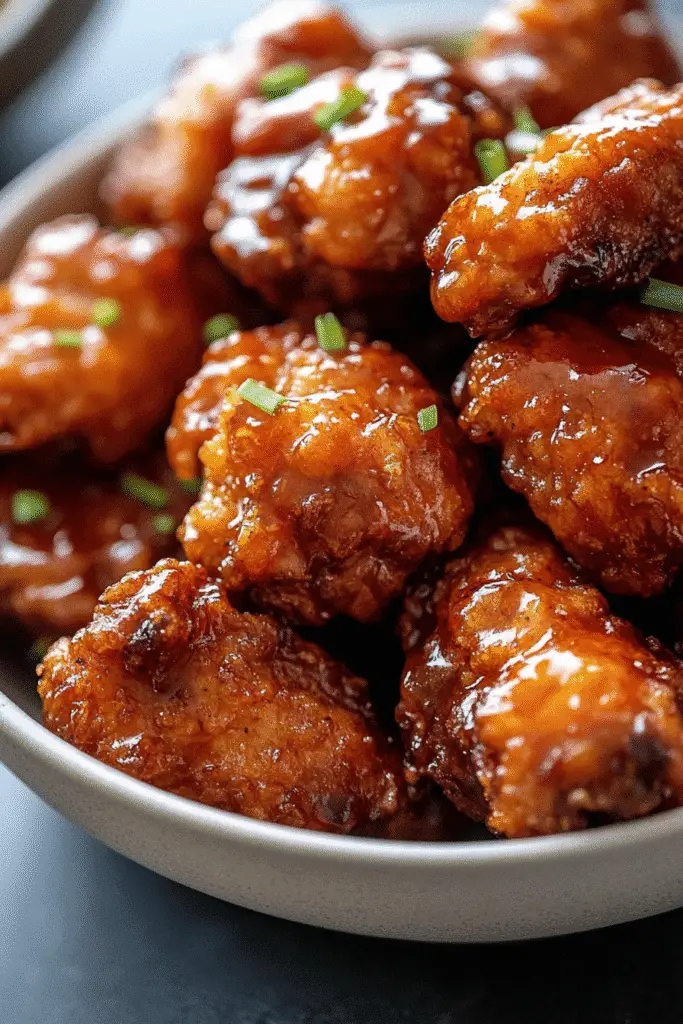
- Drizzle and serve: Once the chicken is cooked, remove it from the oil and let it rest on a wire rack to maintain its crispiness. Drizzle the honey butter sauce generously over the fried chicken and serve hot. Enjoy the delightful combination of flavors!
For People with Diabetes: Sugar Substitutes
If you’re looking for sugar substitutes, consider using stevia, monk fruit, erythritol, or allulose. These options provide sweetness without the calories of honey or maple syrup, making them suitable for a diabetic-friendly version of this dish.
Tools You’ll Need
- Deep frying pan or Dutch oven: A heavy-bottomed pot is ideal for even heat distribution. If you don’t have one, a large skillet can work too.
- Thermometer: A kitchen thermometer helps ensure your oil is at the right temperature for frying. If you don’t have one, you can test the oil with a small piece of bread; it should sizzle when ready.
- Wire rack: This is perfect for letting the fried chicken rest and stay crispy. If you don’t have one, a plate lined with paper towels will do.
- Mixing bowls: Use these for marinating the chicken and mixing the flour coating. Any large bowl will suffice.
- Measuring cups and spoons: Essential for accurate ingredient measurements. If you’re in a pinch, you can use any standard cup or spoon as a makeshift measure.
- Slotted spoon or tongs: These tools are great for safely flipping and removing the chicken from the hot oil.
Tips from Well-Known Chefs
When it comes to perfecting your Honey Butter Fried Chicken, I’ve gathered some invaluable tips from renowned chefs that will elevate your cooking game. These insights not only enhance flavor but also ensure a delightful cooking experience.
- Brine for Extra Juiciness: Chef Thomas Keller emphasizes the importance of brining chicken before frying. A simple saltwater brine can help the chicken retain moisture, resulting in a juicier bite.
- Double-Dip for Crunch: Chef Alton Brown suggests a double-dipping technique. After coating the chicken in the flour mixture, dip it back into the buttermilk and then into the flour again. This creates an extra-thick, crunchy crust that’s simply irresistible.
- Use a Cast Iron Skillet: Chef Emeril Lagasse swears by using a cast iron skillet for frying. It retains heat well, ensuring even cooking and a perfectly crispy exterior.
- Let It Rest: Chef Ina Garten advises letting the fried chicken rest for a few minutes after frying. This allows the juices to redistribute, making each bite tender and flavorful.
- Experiment with Spices: Chef Marcus Samuelsson encourages creativity with spices. Don’t hesitate to add your favorite herbs or spices to the flour mixture, such as cayenne for heat or dried thyme for an aromatic touch.
By incorporating these chef-approved hacks into your cooking routine, you’ll not only master the art of Honey Butter Fried Chicken but also impress your family and friends with your culinary skills!
Delicious Variations to Customize Your Fried Chicken
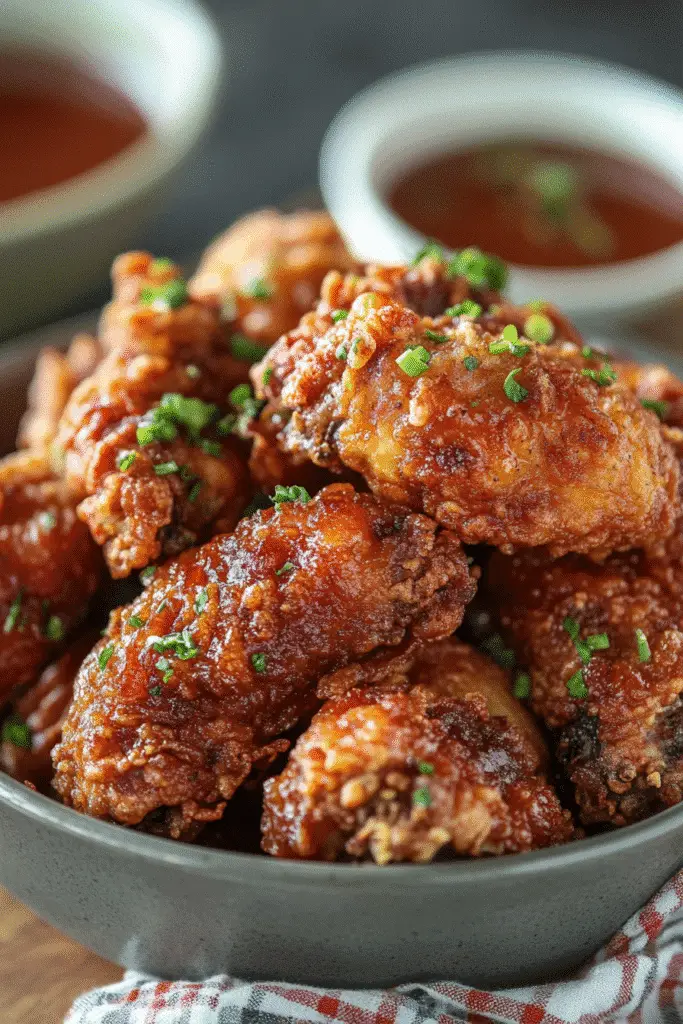
One of the joys of cooking is the ability to adapt and personalize recipes to suit your taste and dietary needs. Here are some delightful variations to elevate your fried chicken experience:
- Spicy Honey Butter Fried Chicken: For those who crave a kick, add cayenne pepper or hot sauce to the flour mixture. This spicy twist pairs beautifully with the sweetness of the honey butter, creating a flavor explosion that will tantalize your taste buds.
- Herb-Infused Fried Chicken: Incorporate fresh or dried herbs like rosemary, thyme, or oregano into the flour mixture. This adds a fragrant aroma and a burst of flavor that complements the chicken perfectly.
- Garlic Parmesan Fried Chicken: After frying, toss the chicken in a mixture of melted butter, minced garlic, and grated Parmesan cheese. This savory variation offers a rich, umami flavor that’s hard to resist.
- Gluten-Free Fried Chicken: Substitute the all-purpose flour with a gluten-free flour blend or almond flour. This allows those with gluten sensitivities to enjoy the crispy goodness without worry.
- Asian-Inspired Fried Chicken: Marinate the chicken in a mixture of soy sauce, ginger, and garlic before coating it in the flour. Serve with a drizzle of sweet chili sauce for a delightful fusion of flavors.
These variations not only cater to different palates but also allow you to experiment and find your perfect version of fried chicken. So, don your apron and let your creativity shine in the kitchen!
Top Tips for Perfecting Your Honey Butter Fried Chicken
As I’ve journeyed through the world of cooking, I’ve gathered some invaluable tips that will help you achieve the ultimate Honey Butter Fried Chicken. These expert techniques and cultural secrets will elevate your dish from good to unforgettable!
- Choose the Right Chicken: Opt for bone-in, skin-on chicken pieces like thighs or legs. They stay juicier during frying and provide that classic crispy skin we all love.
- Marinate Longer: For the best flavor and tenderness, marinate your chicken in buttermilk for at least 6 hours or overnight. This not only infuses flavor but also helps break down the proteins, resulting in a more succulent bite.
- Maintain Oil Temperature: Keeping your oil at a consistent temperature (around 350°F or 175°C) is crucial. If the oil is too hot, the chicken will burn on the outside while remaining raw inside. If it’s too cool, the chicken will absorb excess oil and become greasy. Use a thermometer for accuracy!
- Rest After Frying: Allow your fried chicken to rest on a wire rack instead of a plate. This prevents steam from making the crust soggy, ensuring that every bite remains crispy and delicious.
- Experiment with Honey Butter: Don’t be afraid to play with the honey butter sauce! Add a pinch of sea salt or a splash of apple cider vinegar to balance the sweetness. You can also infuse the butter with herbs like thyme or rosemary for an aromatic twist.
- Use a Cast Iron Skillet: If you have one, a cast iron skillet is perfect for frying. It retains heat exceptionally well, ensuring even cooking and a beautifully crispy crust.
- Double-Dip for Extra Crunch: For an ultra-crispy coating, try the double-dipping method. After the first flour coating, dip the chicken back into the buttermilk and then coat it again in the flour mixture. This creates a thicker, crunchier crust that’s simply irresistible!
By incorporating these tips into your cooking routine, you’ll not only master the art of Honey Butter Fried Chicken but also impress your family and friends with your culinary prowess. Happy frying!
Storing and Reheating Tips
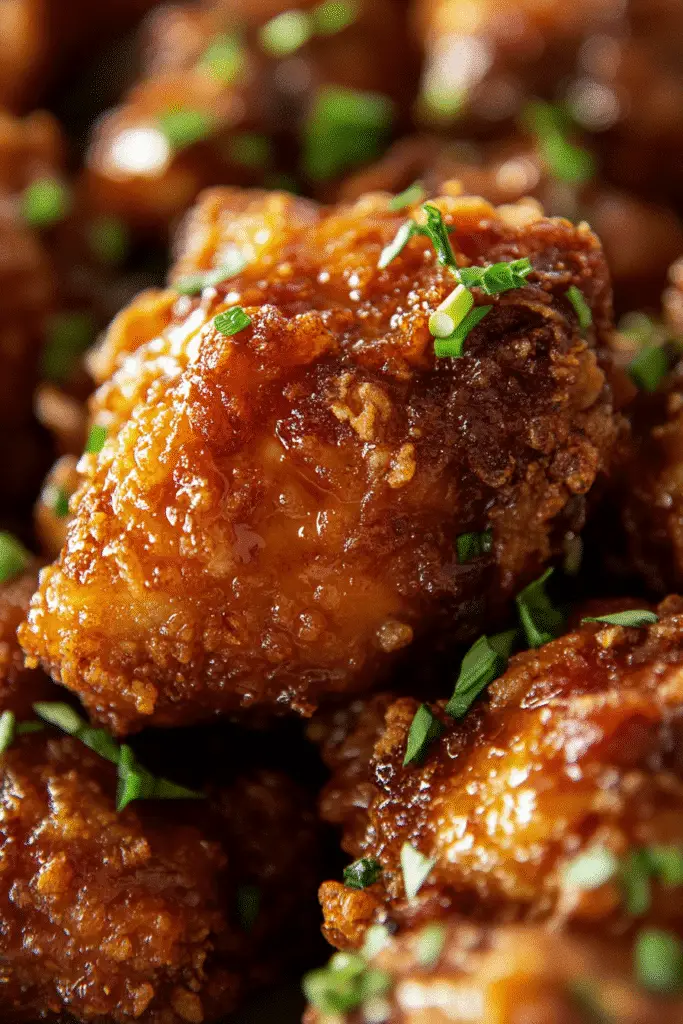
Once you’ve made your delicious Honey Butter Fried Chicken, you might find yourself with leftovers (if you’re lucky!). Here’s how to store and reheat them to maintain that crispy texture and mouthwatering flavor:
Storing in the Fridge
- Cool Down: Allow the fried chicken to cool to room temperature before storing. This prevents condensation, which can make the chicken soggy.
- Use an Airtight Container: Place the chicken in an airtight container or wrap it tightly in aluminum foil. This helps keep the moisture in while preventing it from absorbing other odors in the fridge.
- Storage Duration: Properly stored, your Honey Butter Fried Chicken can last in the fridge for up to 3 days.
Freezing for Later
- Flash Freeze: If you want to store your chicken for a longer period, consider flash freezing. Place the cooled chicken pieces on a baking sheet in a single layer and freeze until solid. This prevents them from sticking together.
- Transfer to Freezer Bags: Once frozen, transfer the chicken to freezer-safe bags, removing as much air as possible. Label the bags with the date for easy reference.
- Freezer Duration: Your Honey Butter Fried Chicken can be frozen for up to 2 months without losing its quality.
Reheating Tips
- Oven Method: Preheat your oven to 375°F (190°C). Place the chicken on a wire rack over a baking sheet to allow air circulation. Bake for about 15-20 minutes or until heated through and crispy.
- Air Fryer Method: For a quick reheating option, use an air fryer. Preheat it to 350°F (175°C) and heat the chicken for about 5-7 minutes, checking for crispiness.
- Microwave Method: If you’re in a hurry, you can use the microwave, but be aware that this may result in a less crispy texture. Place the chicken on a microwave-safe plate and cover it with a damp paper towel. Heat in 30-second intervals until warmed through.
By following these storing and reheating tips, you can enjoy your Honey Butter Fried Chicken even days after it’s been made, keeping that delightful flavor and texture intact!
Helpful Notes
As you embark on your culinary journey to create the perfect Honey Butter Fried Chicken, here are some extra clarifications and tips to ensure your dish turns out beautifully:
- Ingredient Prep: Make sure to pat the chicken dry with paper towels before marinating. This helps the buttermilk adhere better and ensures a crispier coating.
- Buttermilk Substitutes: If you don’t have buttermilk on hand, you can easily make a substitute by mixing 1 cup of milk with 1 tablespoon of white vinegar or lemon juice. Let it sit for about 5-10 minutes until it thickens slightly.
- Flour Alternatives: For those with gluten sensitivities, using almond flour or a gluten-free flour blend can yield excellent results. Just keep in mind that the texture may vary slightly.
- Honey Variations: While honey is the star of the sauce, feel free to experiment with flavored honeys, such as lavender or orange blossom, to add a unique twist to your honey butter sauce.
- Cultural References: Honey Butter Fried Chicken is reminiscent of the Southern tradition of sweet and savory pairings. This dish embodies the spirit of Southern hospitality, where food is a way to bring people together and create lasting memories.
- Serving Suggestions: Pair your Honey Butter Fried Chicken with classic sides like coleslaw, cornbread, or mashed potatoes for a true Southern feast. Don’t forget a drizzle of extra honey butter on the sides for dipping!
These helpful notes will guide you through the cooking process, ensuring that your Honey Butter Fried Chicken is not only delicious but also a reflection of your personal touch and creativity in the kitchen!
Common Mistakes to Avoid
- Skipping the Marinade: One of the biggest mistakes is not allowing the chicken to marinate in buttermilk long enough. This step is crucial for tender, juicy chicken, so aim for at least 2 hours, or even better, overnight.
- Overcrowding the Pan: Frying too many pieces of chicken at once can lower the oil temperature, resulting in greasy, soggy chicken. Fry in batches to maintain the right temperature and achieve that perfect crispy texture.
- Not Checking Oil Temperature: Failing to monitor the oil temperature can lead to burnt or undercooked chicken. Use a thermometer to ensure the oil stays around 350°F (175°C) for optimal frying.
- Using the Wrong Flour: Using a flour that doesn’t create a crispy coating can be a letdown. Stick to all-purpose flour or a gluten-free blend specifically designed for frying to achieve that desired crunch.
- Skipping the Resting Period: After frying, it’s tempting to dig right in, but skipping the resting period can make your chicken soggy. Let it rest on a wire rack to keep the crust crispy and allow the juices to redistribute.
FAQs About Honey Butter Fried Chicken
- Can I use chicken breasts instead of thighs or legs for Honey Butter Fried Chicken? Yes, you can use chicken breasts, but keep in mind that they may dry out more easily. To prevent this, consider marinating them longer or using a lower frying temperature.
- Is Honey Butter Fried Chicken suitable for meal prep? It depends. While you can prepare the chicken in advance, the crispy texture is best enjoyed fresh. If you do meal prep, follow the storing and reheating tips to maintain quality.
- Can I make Honey Butter Fried Chicken gluten-free? Yes, you can! Simply substitute the all-purpose flour with a gluten-free flour blend or almond flour for a delicious gluten-free version.
- Is it necessary to use buttermilk for marinating the chicken? No, it’s not strictly necessary, but using buttermilk helps tenderize the chicken and adds flavor. If you don’t have it, a mixture of milk and vinegar can be a good substitute.
- Can I add spices to the honey butter sauce? Yes, absolutely! Feel free to experiment by adding spices like cayenne pepper or garlic powder to the honey butter sauce for an extra kick of flavor.
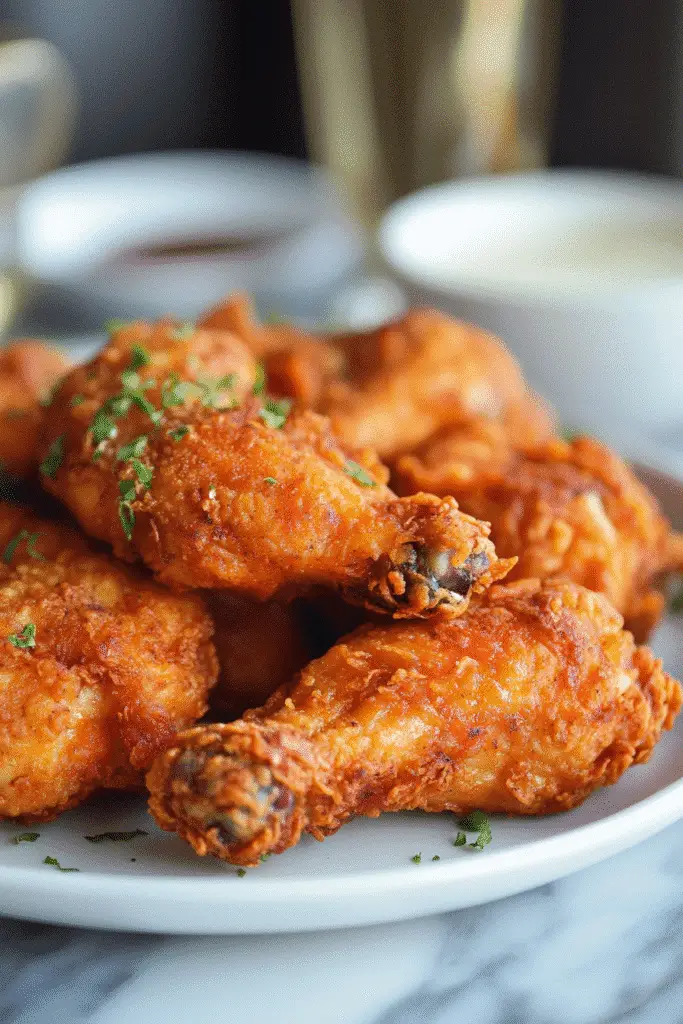
Conclusion: Final Thoughts on Honey Butter Fried Chicken
As you savor each bite of your homemade Honey Butter Fried Chicken, I hope you feel the warmth and love that goes into this dish. It’s more than just a meal; it’s a way to create cherished memories with family and friends around the table. I encourage you to share your experiences and any personal twists you add to this recipe in the comments below. Your stories inspire others to embrace the joy of cooking! So, roll up your sleeves, gather your loved ones, and let the delightful flavors of Honey Butter Fried Chicken bring everyone together. Happy cooking!
Print
Honey Butter Fried Chicken
- Total Time: 45 minutes
- Yield: 4 servings 1x
- Diet: Gluten Free
Description
Discover the secret recipe for a mouthwatering delight!
Ingredients
- 4 pieces of chicken (legs or thighs)
- 1 cup buttermilk
- 1 cup all-purpose flour
- 1 teaspoon paprika
- 1 teaspoon garlic powder
- 1 teaspoon onion powder
- Salt and pepper to taste
- Vegetable oil for frying
- 1/2 cup unsalted butter
- 1/2 cup honey
Instructions
- Marinate the chicken in buttermilk for at least 2 hours or overnight.
- In a bowl, mix flour, paprika, garlic powder, onion powder, salt, and pepper.
- Remove chicken from buttermilk and coat in the flour mixture.
- Heat vegetable oil in a deep pan over medium heat.
- Fry the chicken until golden brown and cooked through, about 15-20 minutes.
- In a separate saucepan, melt butter and mix in honey to create the honey butter sauce.
- Once the chicken is cooked, drizzle the honey butter sauce over the fried chicken.
- Serve hot and enjoy!
Notes
- For extra flavor, add cayenne pepper to the flour mixture.
- Ensure the oil is hot enough before frying to achieve a crispy texture.
- Let the chicken rest on a wire rack after frying to keep it crispy.
- Prep Time: 15 minutes
- Cook Time: 30 minutes
- Category: Main Dish
- Method: Frying
- Cuisine: American
Nutrition
- Serving Size: 1 piece
- Calories: 450
- Sugar: 10g
- Sodium: 800mg
- Fat: 25g
- Saturated Fat: 10g
- Unsaturated Fat: 15g
- Trans Fat: 0g
- Carbohydrates: 30g
- Fiber: 1g
- Protein: 25g
- Cholesterol: 100mg
Keywords: Honey Butter Fried Chicken