Introduction to Bloomin’ Onion
As a passionate home cook, I can still remember the first time I laid eyes on a Bloomin’ Onion. It was at a bustling fair, the aroma of fried goodness wafting through the air, drawing me in like a moth to a flame. The sight of that beautifully crafted onion, its petals perfectly crisped and golden, was nothing short of mesmerizing. Each bite was a delightful crunch, bursting with flavor, and I knew I had to recreate this indulgent treat at home. Join me as we dive into the secrets of making a Bloomin’ Onion that’s not just crispy but also packed with soul-satisfying taste!
What is a Bloomin’ Onion?
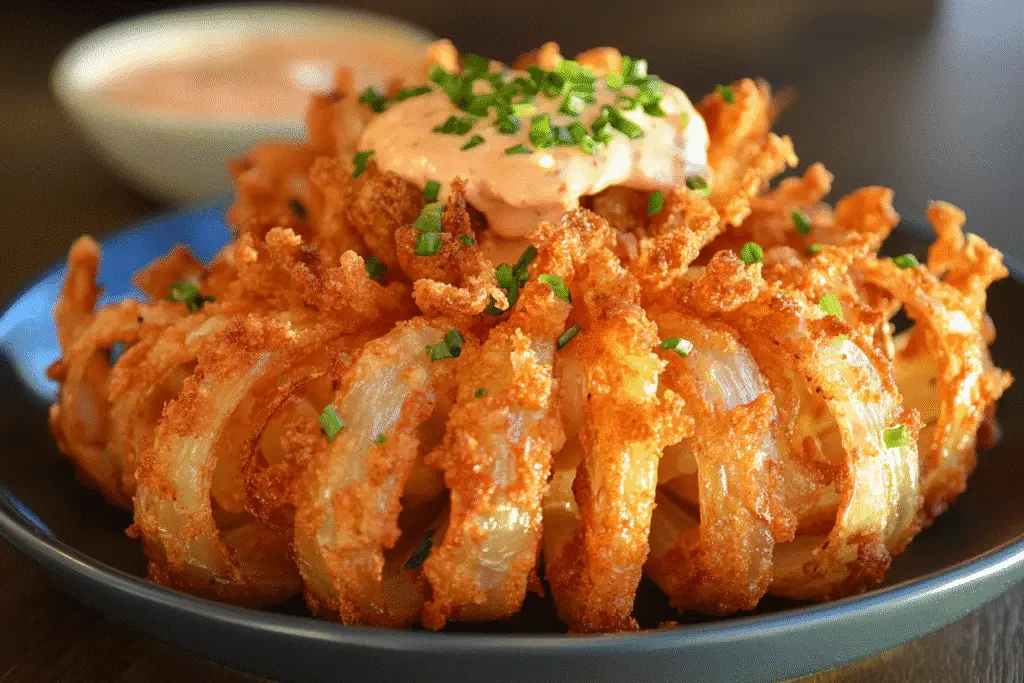
The Bloomin’ Onion is more than just a delicious appetizer; it’s a culinary masterpiece that has captured the hearts and taste buds of many. Originating from the United States, this iconic dish was popularized by the Outback Steakhouse in the 1980s, where it quickly became a fan favorite. The concept of a “bloomin’” onion is simple yet brilliant: a whole onion is cut to resemble a flower, then battered and deep-fried until golden brown, creating a stunning presentation that’s perfect for sharing.
This dish draws inspiration from various global cuisines, showcasing the universal love for fried foods. The crispy exterior contrasts beautifully with the tender onion inside, making each petal a delightful bite. The Bloomin’ Onion is often served with a zesty dipping sauce, enhancing its flavor profile and making it a perfect companion for gatherings and celebrations.
As I’ve experimented with this recipe over the years, I’ve come to appreciate not just its taste but also its ability to bring people together. Whether it’s a casual family dinner or a festive gathering with friends, the Bloomin’ Onion is a conversation starter, inviting everyone to dig in and enjoy. So, let’s explore how to create this crispy, flavorful indulgence right in your own kitchen!
Why You’ll Love This Bloomin’ Onion
- Convenience: This Bloomin’ Onion recipe is straightforward, making it perfect for home cooks of all skill levels. With just a few ingredients and simple steps, you can whip up this crowd-pleaser in no time.
- Irresistible Taste: The combination of spices and the crispy texture creates a flavor explosion that will have everyone coming back for more. Each petal is a delightful bite of savory goodness!
- Healthier Indulgence: By making it at home, you can control the ingredients and oil used, making it a healthier option compared to restaurant versions. Plus, it’s vegetarian-friendly!
- Family Appeal: Kids and adults alike love the fun presentation and the interactive experience of pulling apart the onion petals. It’s a great way to get everyone involved in the meal!
Who It’s For
This Bloomin’ Onion is ideal for busy families looking for a fun appetizer that can double as a side dish. It’s also perfect for health-conscious cooks who want to indulge without the guilt. Food lovers will appreciate the chance to recreate a restaurant favorite in the comfort of their own kitchen!
When to Cook It
Whether it’s a weeknight dinner, a weekend gathering, or a festive celebration, this Bloomin’ Onion fits perfectly into any occasion. It’s a fantastic appetizer for game nights, family reunions, or even a cozy movie night at home. Whenever you want to impress your guests or treat your family, this dish is sure to shine!
How to Make the Perfect Bloomin’ Onion
Ingredients
- 1 large onion: The star of the show! A sweet onion works best for a milder flavor.
- 1 cup all-purpose flour: This forms the crispy coating. You can substitute with gluten-free flour if needed.
- 1 teaspoon paprika: Adds a smoky depth. Try smoked paprika for an extra kick!
- 1 teaspoon garlic powder: Enhances the savory flavor. Fresh minced garlic can be used for a stronger taste.
- 1 teaspoon cayenne pepper: For a spicy touch. Adjust to your heat preference or omit for a milder version.
- 1/2 teaspoon salt: Essential for flavor. Use sea salt for a more refined taste.
- 1/2 teaspoon black pepper: Adds warmth. Freshly ground black pepper is best.
- 1 cup buttermilk: This tenderizes the onion and helps the flour stick. You can substitute with milk mixed with a tablespoon of vinegar.
- 1 egg: Binds the coating. For a vegan option, use a flax egg (1 tablespoon ground flaxseed mixed with 2.5 tablespoons water).
- Oil for frying: Choose a high smoke point oil like canola or peanut oil for the best results.
Step-by-Step Instructions
- Prepare the onion: Start by cutting off the top of the onion and peeling away the outer skin. This will reveal the beautiful layers inside.
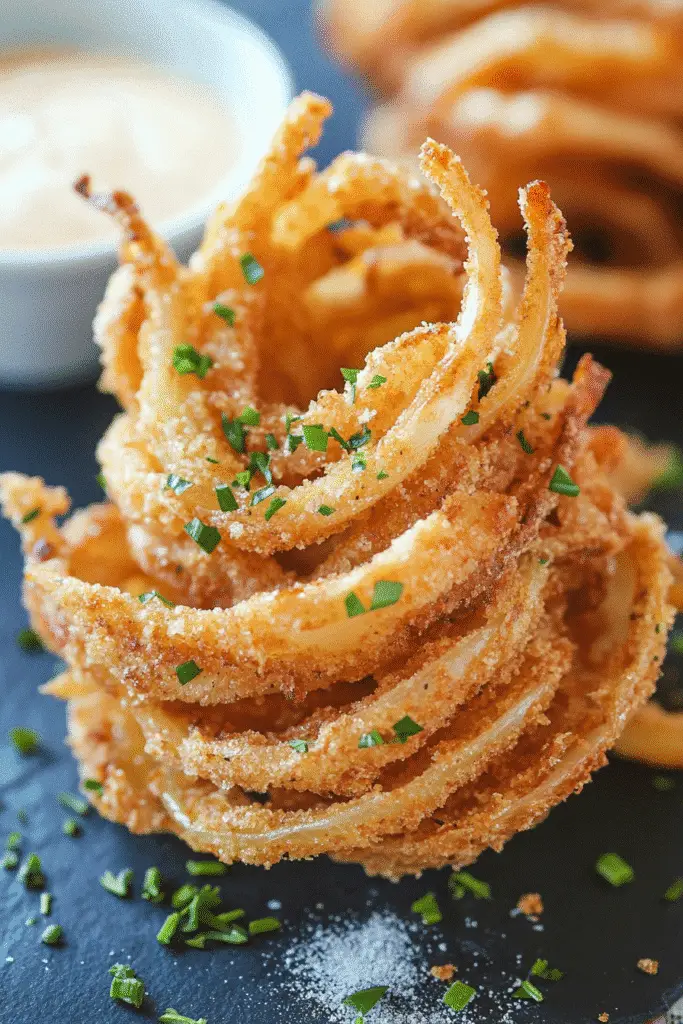
- Create the petals: Make deep cuts in the onion, about 1/2 inch apart, from the top down to the root, ensuring not to cut all the way through.
- Mix the dry ingredients: In a bowl, combine the flour, paprika, garlic powder, cayenne, salt, and black pepper. This mixture will give your Bloomin’ Onion its signature crunch.
- Prepare the wet mixture: In another bowl, whisk together the buttermilk and egg until well combined.
- Coat the onion: Dip the onion into the buttermilk mixture, allowing it to soak up the flavors. Then, coat it thoroughly in the flour mixture, ensuring all the petals are covered.
- Heat the oil: In a deep fryer or large pot, heat the oil to 375°F (190°C). This is crucial for achieving that perfect crispy texture.
- Fry the onion: Carefully place the coated onion in the hot oil. Fry for about 5-7 minutes, or until it turns a beautiful golden brown. The aroma will be irresistible!
- Drain and serve: Once cooked, remove the onion and let it drain on paper towels. Serve it warm with your favorite dipping sauce.
For People with Diabetes: Sugar Substitutes
If you’re looking for sugar substitutes, consider using stevia, monk fruit, erythritol, or allulose. These options provide sweetness without the blood sugar spikes. Avoid using honey or maple syrup, as they can raise blood sugar levels.
Tools You’ll Need
- Sharp Knife: A good quality knife is essential for cutting the onion into petals. A serrated knife can also work well for this task.
- Cutting Board: A sturdy cutting board provides a safe surface for slicing your onion.
- Mixing Bowls: You’ll need two bowls—one for the dry ingredients and one for the wet mixture. Any medium-sized bowls will do!
- Whisk: A whisk is perfect for combining the buttermilk and egg smoothly. A fork can also work in a pinch.
- Deep Fryer or Large Pot: A deep fryer is ideal for frying, but a heavy-bottomed pot can also be used. Just ensure it’s deep enough to hold the oil safely.
- Thermometer: A cooking thermometer helps you monitor the oil temperature, ensuring it reaches 375°F (190°C) for that perfect crispy finish.
- Slotted Spoon or Spider Strainer: This tool is great for safely removing the Bloomin’ Onion from the hot oil without splashing.
- Paper Towels: Use these for draining excess oil after frying, keeping your Bloomin’ Onion crispy and not greasy.
Tips from Well-Known Chefs
Creating the perfect Bloomin’ Onion is an art, and who better to share their secrets than renowned chefs? Here are some chef-approved hacks that will elevate your frying game and ensure your Bloomin’ Onion is a showstopper!
- Choose the Right Onion: Chef Gordon Ramsay emphasizes the importance of selecting a sweet onion, like a Vidalia or Walla Walla, for a milder flavor that complements the spices beautifully.
- Double-Dip for Extra Crunch: Chef Ina Garten suggests a double-dipping technique. After the first coating, dip the onion back into the buttermilk mixture and then into the flour again. This creates an even thicker, crunchier crust!
- Season the Oil: Chef Alton Brown recommends adding a few sprigs of fresh herbs, like rosemary or thyme, to the oil while it heats. This infuses the oil with aromatic flavors that will enhance the overall taste of your Bloomin’ Onion.
- Let It Rest: Chef Thomas Keller advises letting the coated onion rest for about 10 minutes before frying. This allows the batter to adhere better, resulting in a more cohesive and crispy exterior.
- Experiment with Dipping Sauces: Chef Rachael Ray loves to pair her Bloomin’ Onion with unique dipping sauces. Try a spicy aioli, tangy ranch, or even a sweet chili sauce to add a twist to your appetizer!
By incorporating these tips from culinary experts, you’ll not only impress your family and friends but also create a Bloomin’ Onion that’s bursting with flavor and texture. Happy frying!
Delicious Variations to Customize Your Onion Dish
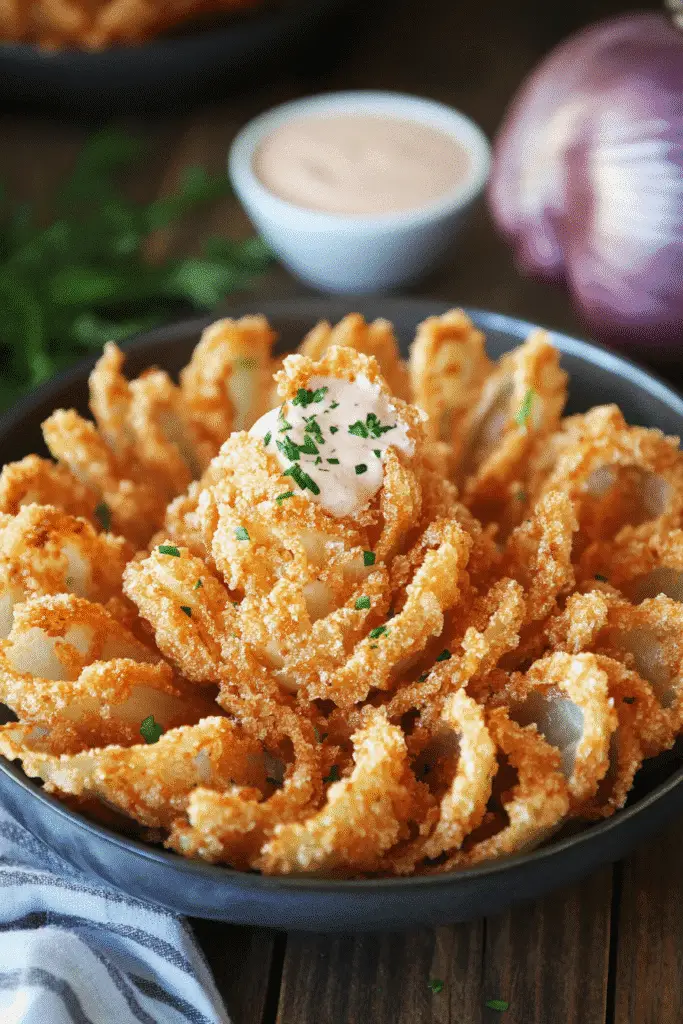
One of the joys of cooking is the ability to experiment and make a dish your own. The Bloomin’ Onion is no exception! Here are some delightful variations that will add unique flavors and cater to different dietary preferences.
- Cheesy Bloomin’ Onion: For cheese lovers, sprinkle shredded cheddar or mozzarella between the onion petals before frying. The melted cheese will create a gooey, indulgent surprise with every bite!
- Spicy Southwest Style: Add a teaspoon of cumin and a pinch of chili powder to the flour mixture for a Southwest twist. Serve with a zesty chipotle ranch dressing for a flavor explosion.
- Herb-Infused Bloomin’ Onion: Mix finely chopped fresh herbs like parsley, dill, or chives into the flour coating. This adds a fresh, vibrant flavor that brightens up the dish.
- Gluten-Free Option: Substitute all-purpose flour with a gluten-free flour blend or almond flour. This way, everyone can enjoy the crispy goodness without worry!
- Vegan Bloomin’ Onion: Replace the buttermilk with a plant-based milk mixed with a tablespoon of vinegar and use a flax egg instead of a regular egg. This version is just as delicious and perfect for vegan diets!
- Asian-Inspired Bloomin’ Onion: Incorporate sesame seeds and a dash of soy sauce into the flour mixture. Serve with a sweet and sour dipping sauce for a delightful fusion experience.
These variations not only enhance the flavor profile of your Bloomin’ Onion but also allow you to cater to different dietary needs and preferences. So, don’t hesitate to get creative and make this dish your own!
Top Tips for Perfecting Your Bloomin’ Onion
Creating a Bloomin’ Onion that’s perfectly crispy and bursting with flavor is an art form, and I’m here to share some expert techniques and cooking hacks that will elevate your dish to restaurant-quality status. These tips come from my own kitchen experiments and insights from culinary traditions around the world.
- Cut with Precision: When making the deep cuts in your onion, aim for even spacing and depth. This ensures that each petal cooks uniformly, resulting in a beautifully bloomed onion. A sharp knife is essential for this task!
- Chill Before Frying: After coating your onion, let it chill in the refrigerator for about 15 minutes. This helps the batter adhere better and creates a crunchier texture when fried.
- Maintain Oil Temperature: Keeping the oil at a steady 375°F (190°C) is crucial. If the temperature drops too low, your Bloomin’ Onion will absorb excess oil and become greasy. Use a thermometer to monitor the heat closely.
- Fry in Batches: If you’re making multiple onions, fry them one at a time. This prevents overcrowding in the pot, which can lower the oil temperature and lead to uneven cooking.
- Season After Frying: For an extra flavor boost, sprinkle a little sea salt over the hot, freshly fried onion. This enhances the taste and gives it that irresistible savory kick.
- Serve Immediately: Bloomin’ Onions are best enjoyed fresh out of the fryer. The longer they sit, the less crispy they become. So, gather your family and friends and dig in while they’re still warm!
- Explore Cultural Variations: Take inspiration from different cuisines! For instance, in Indian cooking, you might add garam masala to the flour mixture for a fragrant twist. Embracing global flavors can make your Bloomin’ Onion even more exciting!
By incorporating these tips into your cooking routine, you’ll not only perfect your Bloomin’ Onion but also impress your family and friends with your culinary skills. Happy frying!
Storing and Reheating Tips
After enjoying your delicious Bloomin’ Onion, you might find yourself with leftovers. Don’t worry! With the right storage and reheating techniques, you can keep that crispy goodness alive for another day.
Storing Your Bloomin’ Onion
- Refrigeration: Allow the Bloomin’ Onion to cool completely before storing. Place it in an airtight container lined with paper towels to absorb any excess moisture. This will help maintain its crispiness. It can be stored in the fridge for up to 2 days.
- Freezing: If you want to keep it longer, you can freeze the Bloomin’ Onion. Wrap it tightly in plastic wrap and then place it in a freezer-safe bag. It can last for up to 1 month. However, keep in mind that freezing may affect the texture.
Reheating Your Bloomin’ Onion
- Oven Method: Preheat your oven to 375°F (190°C). Place the Bloomin’ Onion on a baking sheet and heat for about 10-15 minutes, or until it’s warmed through and crispy again. This method helps restore its crunchiness.
- Air Fryer Method: If you have an air fryer, this is a fantastic option! Preheat the air fryer to 350°F (175°C) and cook the Bloomin’ Onion for about 5-7 minutes. This will give you a wonderfully crispy result without the need for additional oil.
- Microwave Method: While not the best option for maintaining crispiness, if you’re in a hurry, you can microwave the Bloomin’ Onion for about 30 seconds to 1 minute. Just be aware that it may turn out a bit soggy.
By following these storing and reheating tips, you can enjoy your Bloomin’ Onion even after the initial feast, ensuring that every bite remains as delightful as the first!
Helpful Notes
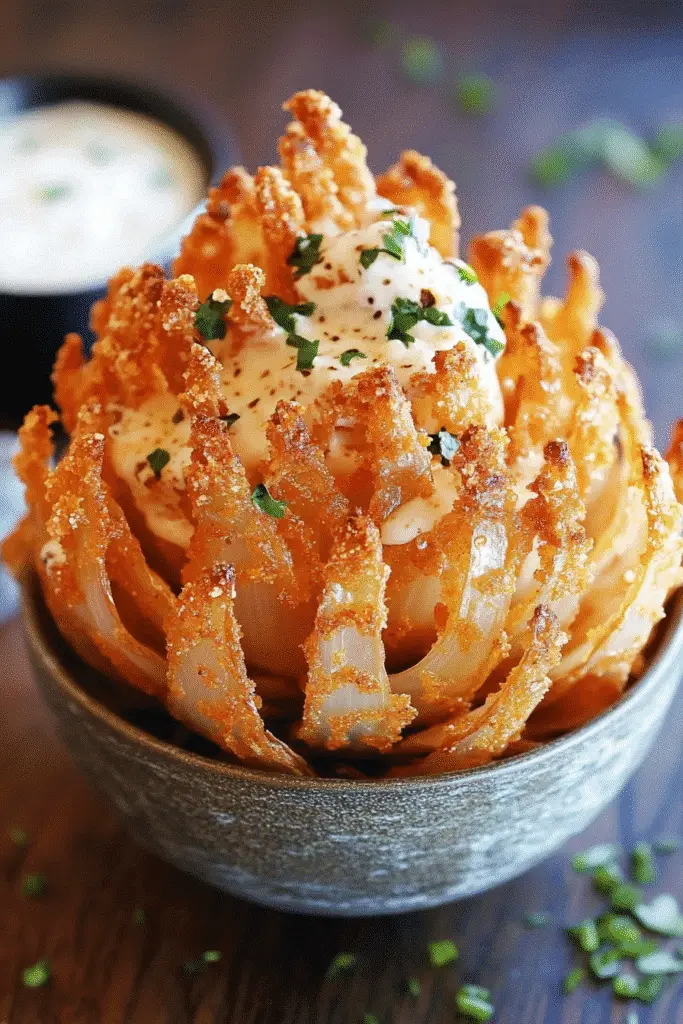
As you embark on your journey to create the perfect Bloomin’ Onion, here are some extra clarifications and tips that will help you navigate the process smoothly. These insights will ensure that your cooking experience is enjoyable and that your dish turns out just right!
Ingredient Prep
- Onion Selection: Choose a large, firm onion for the best results. Sweet onions like Vidalia or Walla Walla are ideal due to their mild flavor and tender texture.
- Cutting Technique: When making the deep cuts, use a sharp knife and take your time. Aim for even spacing to ensure that each petal cooks uniformly. If you’re unsure, practice on a spare onion first!
- Buttermilk Substitute: If you don’t have buttermilk on hand, you can easily make your own by mixing 1 cup of milk with 1 tablespoon of vinegar or lemon juice. Let it sit for about 5 minutes before using.
Substitutions
- Flour Alternatives: For a gluten-free version, substitute all-purpose flour with a gluten-free flour blend or almond flour. This will still give you that crispy texture without the gluten.
- Spice Variations: Feel free to adjust the spices according to your taste. If you prefer a milder flavor, reduce the cayenne pepper or omit it altogether. You can also experiment with other spices like onion powder or Italian seasoning for a unique twist.
- Vegan Options: To make this dish vegan, use a flax egg instead of a regular egg and opt for plant-based milk mixed with vinegar instead of buttermilk.
Cultural References
The Bloomin’ Onion, while distinctly American, draws inspiration from various global frying techniques. In many cultures, frying vegetables is a beloved cooking method, showcasing the universal appeal of crispy, golden treats. For instance, in India, you might find a similar concept with onion bhajis, where onions are battered and fried to create a crunchy snack. Embracing these cultural influences can add depth to your cooking and inspire you to explore other fried delicacies from around the world!
By keeping these helpful notes in mind, you’ll be well-equipped to tackle your Bloomin’ Onion recipe with confidence and creativity. Happy cooking!
Common Mistakes to Avoid
- Not Cutting Deep Enough: One of the most common mistakes is not making deep enough cuts in the onion. Ensure your cuts reach about halfway down to the root to create well-defined petals that bloom beautifully.
- Overcrowding the Fryer: Frying too many onions at once can lower the oil temperature, resulting in greasy, soggy petals. Fry one onion at a time for the best crispy results.
- Skipping the Chill Time: Failing to let the coated onion chill in the refrigerator for 10-15 minutes can lead to the batter falling off during frying. This step helps the coating adhere better.
- Using the Wrong Oil: Choosing an oil with a low smoke point can lead to burnt flavors. Opt for oils like canola or peanut oil, which can withstand high temperatures without compromising taste.
- Not Monitoring Oil Temperature: If the oil isn’t hot enough, your Bloomin’ Onion will absorb too much oil and become greasy. Use a thermometer to ensure the oil is at a steady 375°F (190°C) for that perfect crispy finish.
FAQs About Bloomin’ Onion
Q: Can I make a Bloomin’ Onion ahead of time?
No, it’s best to serve a Bloomin’ Onion fresh out of the fryer for optimal crispiness. However, you can prepare the onion and coat it in advance, then fry it just before serving.
Q: Is a Bloomin’ Onion vegetarian?
Yes, a Bloomin’ Onion is a vegetarian dish, making it a great appetizer option for those who don’t eat meat. Just ensure that the dipping sauce you choose is also vegetarian-friendly.
Q: Can I use a different type of onion for a Bloomin’ Onion?
It depends. While sweet onions like Vidalia are preferred for their mild flavor, you can experiment with other varieties. Just keep in mind that stronger onions, like yellow or red onions, may alter the taste.
Q: Is it possible to make a gluten-free Bloomin’ Onion?
Yes, you can easily make a gluten-free Bloomin’ Onion by substituting all-purpose flour with a gluten-free flour blend or almond flour. This way, everyone can enjoy this crispy treat!
Q: What dipping sauces pair well with a Bloomin’ Onion?
Yes! Popular dipping sauces include ranch dressing, spicy aioli, or a tangy honey mustard. Feel free to get creative and try different sauces to find your favorite pairing!
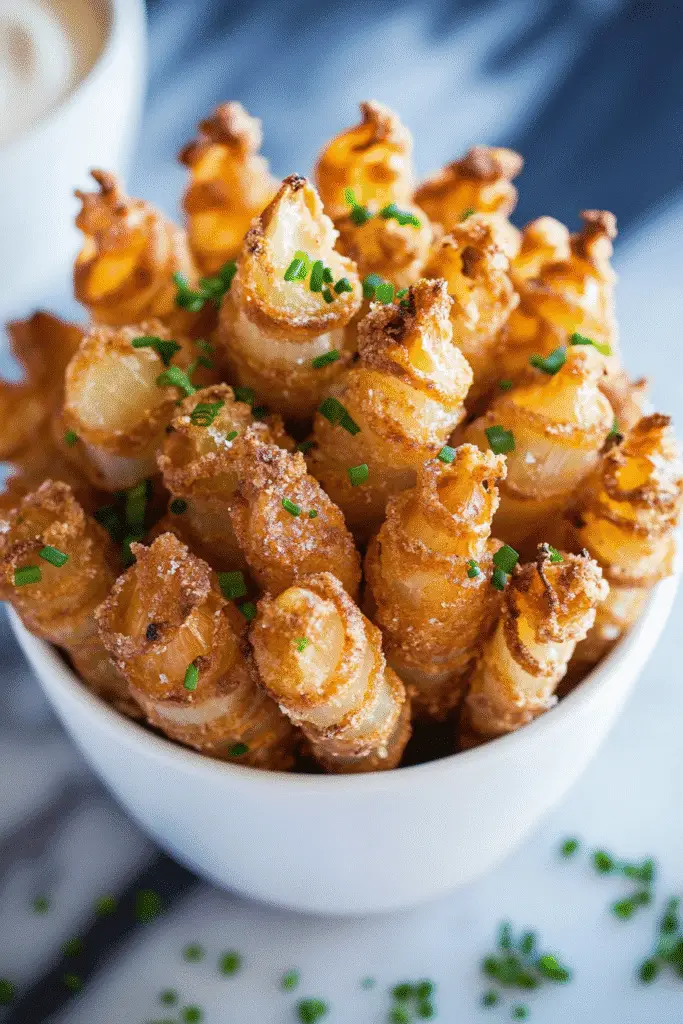
Conclusion: Final Thoughts on Bloomin’ Onion
As we wrap up our journey into the world of the Bloomin’ Onion, I hope you feel inspired to bring this delightful dish into your home kitchen. There’s something truly special about sharing a crispy, golden Bloomin’ Onion with family and friends, creating memories with each delicious petal. Whether it’s a casual weeknight dinner or a festive gathering, this recipe is sure to impress and satisfy. I encourage you to experiment with flavors and make it your own. If you try this recipe, please share your thoughts in the comments below or tag me on social media. Happy cooking!
Print
Bloomin’ Onion
- Total Time: 25 minutes
- Yield: 4 servings 1x
- Diet: Vegetarian
Description
Learn how to make a delicious and crispy Bloomin’ Onion at home with this easy recipe.
Ingredients
- 1 large onion
- 1 cup all-purpose flour
- 1 teaspoon paprika
- 1 teaspoon garlic powder
- 1 teaspoon cayenne pepper
- 1/2 teaspoon salt
- 1/2 teaspoon black pepper
- 1 cup buttermilk
- 1 egg
- Oil for frying
Instructions
- Prepare the onion by cutting off the top and peeling it.
- Make deep cuts in the onion to create petals.
- In a bowl, mix flour, paprika, garlic powder, cayenne, salt, and black pepper.
- In another bowl, whisk together buttermilk and egg.
- Dip the onion in the buttermilk mixture, then coat it in the flour mixture.
- Heat oil in a deep fryer or large pot to 375°F (190°C).
- Carefully place the onion in the hot oil and fry for about 5-7 minutes until golden brown.
- Remove and drain on paper towels before serving.
Notes
- Serve with a dipping sauce of your choice.
- Ensure the oil is hot enough before frying for a crispy texture.
- Experiment with different spices for unique flavors.
- Prep Time: 15 minutes
- Cook Time: 10 minutes
- Category: Appetizer
- Method: Frying
- Cuisine: American
Nutrition
- Serving Size: 1 onion
- Calories: 300
- Sugar: 2g
- Sodium: 600mg
- Fat: 15g
- Saturated Fat: 2g
- Unsaturated Fat: 10g
- Trans Fat: 0g
- Carbohydrates: 35g
- Fiber: 2g
- Protein: 5g
- Cholesterol: 30mg
Keywords: Bloomin’ Onion, crispy onion, appetizer recipe