Introduction to French Bread Rolls
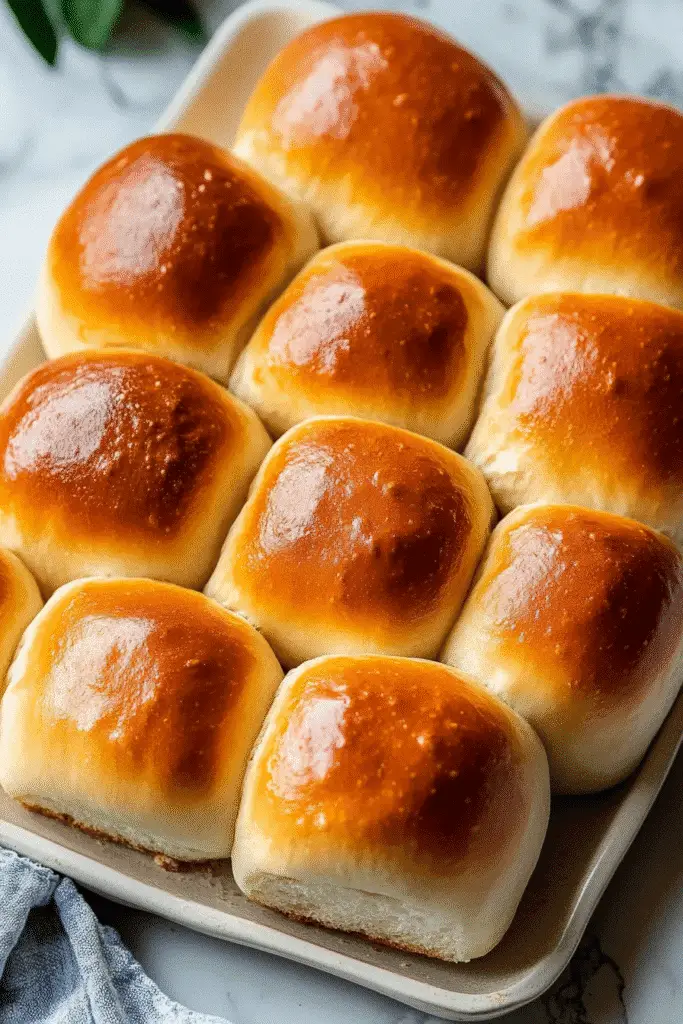
As I stood in my cozy kitchen, the aroma of freshly baked French bread rolls wafted through the air, instantly transporting me to a quaint Parisian café. There’s something magical about the way these rolls puff up, their golden crust crackling as they cool. I remember the first time I attempted to make them; my family gathered around, eagerly awaiting the warm, soft bites that would soon grace our dinner table. With each roll, I felt a connection to the rich culinary traditions of France, where bread is not just food, but a way of life. Join me on this delightful journey to craft your own French bread rolls at home, and let’s create memories that will linger long after the last crumb is gone.
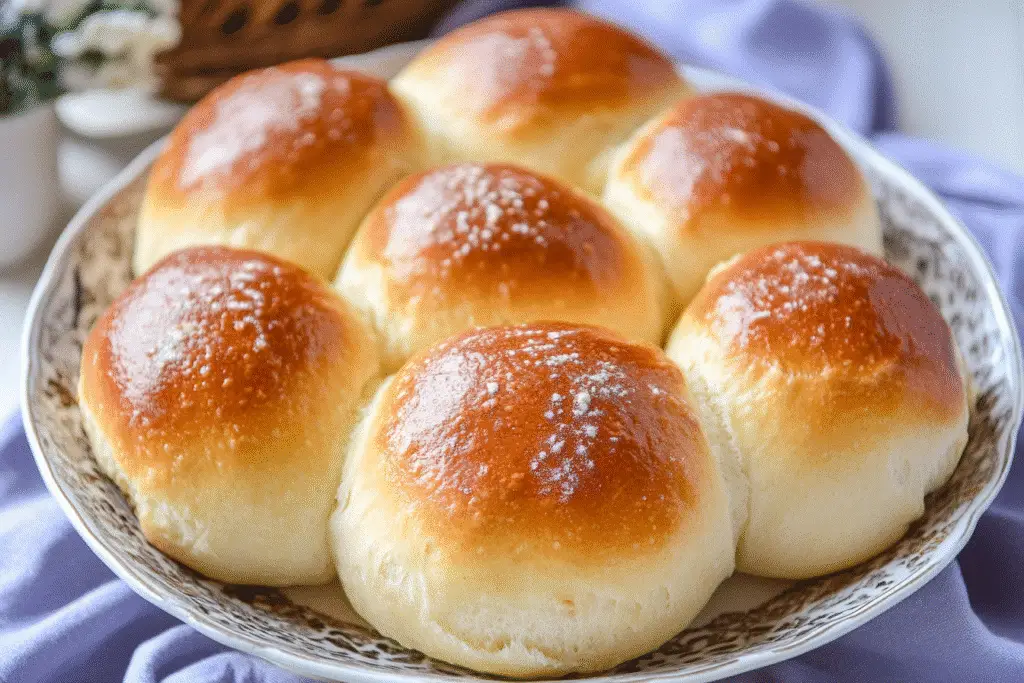
What is French Bread Rolls?
French bread rolls are a delightful staple in French cuisine, embodying the essence of comfort and tradition. Originating from the heart of France, these rolls are often enjoyed alongside meals or as a base for sandwiches. Their soft, airy texture and slightly crispy crust make them a favorite for many, transcending borders and cultures.
Historically, bread has played a vital role in French culture, symbolizing nourishment and community. In bustling Parisian bakeries, the sight of freshly baked rolls draws locals and tourists alike, eager to savor the warm, buttery goodness. The art of crafting these rolls is not just about the ingredients; it’s about the love and care infused into each batch.
Globally, French bread rolls have inspired countless variations, from the classic baguette to softer dinner rolls found in many households. Their versatility allows them to complement a wide range of dishes, making them a beloved choice for family dinners, picnics, and festive gatherings. Whether served with a hearty stew or enjoyed with a simple spread of butter, these rolls bring people together, creating moments of joy and connection around the table.
Why You’ll Love This French Bread Rolls
- Convenience: These French bread rolls are easy to make, requiring just a few simple ingredients and minimal hands-on time.
- Delicious Taste: With a soft, fluffy interior and a slightly crispy crust, each bite is a delightful experience that pairs perfectly with any meal.
- Health Benefits: Made with wholesome ingredients, these rolls can be a healthier alternative to store-bought options, allowing you to control what goes into your food.
- Family Appeal: Kids and adults alike love these rolls, making them a hit at family dinners, gatherings, or even as a snack.
Who It’s For
This recipe is perfect for busy families looking to add a homemade touch to their meals, health-conscious cooks who want to control their ingredients, and food lovers eager to explore the art of baking. Whether you’re a novice or a seasoned chef, these French bread rolls will inspire you to create something special in your kitchen.
When to Cook It
These rolls are ideal for a variety of occasions. They shine at weeknight dinners, adding a comforting element to your meals. They’re also perfect for celebrations, such as holiday feasts or family gatherings, where everyone can enjoy the warm, inviting aroma of freshly baked bread. Plus, they make a delightful addition to picnics or brunches, ensuring that every moment shared around the table is filled with joy and deliciousness.
How to Make the Perfect French Bread Rolls
Ingredients
- 4 cups all-purpose flour: This is the foundation of your rolls, providing structure and texture. You can substitute with whole wheat flour for a nuttier flavor.
- 1 packet (2 1/4 tsp) active dry yeast: Essential for leavening, giving your rolls that delightful rise. Instant yeast can be used as a substitute without proofing.
- 1 1/2 cups warm water: Activates the yeast; ensure it’s warm (not hot) to avoid killing the yeast. You can use milk for a richer flavor.
- 2 tbsp sugar: Helps feed the yeast and adds a touch of sweetness. For a healthier option, consider using honey or agave syrup.
- 1 tbsp salt: Enhances flavor and controls yeast activity. Sea salt or kosher salt can be used as alternatives.
- 2 tbsp olive oil: Adds moisture and richness. You can swap it with melted butter for a different taste.
Step-by-Step Instructions
- In a large bowl, combine warm water, sugar, and yeast. Let it sit for about 5 minutes until frothy, like a bubbly potion ready to work its magic.
- Add olive oil and salt to the yeast mixture, stirring gently to combine the flavors.
- Gradually add flour, mixing until a dough forms. It should feel soft and slightly sticky, like a comforting embrace.
- Knead the dough on a floured surface for about 10 minutes until smooth and elastic. Picture the dough transforming under your hands, becoming a silky ball.
- Place the dough in a greased bowl, cover it with a clean cloth, and let it rise in a warm place for 1 hour or until doubled in size. This is the dough’s time to shine!
- Once risen, punch down the dough to release the air, then divide it into 12 equal pieces. Each piece is a promise of deliciousness.
- Shape each piece into a roll and place them on a baking sheet lined with parchment paper, leaving space for them to grow.
- Cover the rolls and let them rise for another 30 minutes. They’ll puff up, eager to be baked.
- Preheat the oven to 375°F (190°C). The anticipation builds as the oven warms up.
- Bake the rolls for 20-25 minutes or until golden brown, filling your kitchen with an irresistible aroma.
- Let cool before serving, allowing the rolls to settle into their perfect form.
For People with Diabetes: Sugar Substitutes
If you’re looking for sugar substitutes, consider using stevia, monk fruit, erythritol, or allulose. These options provide sweetness without the same impact on blood sugar levels. Avoid using honey or maple syrup, as they can spike glucose levels.
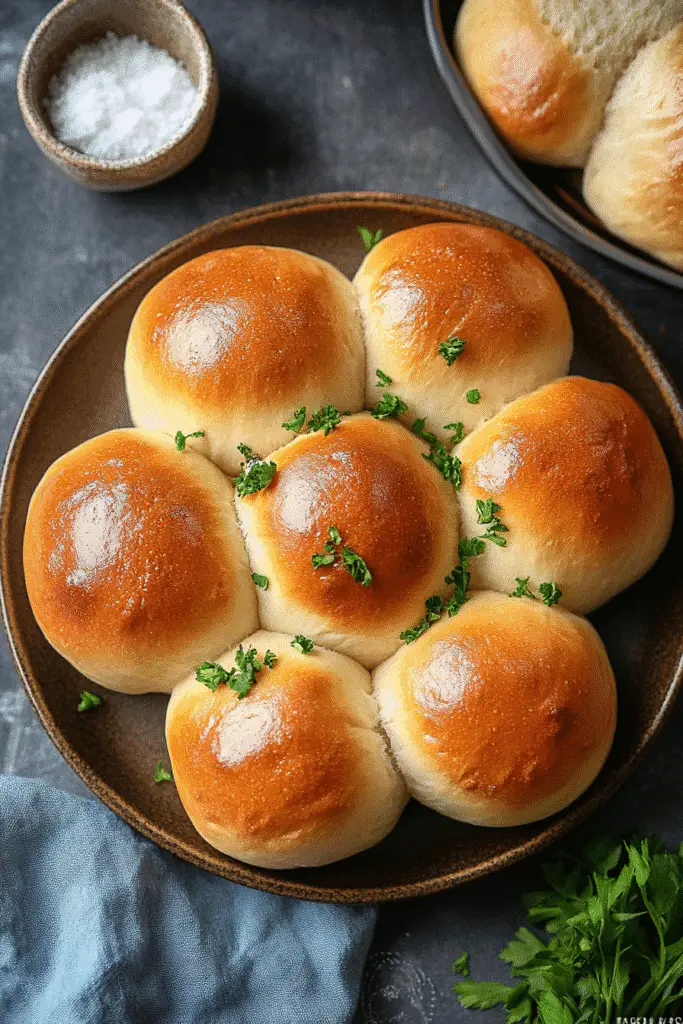
Tools You’ll Need
- Mixing Bowl: A large bowl for combining ingredients. Any sturdy bowl will do, even a pot if you’re in a pinch.
- Measuring Cups and Spoons: Essential for accurate ingredient measurements. If you don’t have these, use a standard coffee mug or a regular spoon for rough estimates.
- Wooden Spoon or Dough Scraper: For mixing and kneading the dough. A spatula can also work if you don’t have a wooden spoon.
- Floured Surface: A clean countertop or cutting board for kneading. If you’re short on space, a large plate can serve as a makeshift kneading area.
- Kitchen Towel: To cover the dough while it rises. A clean dishcloth or even plastic wrap can be used as an alternative.
- Baking Sheet: For placing the rolls before baking. If you don’t have one, a large oven-safe dish can work just as well.
- Parchment Paper: To line your baking sheet for easy cleanup. If you’re out, lightly greasing the sheet will suffice.
- Oven Mitts: To protect your hands when handling hot pans. A thick kitchen towel can also do the trick.
Tips from Well-Known Chefs
When it comes to crafting the perfect French bread rolls, I’ve gathered some invaluable tips from renowned chefs that can elevate your baking game. These insights not only enhance the flavor but also ensure a delightful texture that will impress your family and friends.
- Use a Dutch Oven: Chef Thomas Keller recommends baking your rolls in a preheated Dutch oven. This method traps steam, creating a beautifully crusty exterior while keeping the inside soft and fluffy.
- Incorporate a Poolish: Renowned baker Peter Reinhart suggests using a poolish (a mixture of equal parts flour and water with a small amount of yeast) to enhance the flavor and texture of your rolls. Prepare it the night before and let it ferment overnight for a deeper taste.
- Experiment with Flours: Chef Julia Child often emphasized the importance of experimenting with different flours. Try mixing all-purpose flour with bread flour for a chewier texture or even adding a bit of whole wheat flour for a nutty flavor.
- Don’t Skip the Kneading: According to Chef Jacques Pépin, kneading is crucial for developing gluten, which gives your rolls their structure. Make sure to knead until the dough is smooth and elastic, about 10 minutes.
- Brush with Butter: For a rich finish, Chef Ina Garten suggests brushing the rolls with melted butter immediately after they come out of the oven. This adds a lovely sheen and enhances the flavor, making them irresistible.
Delicious Variations to Customize Your Rolls
One of the joys of making French bread rolls is the endless possibilities for customization. Whether you want to add a twist of flavor or cater to specific dietary needs, these variations will inspire you to get creative in the kitchen.
- Herb-Infused Rolls: Add 1-2 tablespoons of finely chopped fresh herbs like rosemary, thyme, or basil to the dough for a fragrant twist. The aroma of herbs baking will fill your kitchen, making it feel like a rustic French bistro.
- Cheesy Rolls: Incorporate 1 cup of shredded cheese, such as cheddar or Gruyère, into the dough before kneading. The melted cheese will create a gooey, savory center that’s perfect for pairing with soups or salads.
- Garlic Butter Rolls: Mix 2-3 cloves of minced garlic into the olive oil before adding it to the dough. After baking, brush the rolls with melted garlic butter for an irresistible flavor that will have everyone reaching for seconds.
- Whole Wheat Rolls: Substitute half of the all-purpose flour with whole wheat flour for a heartier roll. This variation adds a nutty flavor and increases the fiber content, making them a healthier option.
- Sweet Rolls: For a delightful breakfast treat, add 1/4 cup of sugar and 1 teaspoon of cinnamon to the dough. After baking, drizzle with a simple icing made from powdered sugar and milk for a sweet finish.
- Gluten-Free Rolls: Use a gluten-free all-purpose flour blend in place of regular flour. Be sure to add a teaspoon of xanthan gum to help bind the ingredients together, ensuring a soft and fluffy texture.
These variations not only enhance the flavor of your French bread rolls but also allow you to cater to different tastes and dietary preferences. So, don’t hesitate to experiment and make these rolls your own!
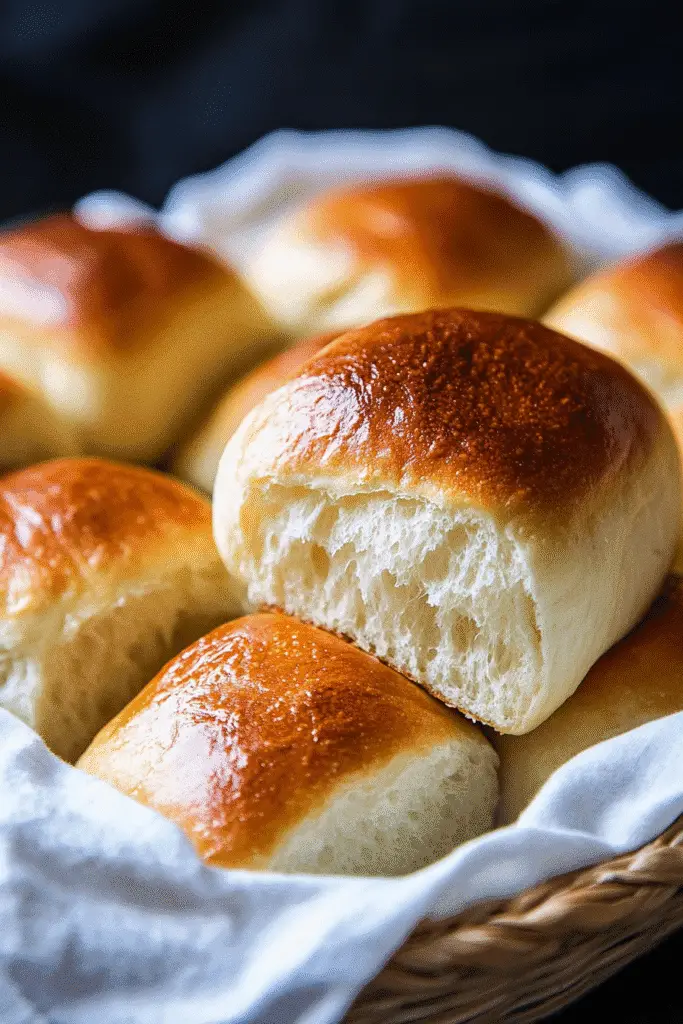
Top Tips for Perfecting Your French Bread Rolls
As I’ve journeyed through the art of baking French bread rolls, I’ve gathered some expert techniques and cooking hacks that can truly elevate your rolls from good to extraordinary. Here are my top tips to ensure your rolls turn out perfectly every time:
- Temperature Matters: Ensure your water is warm, around 110°F (43°C), to activate the yeast without killing it. A kitchen thermometer can be a handy tool here, but if you don’t have one, the water should feel warm to the touch, like a cozy bath.
- Don’t Rush the Rise: Allow your dough to rise until it has doubled in size. This step is crucial for developing flavor and texture. If your kitchen is cool, consider placing the dough in a slightly warm oven (turned off) to encourage rising.
- Shape with Care: When shaping your rolls, be gentle to preserve the air bubbles formed during rising. Tuck the edges under to create a smooth top, which will help them rise beautifully in the oven.
- Steam for Crust: To achieve a crusty exterior, place a shallow pan of water in the oven while baking. The steam will create a lovely crust, reminiscent of those found in traditional French bakeries.
- Brush with Egg Wash: For a shiny finish, brush the rolls with an egg wash (a beaten egg mixed with a splash of water) before baking. This will give your rolls a beautiful golden color and a professional touch.
- Cool on a Rack: After baking, let your rolls cool on a wire rack. This prevents them from becoming soggy on the bottom and allows air to circulate, keeping them light and fluffy.
- Practice Patience: Baking is as much about timing as it is about technique. Don’t rush through the process; each step contributes to the final product. Enjoy the journey of creating something delicious!
By incorporating these tips into your baking routine, you’ll be well on your way to mastering French bread rolls that are not only delicious but also a true reflection of your culinary passion. Happy baking!
Storing and Reheating Tips
Once you’ve crafted your delightful French bread rolls, you might be wondering how to store them properly to maintain their freshness. Here are some clear and practical tips for storing and reheating your rolls, ensuring they remain soft and delicious for days to come.
Storing Your Rolls
- Room Temperature: If you plan to enjoy your rolls within a couple of days, store them in an airtight container or a resealable plastic bag at room temperature. This will keep them soft and prevent them from drying out.
- Refrigeration: While it’s best to avoid refrigerating bread, if you live in a particularly humid climate, you can store your rolls in the fridge. Just be sure to wrap them tightly in plastic wrap or place them in an airtight container to minimize moisture loss.
- Freezing: For longer storage, freeze your French bread rolls. Allow them to cool completely, then place them in a freezer-safe bag or container. They can be frozen for up to 3 months. Be sure to label the bag with the date for easy reference!
Reheating Your Rolls
- Oven Method: To reheat frozen rolls, preheat your oven to 350°F (175°C). Place the rolls on a baking sheet and cover them with aluminum foil to prevent over-browning. Heat for about 10-15 minutes, or until warmed through. This method helps restore their crusty exterior.
- Microwave Method: If you’re in a hurry, you can use the microwave. Place a roll on a microwave-safe plate and cover it with a damp paper towel. Heat for 10-15 seconds. Be cautious not to overheat, as this can make the rolls tough.
- Toaster Oven: For a quick and crispy option, use a toaster oven. Set it to a low temperature and heat the rolls for about 5-7 minutes. This method gives you a nice crust while keeping the inside soft.
By following these storing and reheating tips, you can enjoy your French bread rolls at their best, whether it’s the day they’re baked or weeks later. Happy baking and savoring!
Helpful Notes
As you embark on your journey to create the perfect French bread rolls, here are some extra clarifications and tips to ensure your baking experience is smooth and enjoyable.
- Ingredient Prep: Make sure to measure your flour accurately. Spoon the flour into your measuring cup and level it off with a knife for the best results. Too much flour can lead to dense rolls.
- Yeast Activation: If your yeast doesn’t foam after 5 minutes, it may be expired or the water temperature might have been too hot or too cold. Always check the expiration date on your yeast packets and use a thermometer if possible.
- Olive Oil Alternatives: While olive oil adds a lovely flavor, you can also use vegetable oil, melted coconut oil, or even unsalted butter for a different taste profile. Each will impart its unique character to the rolls.
- Salt Types: If using table salt instead of kosher salt, reduce the amount slightly, as table salt is more concentrated. A good rule of thumb is to use about 3/4 of the amount called for.
- Cultural References: In France, bread is often served with every meal, symbolizing hospitality and community. It’s common to see families sharing a loaf at the dinner table, making these French bread rolls a perfect addition to your own family traditions.
- Experiment with Flavors: Don’t hesitate to add your personal touch! Consider incorporating spices like paprika or cumin for a unique twist, or even a sprinkle of cheese on top before baking for added flavor.
By keeping these helpful notes in mind, you’ll be well-equipped to create French bread rolls that not only taste amazing but also reflect your personal cooking style. Enjoy the process and happy baking!
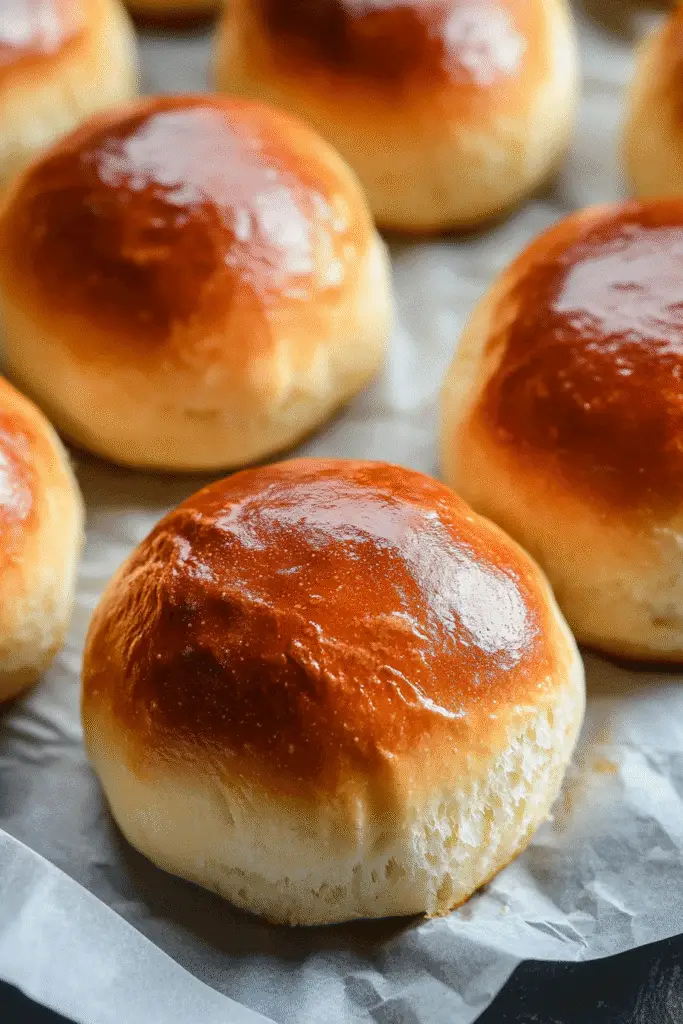
Common Mistakes to Avoid
- Using Cold Water: One of the most common mistakes is using cold water when activating the yeast. Always ensure your water is warm (around 110°F or 43°C) to properly activate the yeast and achieve that perfect rise.
- Skipping the Kneading: Neglecting to knead the dough adequately can lead to dense rolls. Kneading develops gluten, which is essential for a light and airy texture. Aim for at least 10 minutes of kneading until the dough is smooth and elastic.
- Not Allowing Enough Rise Time: Rushing the rising process can result in flat rolls. Be patient and allow the dough to double in size during both rising stages. This step is crucial for flavor and texture.
- Overbaking: Keep an eye on your rolls while they bake. Overbaking can lead to dry, hard rolls. Look for a golden-brown color and a hollow sound when tapped on the bottom to know they’re done.
- Ignoring Storage Guidelines: Improper storage can ruin your freshly baked rolls. Make sure to store them in an airtight container at room temperature or freeze them for longer storage to maintain their softness.
FAQs About French Bread Rolls
Q: Can I make French bread rolls without yeast?
A: No, yeast is essential for making French bread rolls as it helps the dough rise and creates that light, airy texture. Without it, the rolls won’t have the same delightful fluffiness.
Q: Can I freeze French bread rolls?
A: Yes, you can freeze French bread rolls after baking. Just ensure they cool completely, then store them in a freezer-safe bag for up to 3 months. This way, you can enjoy fresh rolls anytime!
Q: Do French bread rolls need to be refrigerated?
A: It depends. While it’s best to store French bread rolls at room temperature in an airtight container, refrigeration can be necessary in humid climates to prevent spoilage. Just be sure to wrap them tightly.
Q: Can I use whole wheat flour for French bread rolls?
A: Yes, you can substitute half of the all-purpose flour with whole wheat flour for a heartier flavor and added nutrition in your French bread rolls. Just keep in mind that the texture may be slightly denser.
Q: Are French bread rolls suitable for a vegan diet?
A: Yes, French bread rolls can easily be made vegan by using plant-based substitutes for any non-vegan ingredients, such as olive oil instead of butter. Enjoy these rolls without compromising your dietary preferences!
Conclusion: Final Thoughts on French Bread Rolls
As you embark on your journey to create these delightful French bread rolls, remember that baking is not just about following a recipe; it’s about the love and joy you bring into your kitchen. Each roll you craft is a testament to your culinary passion and a way to connect with your family and friends. I encourage you to share your experiences, variations, and any tips you discover along the way. Let’s celebrate the art of baking together! If you enjoyed this recipe, please comment below and share your thoughts. Happy baking!
Print
French Bread Rolls
- Total Time: 1 hour 40 minutes
- Yield: 12 rolls 1x
- Diet: Vegetarian
Description
Learn how to make soft and delicious French bread rolls at home with this easy recipe.
Ingredients
- 4 cups all-purpose flour
- 1 packet (2 1/4 tsp) active dry yeast
- 1 1/2 cups warm water
- 2 tbsp sugar
- 1 tbsp salt
- 2 tbsp olive oil
Instructions
- In a large bowl, combine warm water, sugar, and yeast. Let it sit for about 5 minutes until frothy.
- Add olive oil and salt to the yeast mixture.
- Gradually add flour, mixing until a dough forms.
- Knead the dough on a floured surface for about 10 minutes until smooth.
- Place the dough in a greased bowl, cover, and let it rise in a warm place for 1 hour or until doubled in size.
- Punch down the dough and divide it into 12 equal pieces.
- Shape each piece into a roll and place on a baking sheet lined with parchment paper.
- Cover the rolls and let them rise for another 30 minutes.
- Preheat the oven to 375°F (190°C).
- Bake the rolls for 20-25 minutes or until golden brown.
- Let cool before serving.
Notes
- For a softer crust, brush the rolls with melted butter after baking.
- These rolls can be frozen after baking for up to 3 months.
- Prep Time: 15 minutes
- Cook Time: 25 minutes
- Category: Bread
- Method: Baking
- Cuisine: French
Nutrition
- Serving Size: 1 roll
- Calories: 150
- Sugar: 1g
- Sodium: 200mg
- Fat: 3g
- Saturated Fat: 0.5g
- Unsaturated Fat: 2g
- Trans Fat: 0g
- Carbohydrates: 28g
- Fiber: 1g
- Protein: 4g
- Cholesterol: 0mg
Keywords: French Bread Rolls